We’ve been talking a lot about the fake pockets on the raglan dress. KIDS WANT REAL POCKETS TO STORE TREASURES!! RIGHT??
I am learning… My baby girl isn’t to that stage yet so it didn’t cross my mind when designing the pattern.
Good thing I have friends like you to tell me how it is 🙂
This photo sequence will show you one option on how to add real pockets to the dress. There are different ways it can be done, I just think this one is cute.
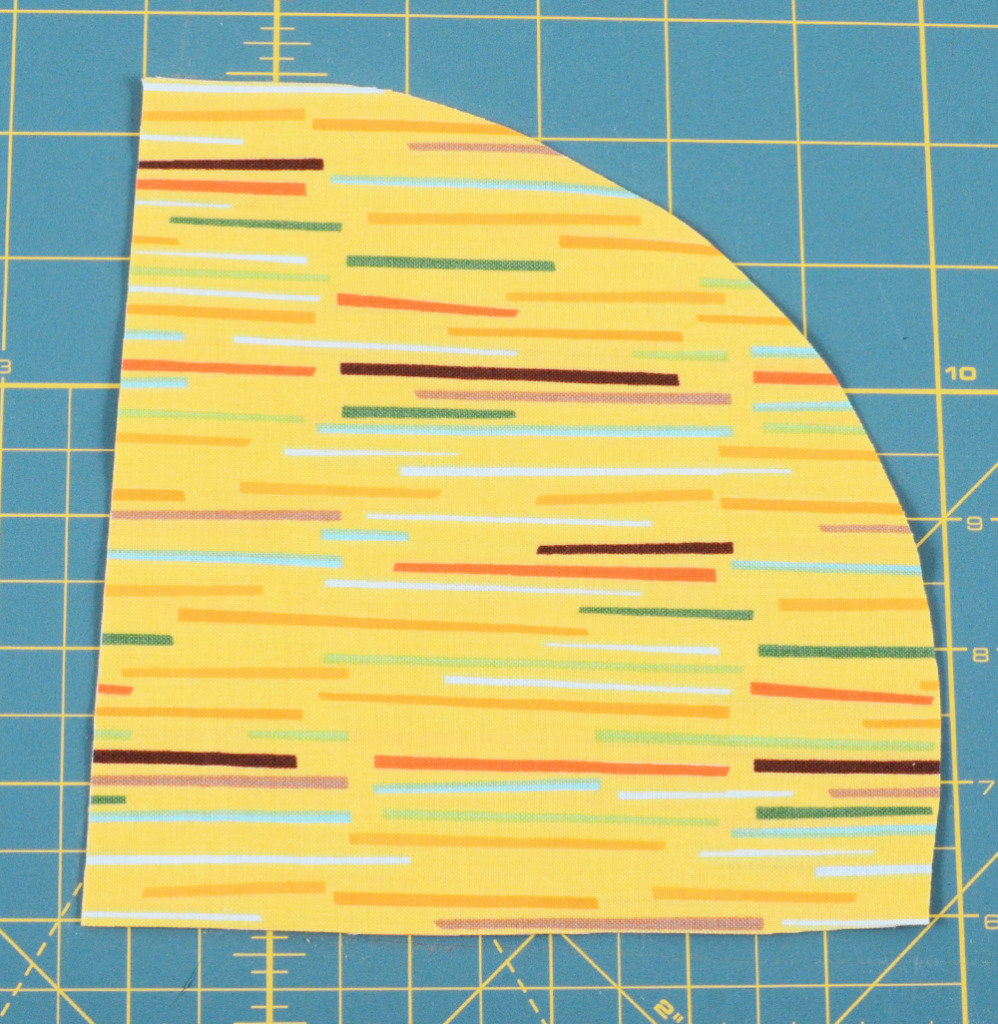
Starting out, you will cut out all the pieces like normal EXCEPT the pocket backings.
To create new pocket backings, take the front pattern and mark a line about 0.5″ from the top of the pocket arc.
Make another mark about 0.5″-0.75″ in from the center, on the waist.
Sketch a curved line from the top marking to the bottom marking. You can use a curved tool as well to trace a smoother curve.
Cut that part out of the pattern piece.
I have my fabric folded in half so when I cut on top I will get opposite pocket backings. When you cut them out, just go straight at the pocket area.
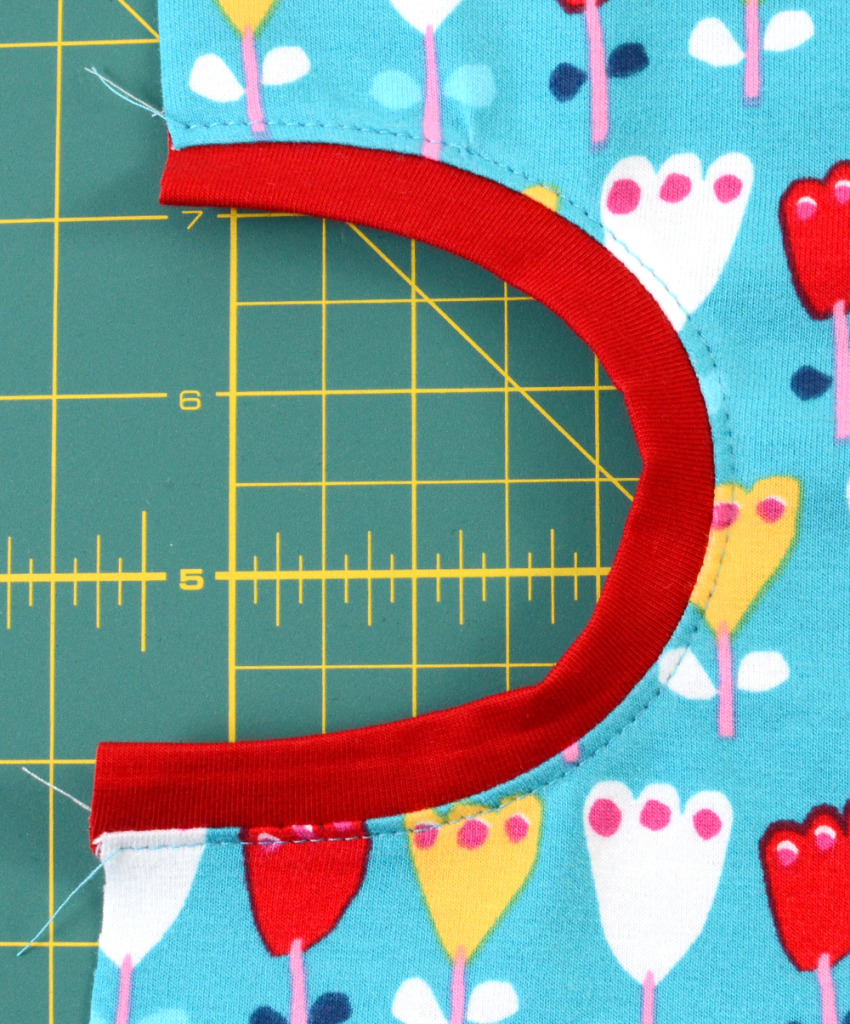
Now, sew the pocket binding onto the front pattern pockets and sew the serged seam flat to the dress.
The pockets will get placed so the right side is showing in the pocket. I serged the edges of mine because I used woven cotton, if you are using knit you don’t have to.
Pin the edges to the dress so you know where to sew.
Sew along the edge of the pocket backing. I like sewing from the top, it seems to look nicer for me but you can sew from the back if that’s easier. They should both have a nice looking arc after you sew them on.
Continue sewing the dress as usual now. Sew the sleeves to the front and back, sew down the side seams.
Sew the cuffs and bands closed and serge them to the sleeves, waist and neck.
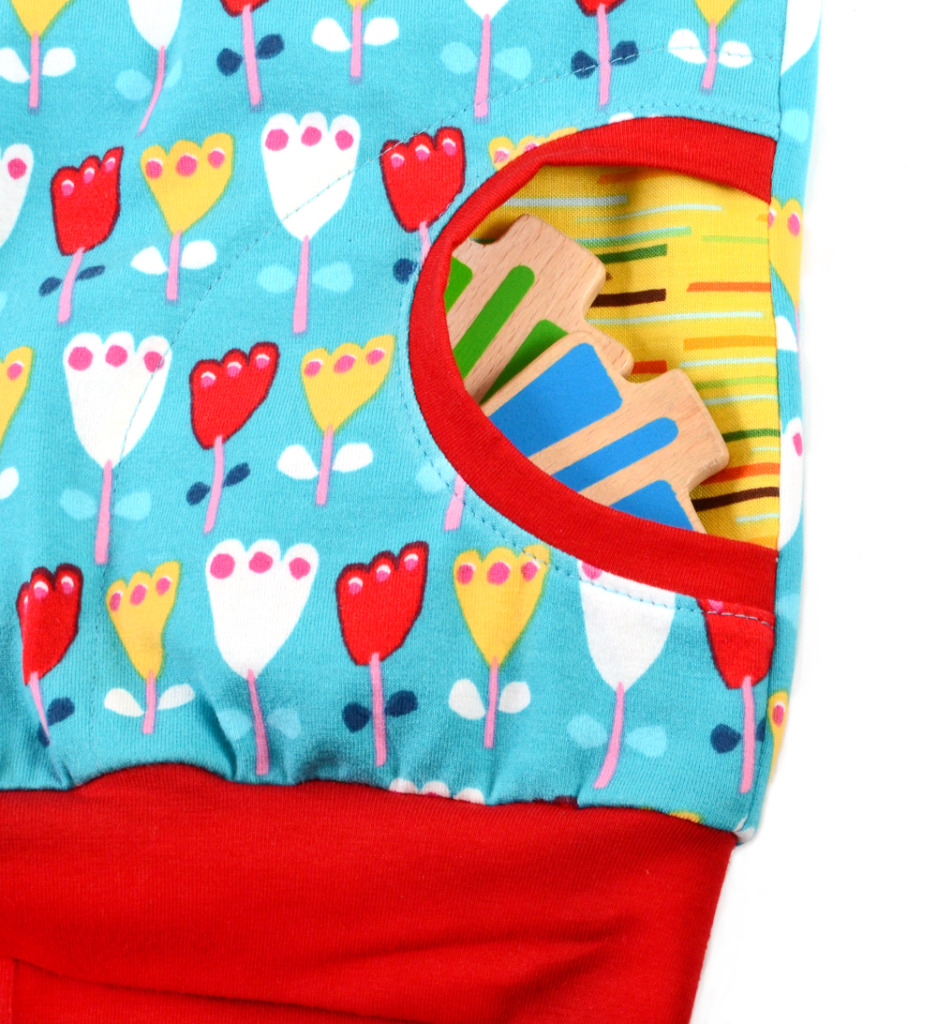
Now you have officially awesome pockets to put wooden keys in and such..
If you need to buy the raglan dress still you can find it here.
Thanks guys! I’ll be back soon with more.
-Melissa


