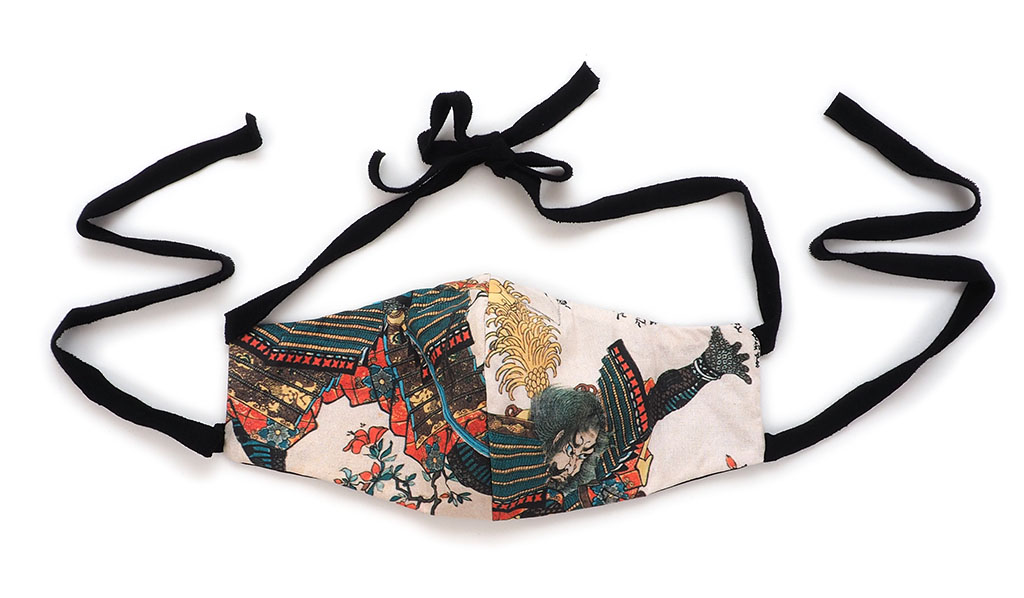
This tutorial is based on the Olson mask pattern but modified to change the tie/loop insertion as well as modified to have a child sized version. You can see the photos below to see the changes against the original. LINK TO ORIGINAL Olson mask: https://www.unitypoint.org/filesimages/COVID-19/UnityPointHealth-OlsonMask-Instructions.pdf
FOR VIDEO SCROLL TO THE BOTTOM!!
I used a heavyweight quilting cotton for both layers per the recommendation, and pipe cleaners for the metal nose piece. (this was the easiest to find for me. Use what you can!) For the loops and ties I cut out 1/4″ (ish) wide strips of french terry fabric. You could use any kind of fabric as long as it’s stretchy for the ear loops.
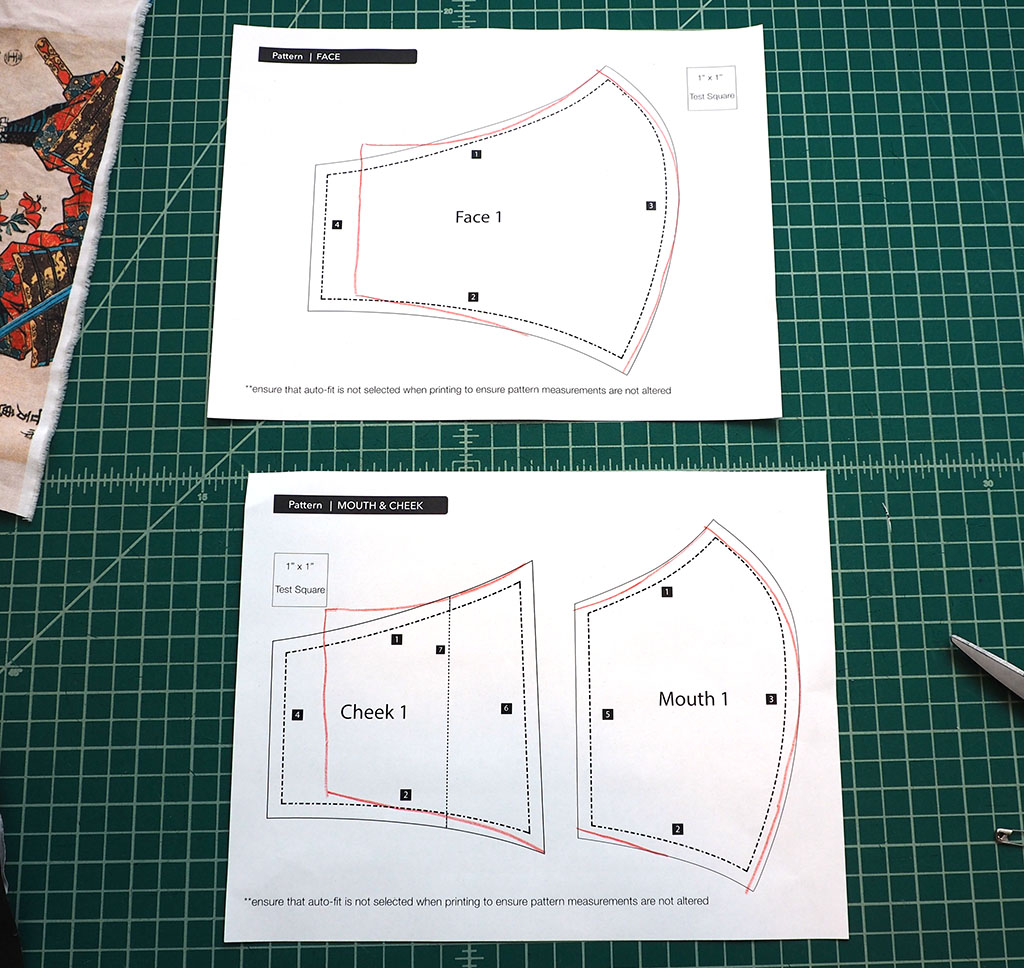
You can download both versions below before getting started! (these versions are my custom changes made.)
The photo below is how I changed the adult size from the original. I made it fit a little tighter and curved the nose in a little more. These are all my custom changes so feel free to do your own if something works better for you!
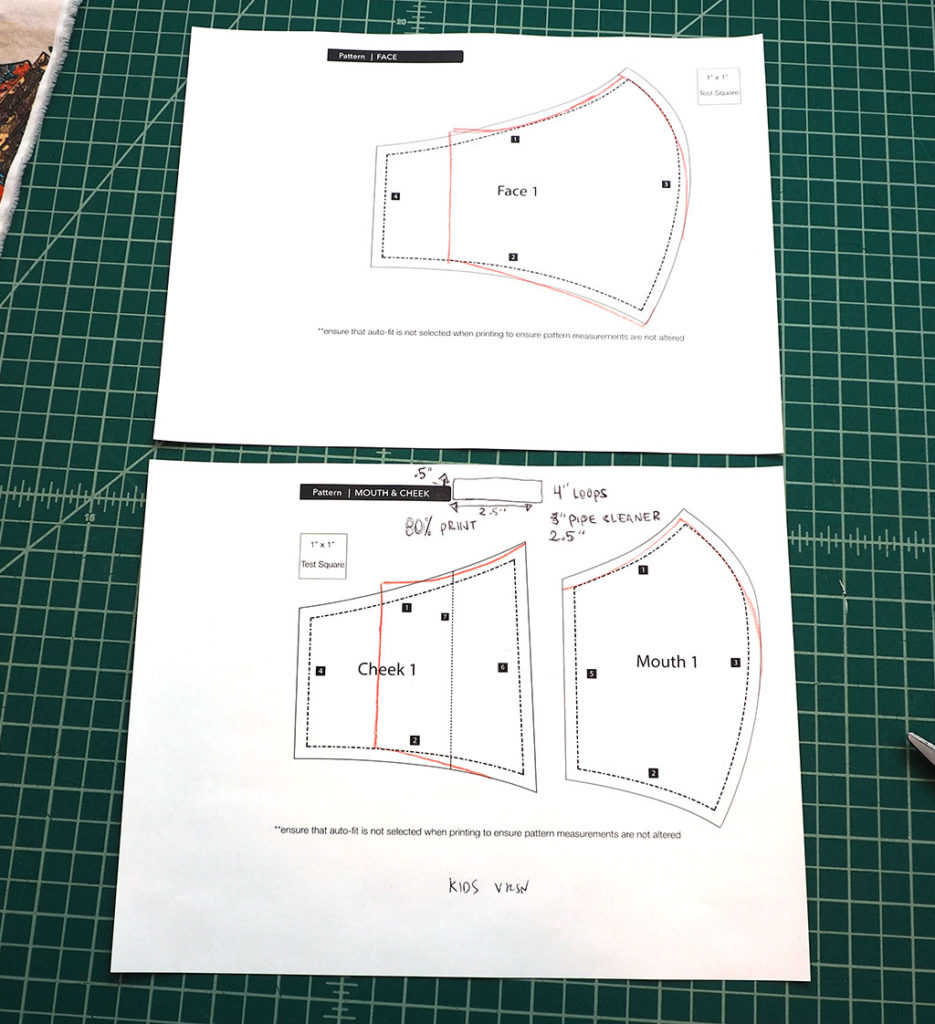
And this is what I changed for the child size. I made it 80% of the original and I made it quite a bit slimmer to fit the face. I think it will work for approx ages 3-10 and older if you make the loops a little longer.
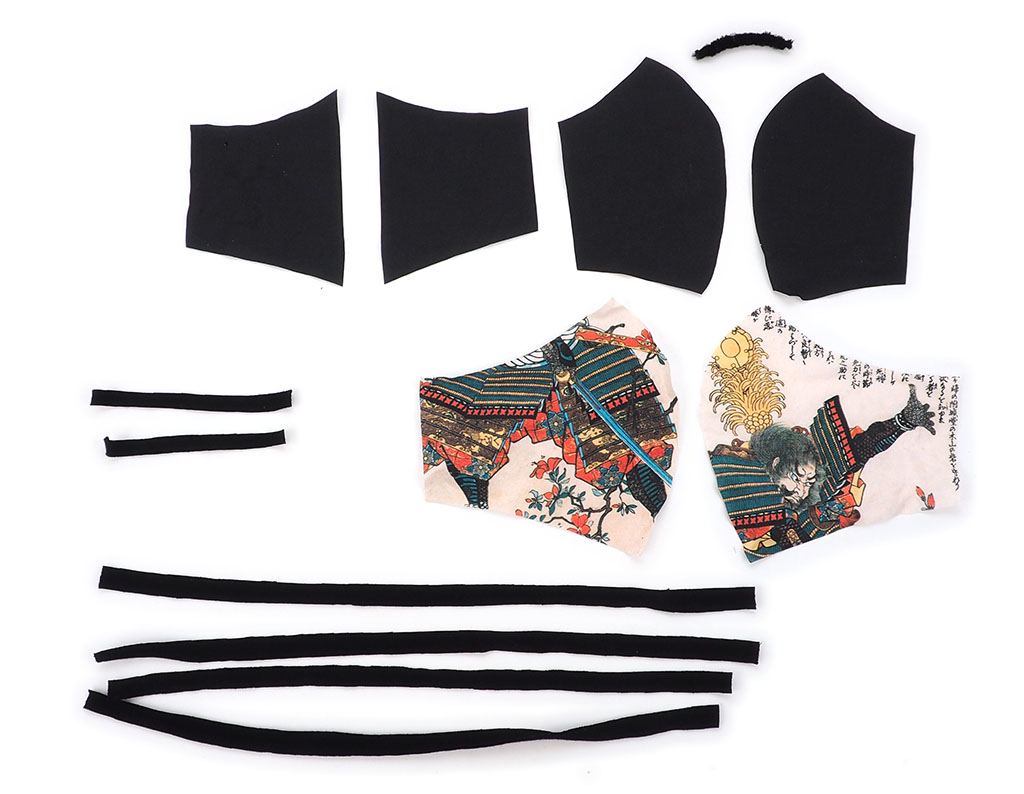
Cut all the pieces as shown: 2 opposite face pieces for the outer layer, 2 opposite mouth and cheek pieces for the inside and either 2 ear loops 4″ long or 4 ties (16″ for adult and 13″ for kids) My strips and loops are cut from french terry. Many stretch fabrics will work for the loops. Many different materials work for the ties. Metal piece (pipe cleaners) made 2.5″ wide for adults and 2″ for kids
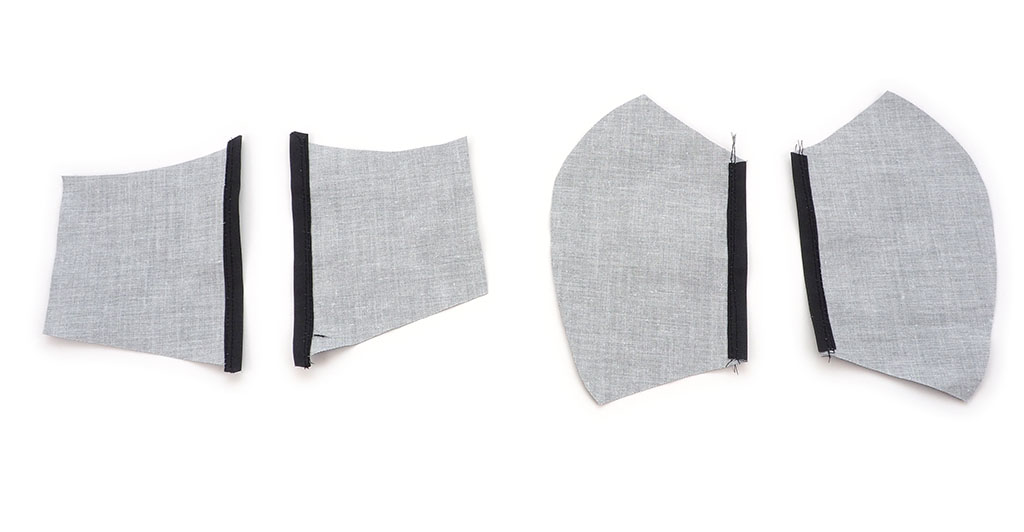
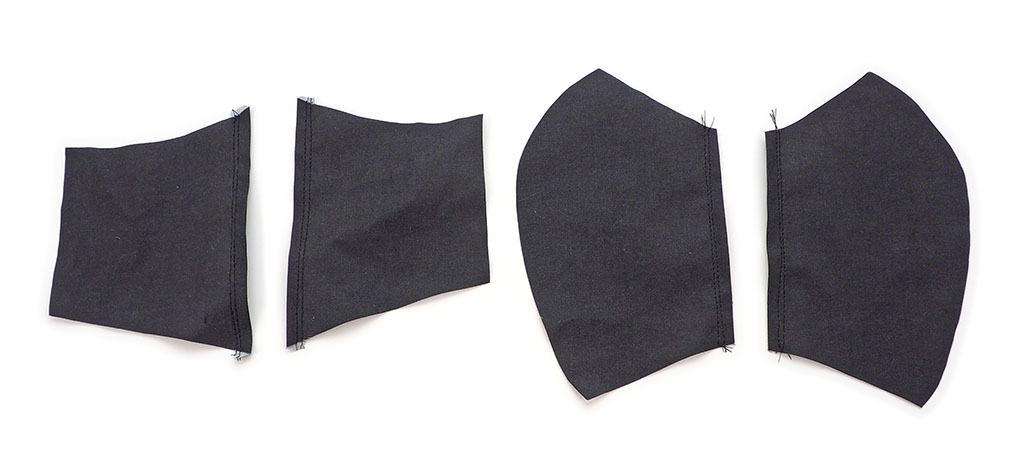
Iron the edges in 1/4″ on the mouth and cheek pieces as shown and straight stitch at a little less than 1/4″ (labeled edge 5 and 6 on the pattern pieces)
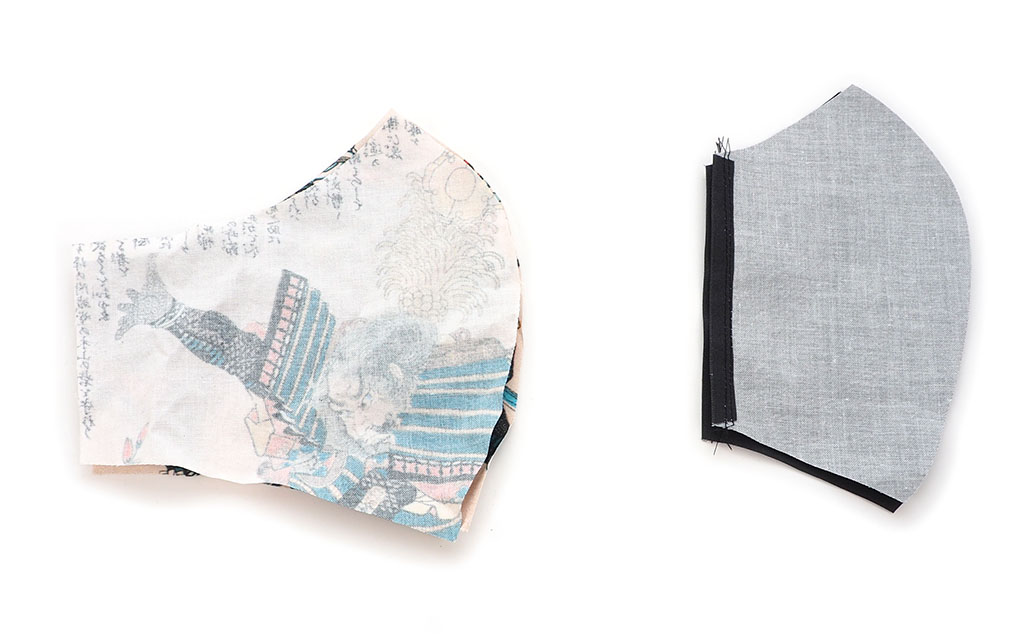
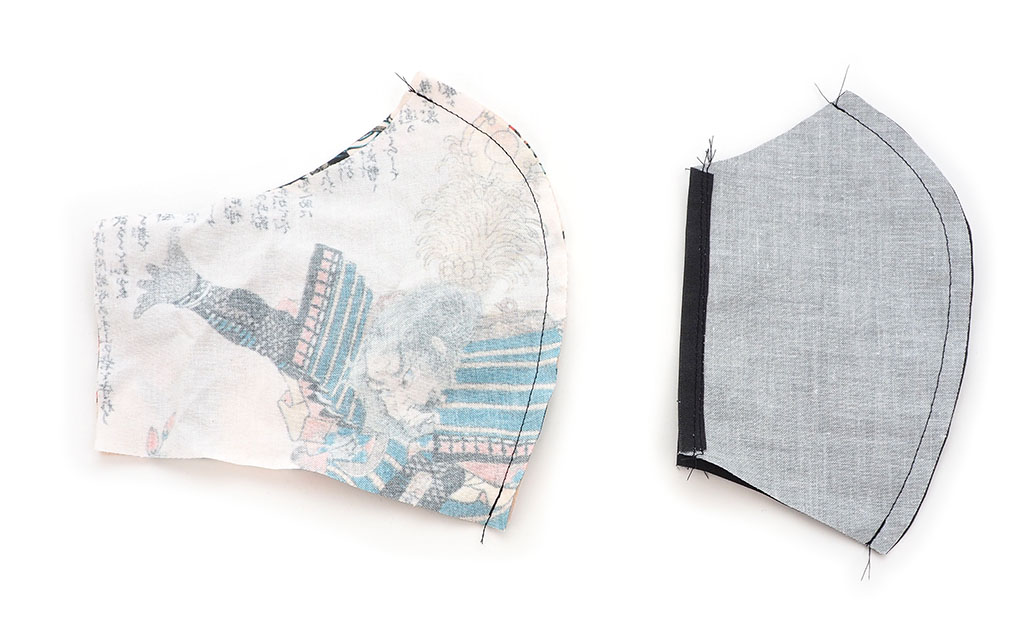
Place the face layers and the mouth layers right sides together and straight stitch down the curve at 1/4″
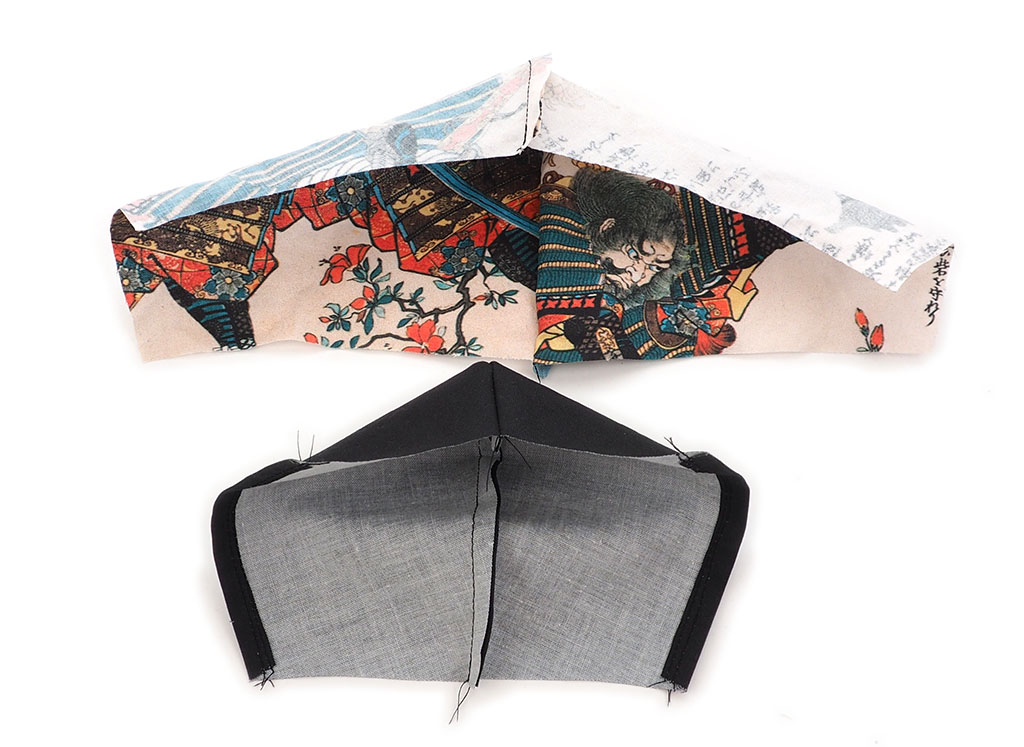
They will turn out as shown
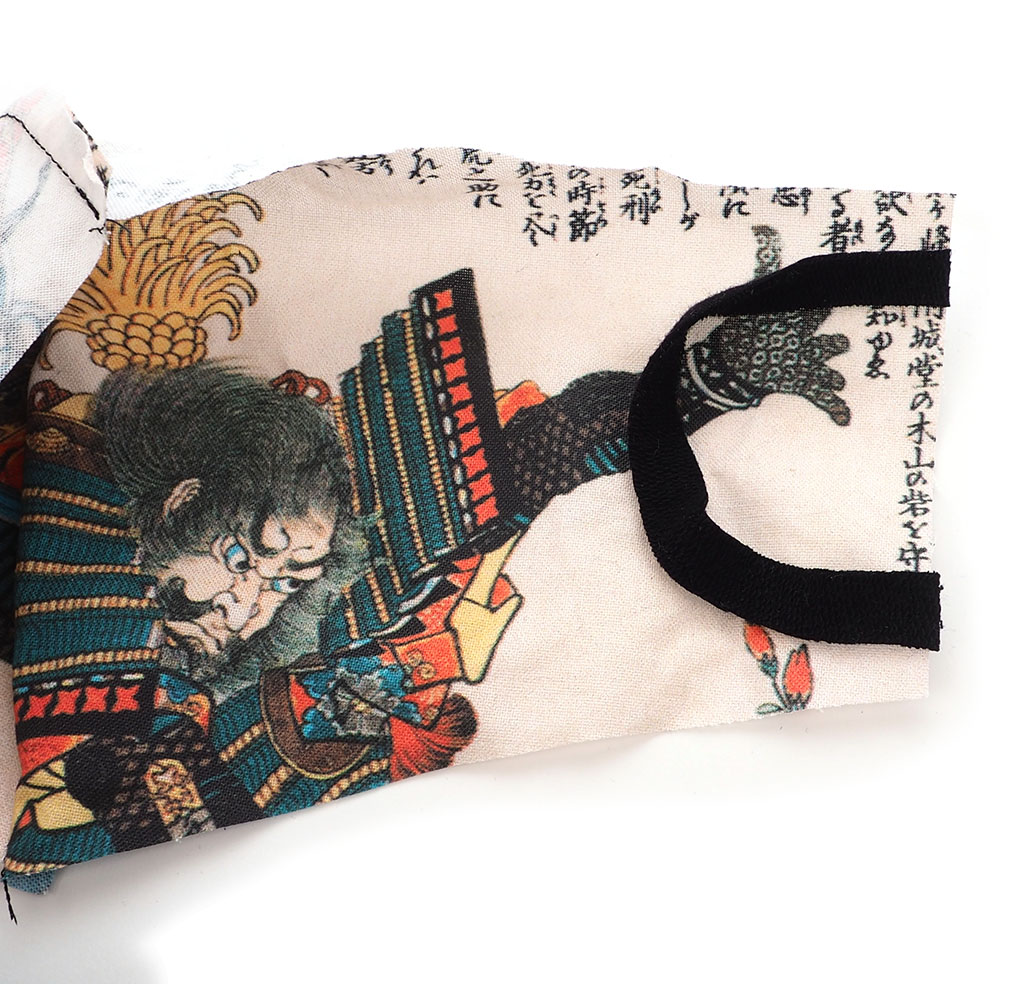
If using loops, pin them to the edges of the face as shown, a little more than 1/4″ below the edges to allow for the seam allowance
If using ties, pin them in the same place just bunch them up to the middle so they are out of the seam
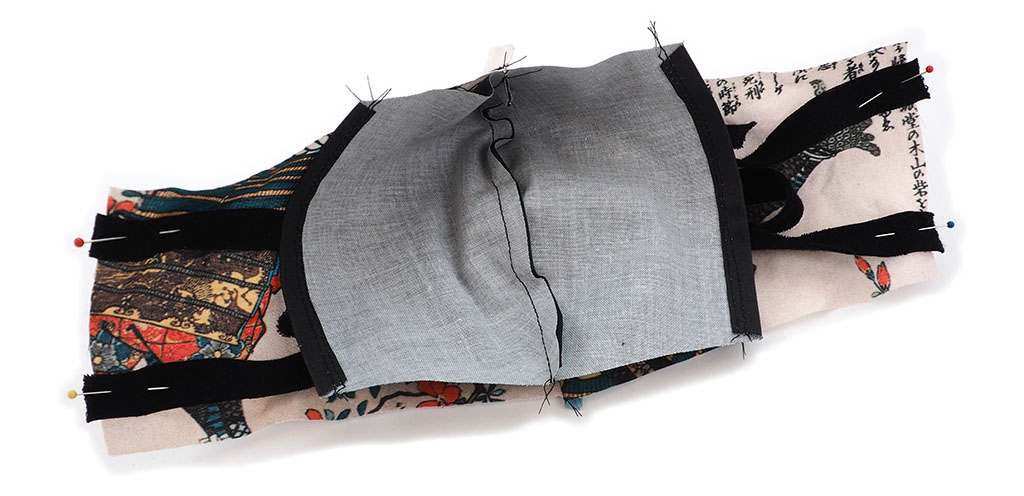
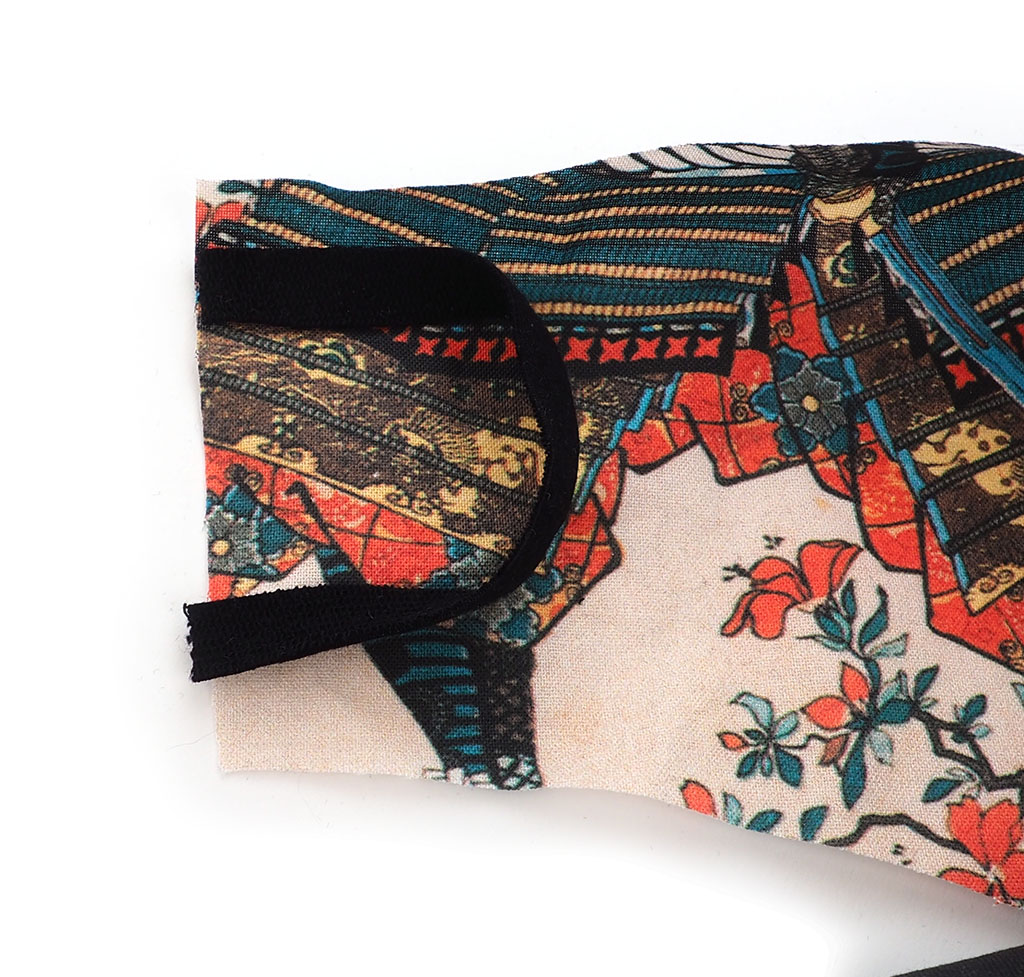
Place the mouth piece right sides together along the face piece, line up the center seam
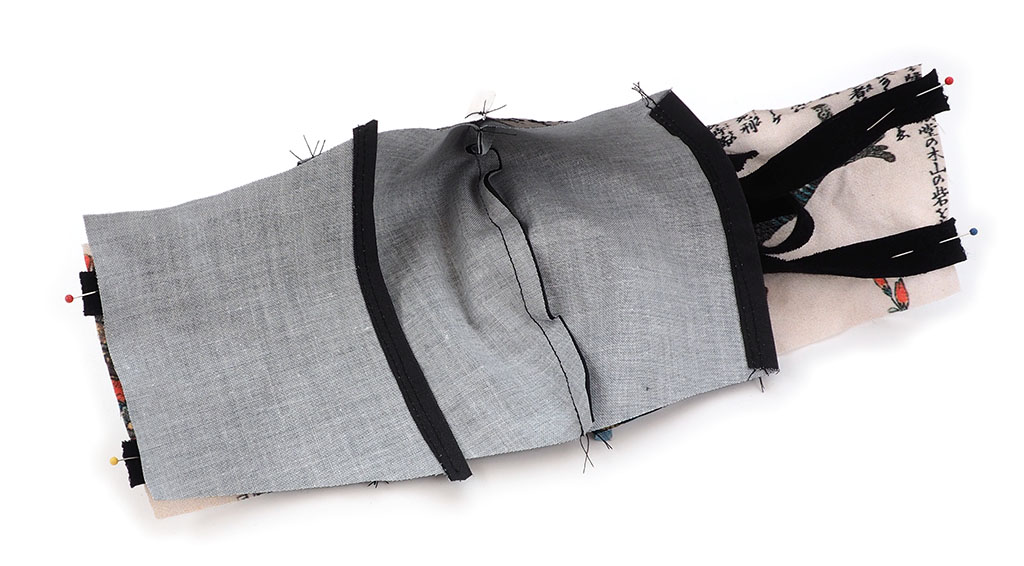
Line up the corresponding cheek piece with the outer edge of the face. (the top of the cheek will curve up more than the bottom. Overlap it with the mouth piece approx. 1″ so it fits and pin all together
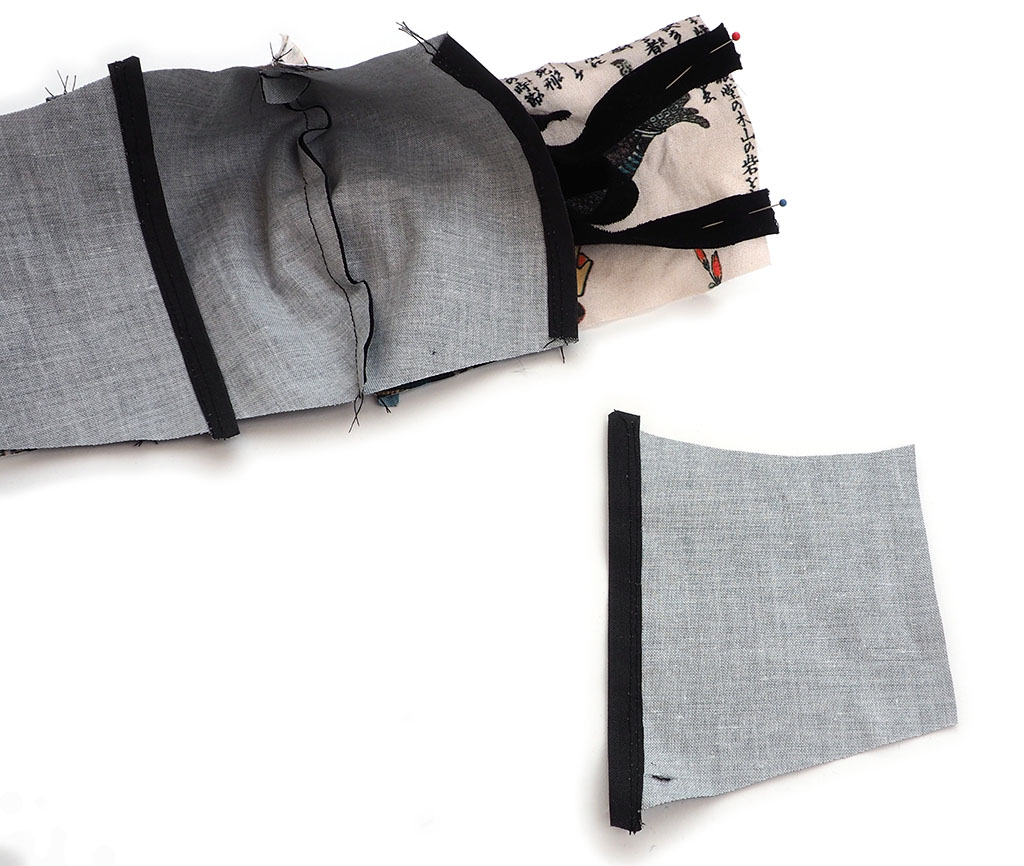
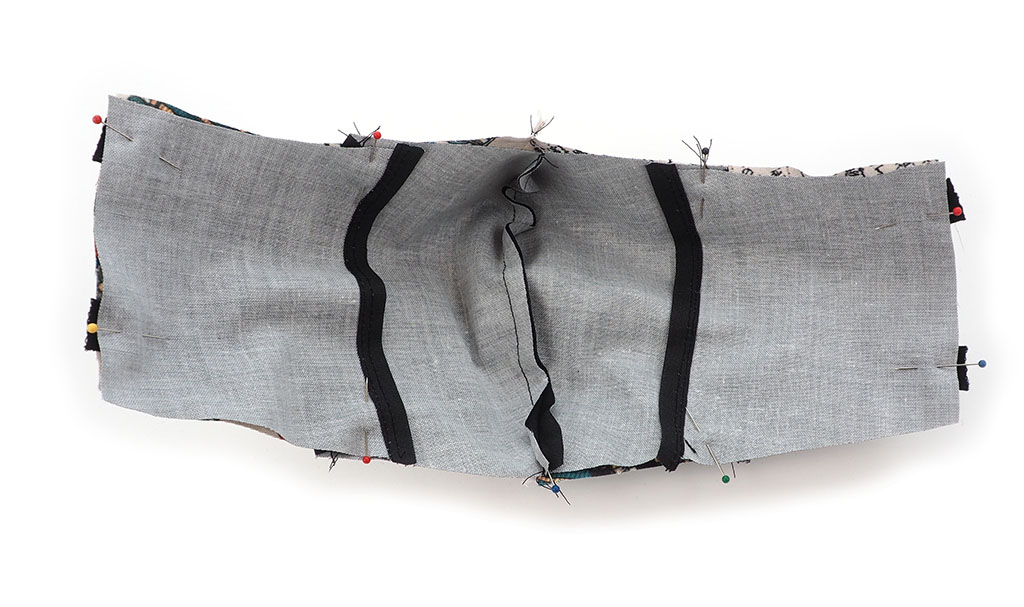
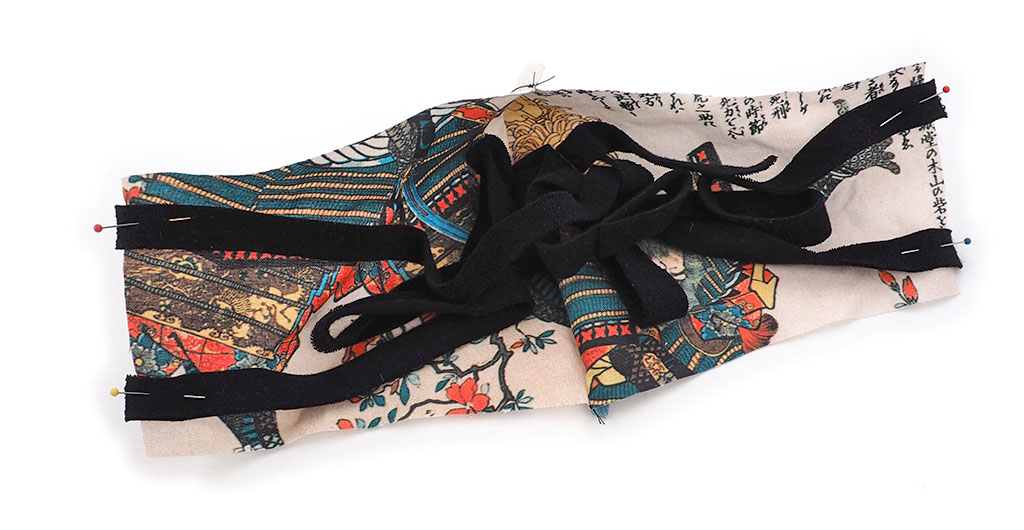
Do the same with the opposite cheek piece. Pin all together so the raw edges are even and the loops or ties are pinned in place
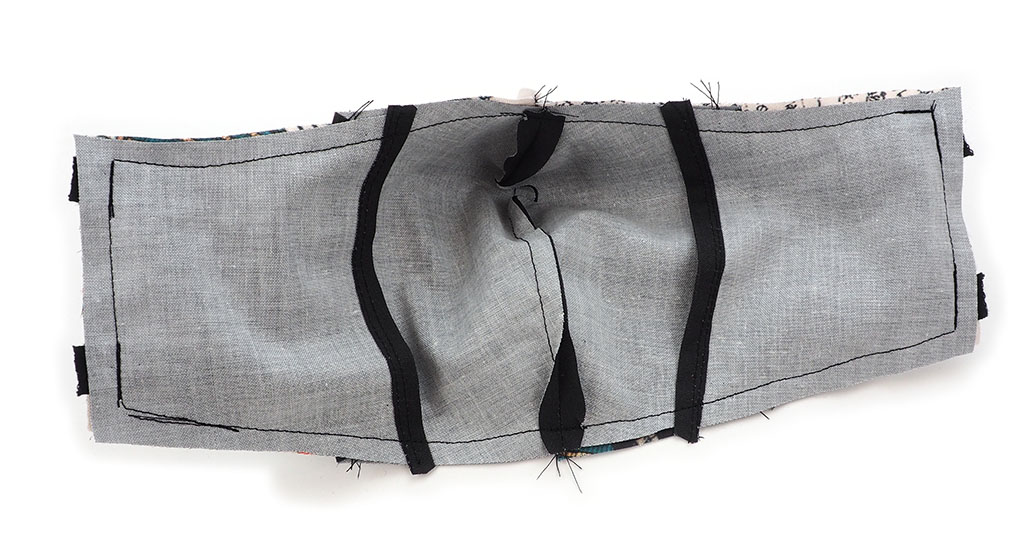
Sew around the edges at 1/4″. Enclosing all raw edges. Make sure to lock stitch on top of the ties/loops so they are secure
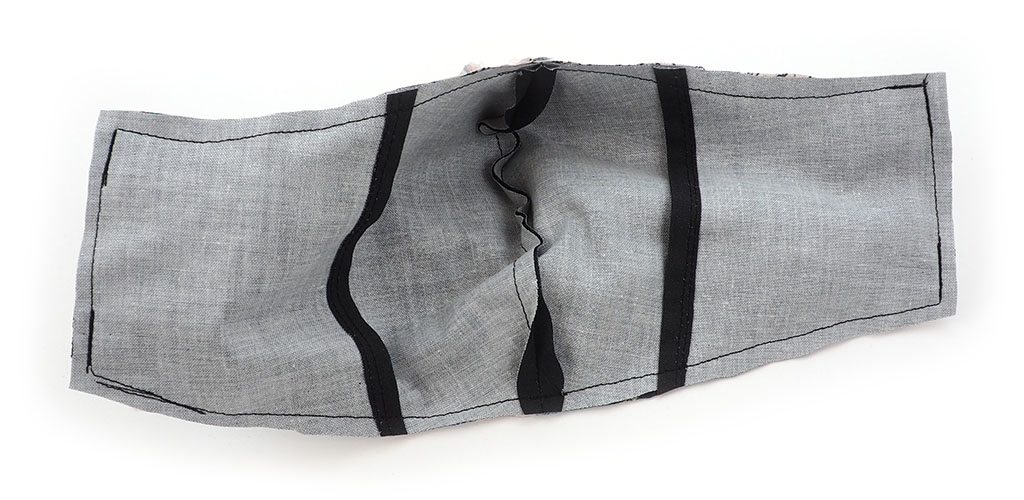
Trim the edges to eliminate bulk and clean up
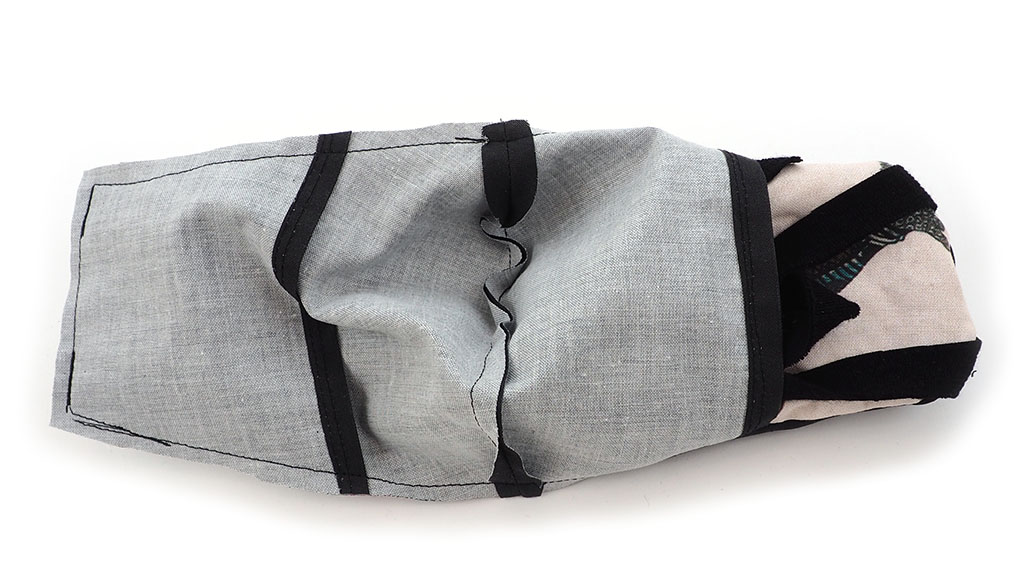
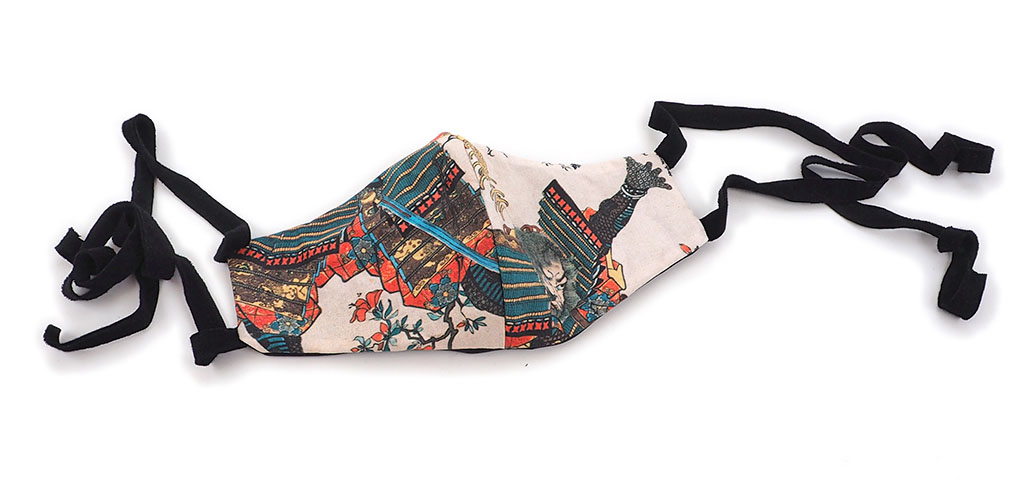
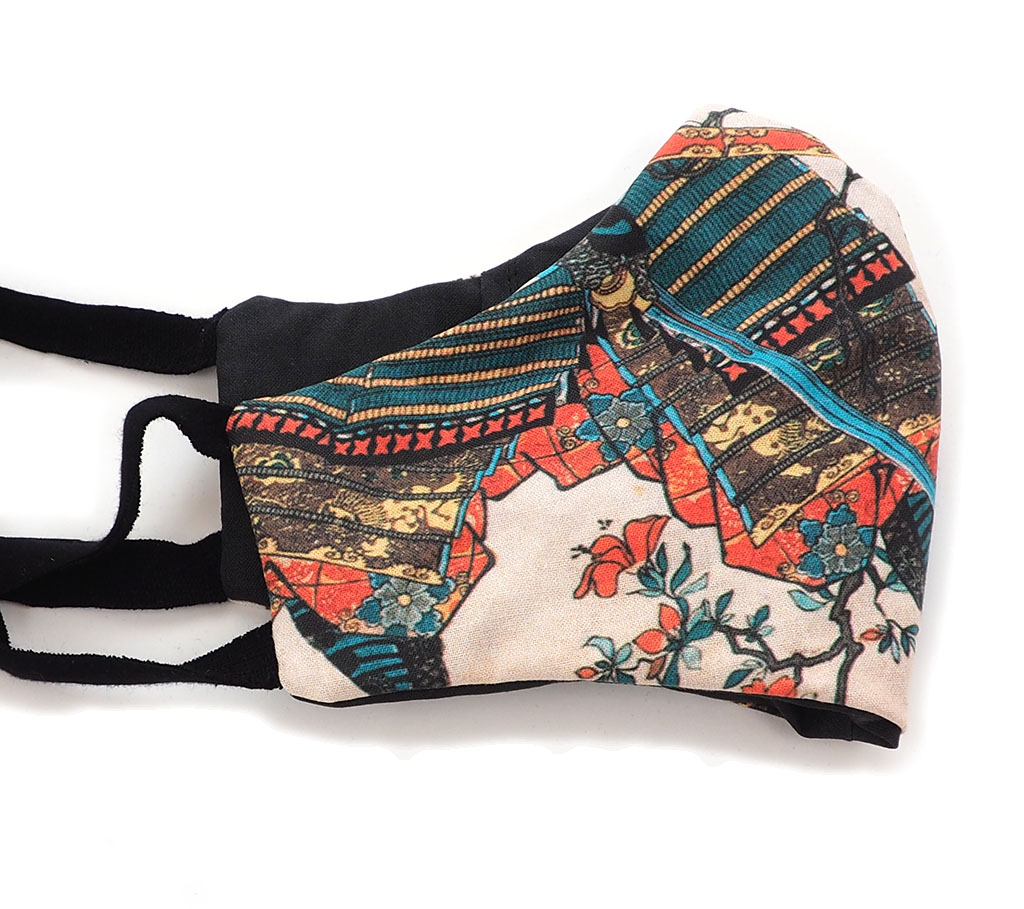
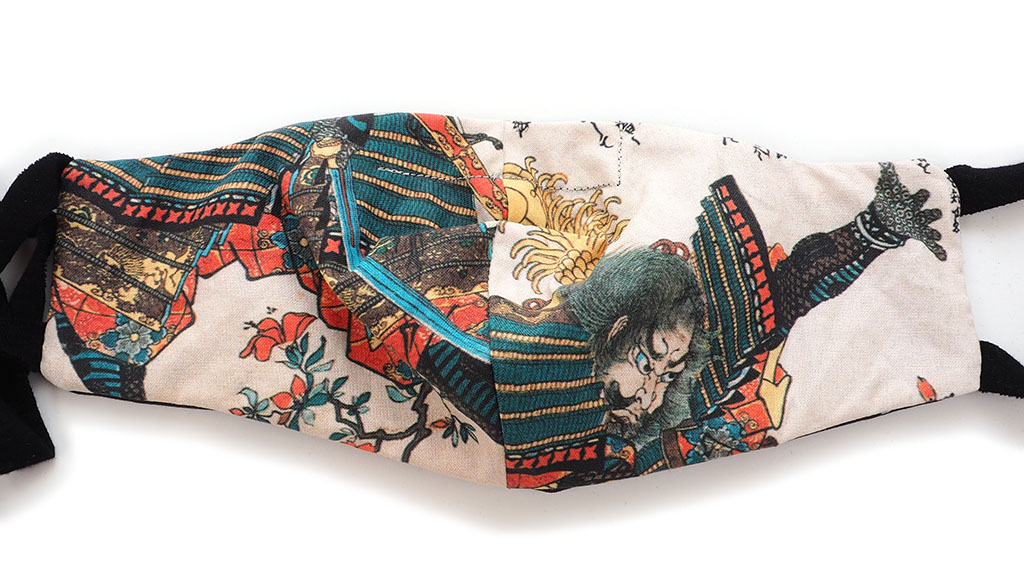
Turn the mask right side out. You can use this filter are with a custom material or just layer another piece of fabric in there if you like. You can stop and be done here or continue to create a space for a metal piece for the nose!
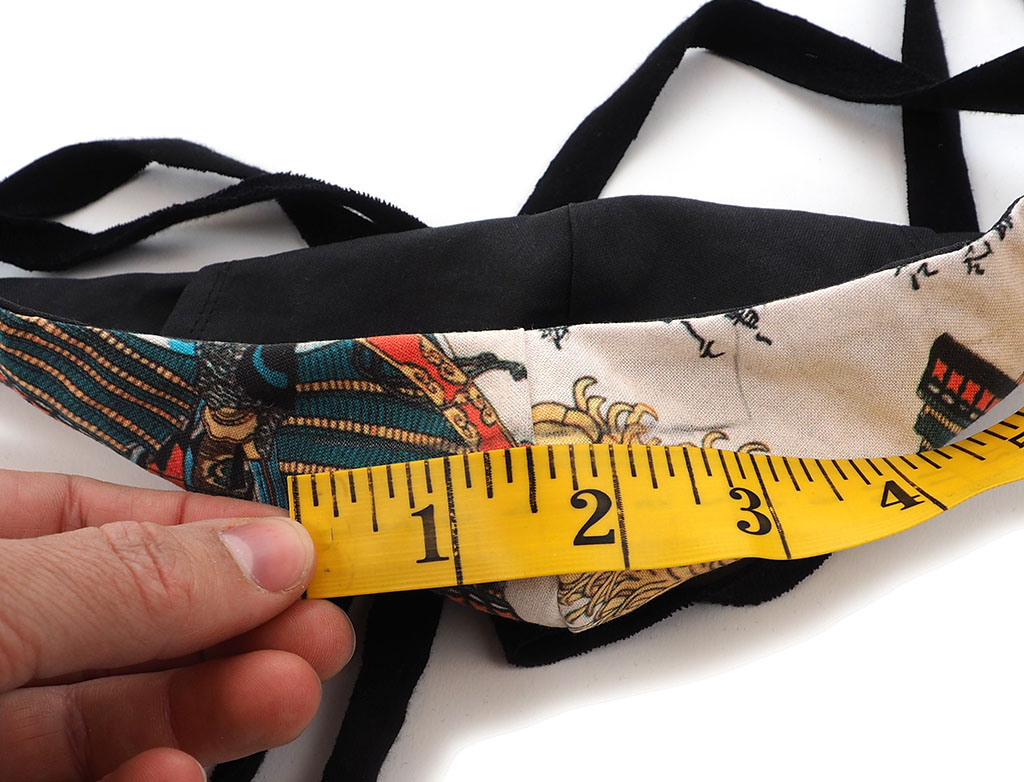
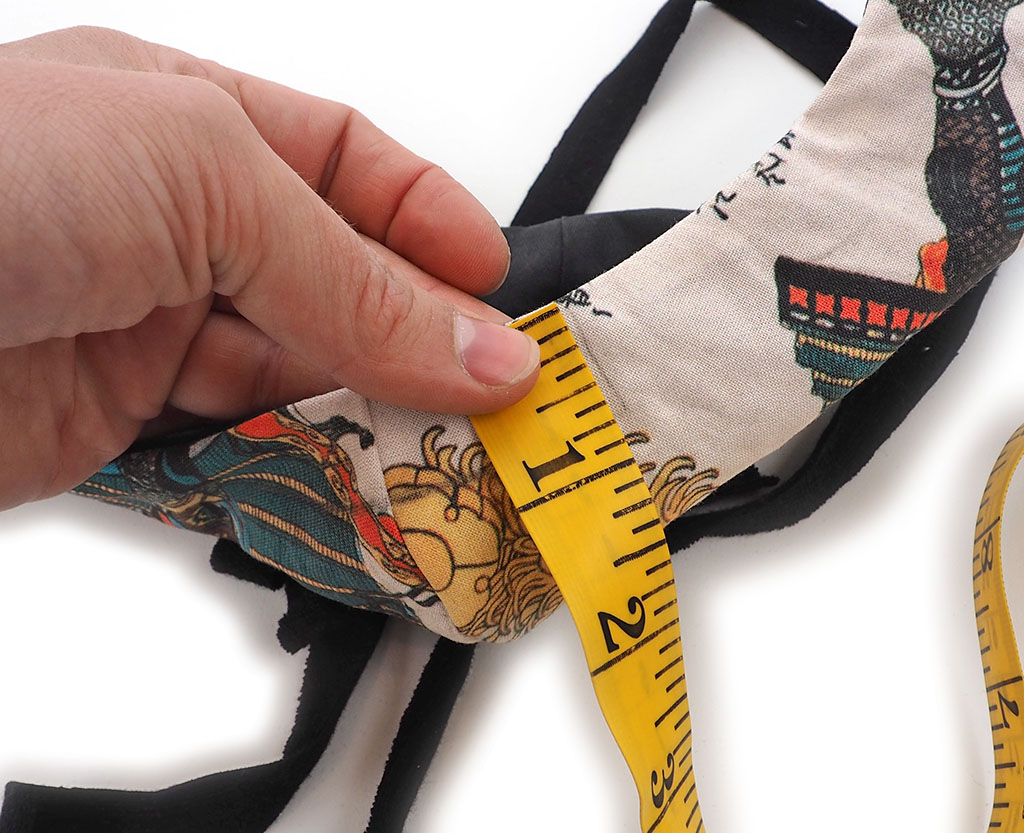
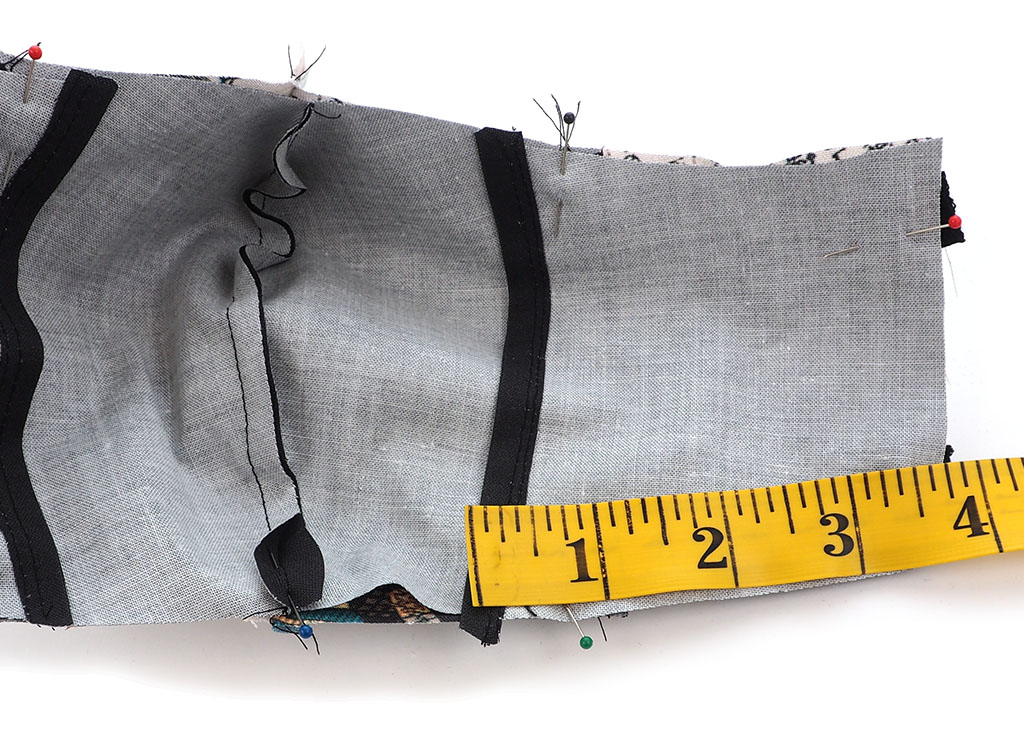
Before sewing the casing, sketch a little line to make sure it ends up straight. My metal piece (pipe cleaner!) is about 2.5″ long for adults and 2″ long for kids so I draw an opening about 2.5″ long for kids and 3″ long for adults. Both are about 1/2-3/4″ tall
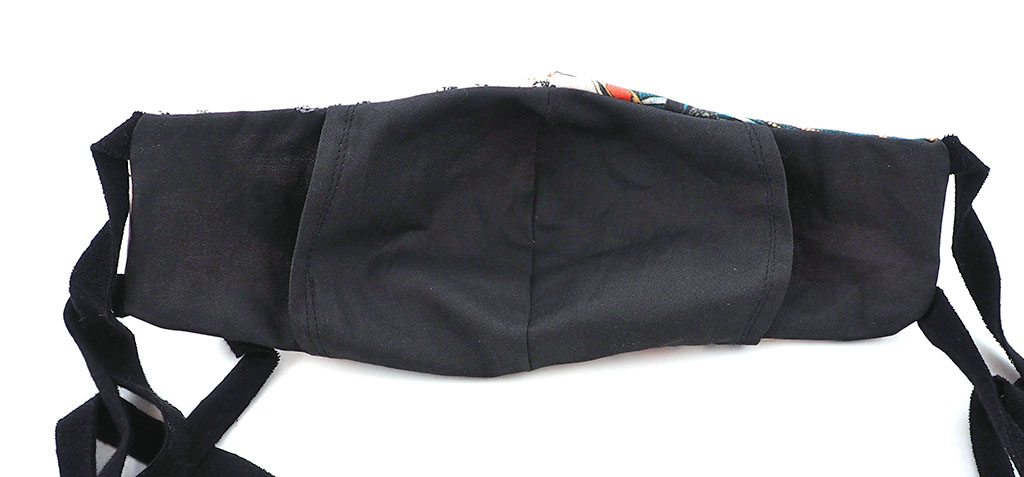
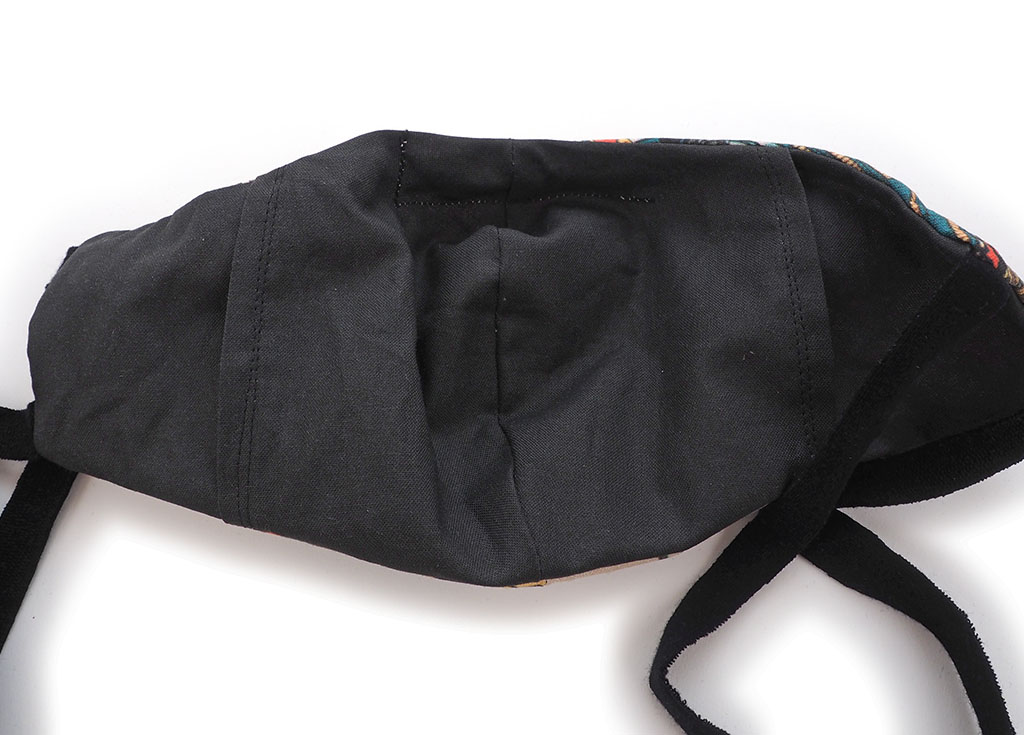
Straight stitch the casing down the (photo) right side and across the bottom, leaving the left side open to insert the piece
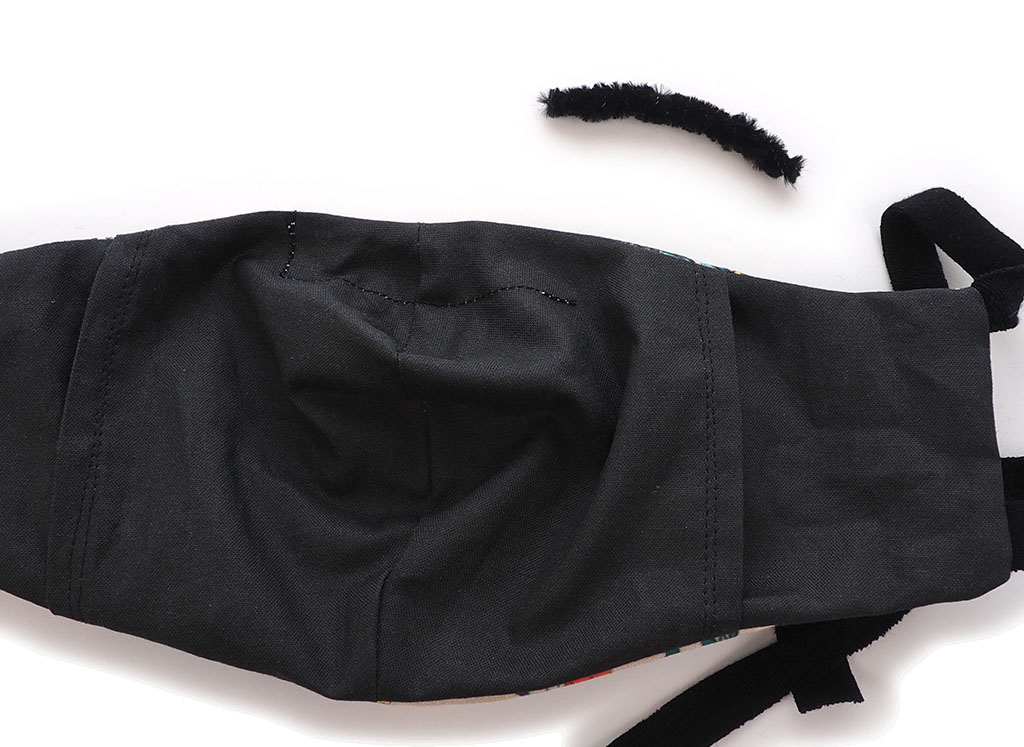
You can use whatever you can get your hands on for the metal piece. I used a triple layer pipe cleaner twisted together. Insert it into the casing through the filter layer inside the mask. I will leave this open so I can take it out to wash the mask. You may be more concerned for kids and enclose it. It depends what you think is safest for the age of the child!

That completes the mask, alter and customize as you need! I hope it works for your family and friends as well as it has mine!
Wishing you health and love -Melissa