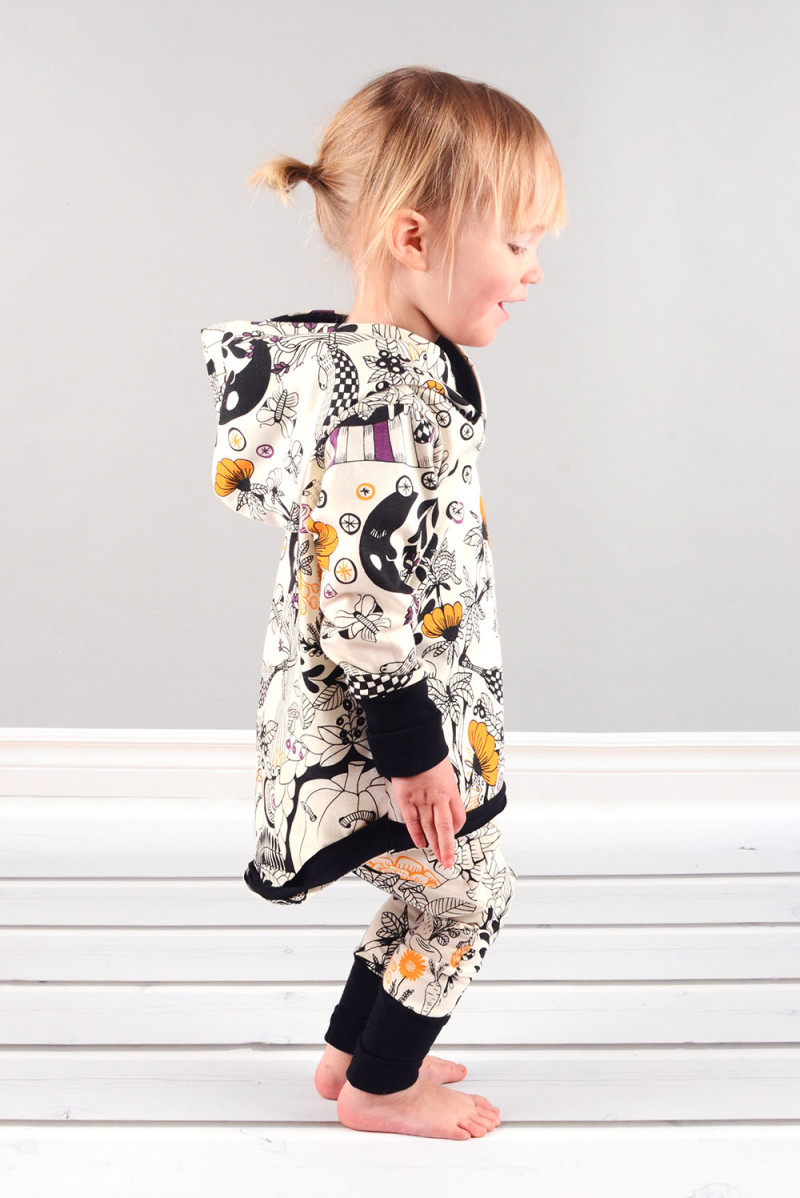
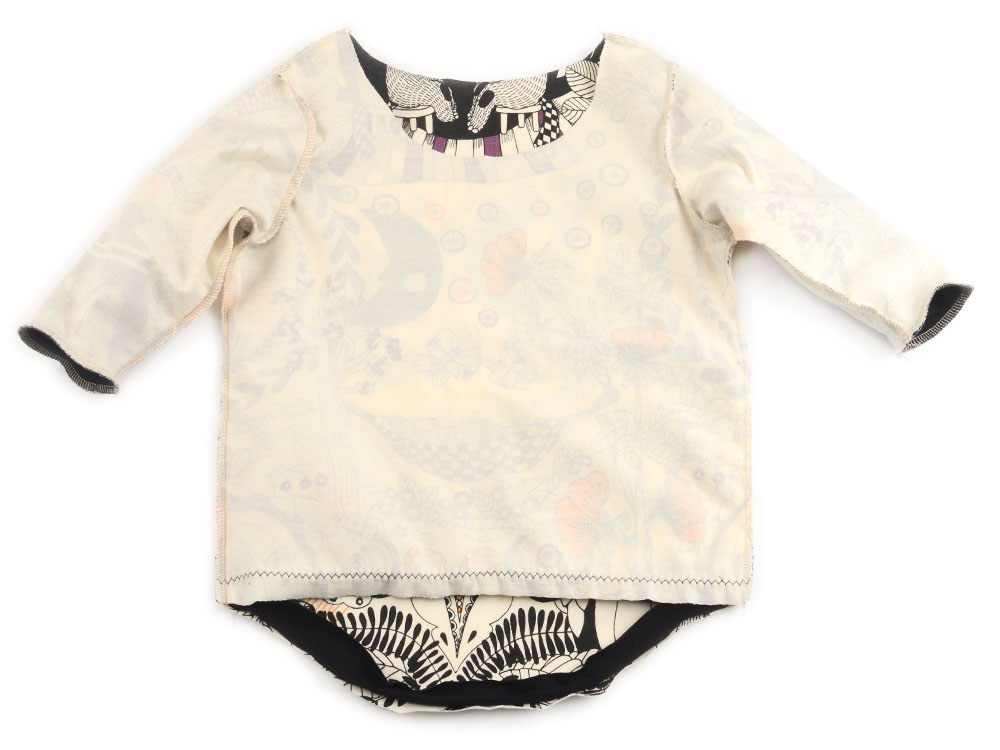
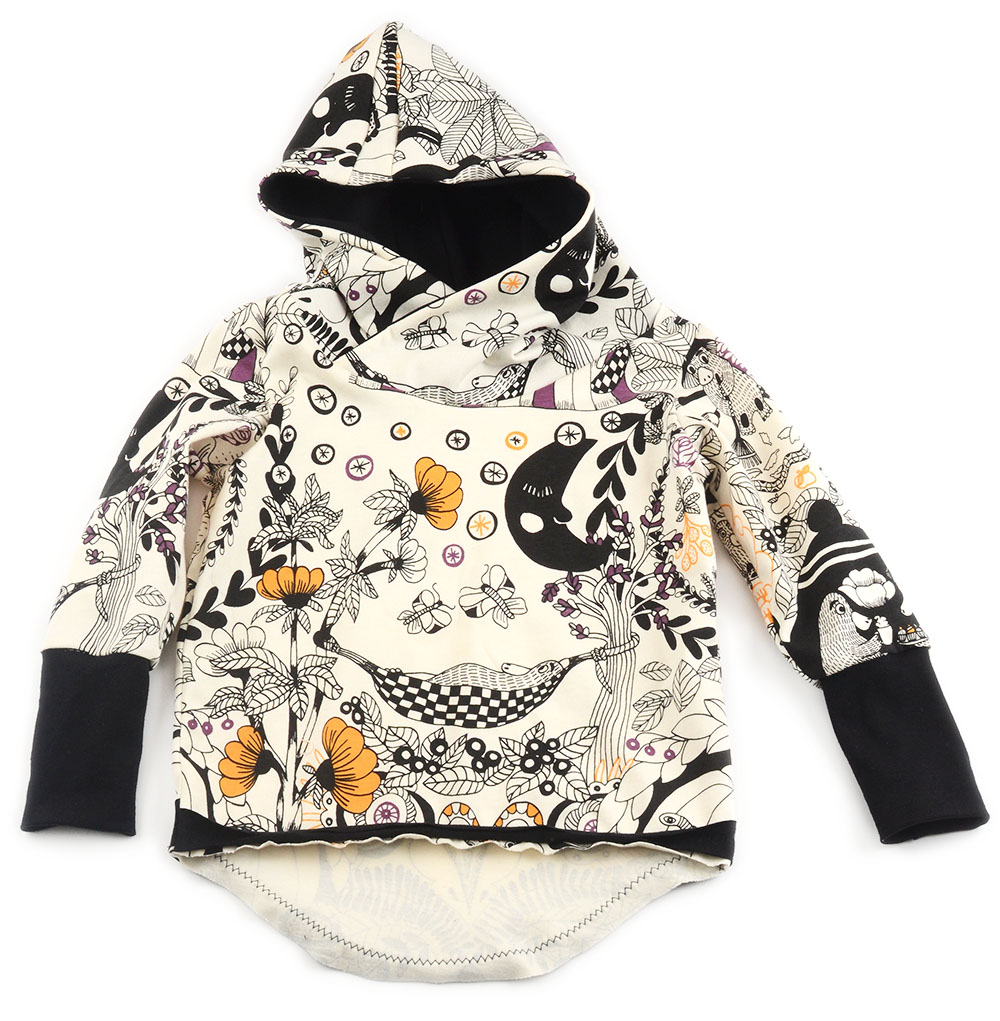
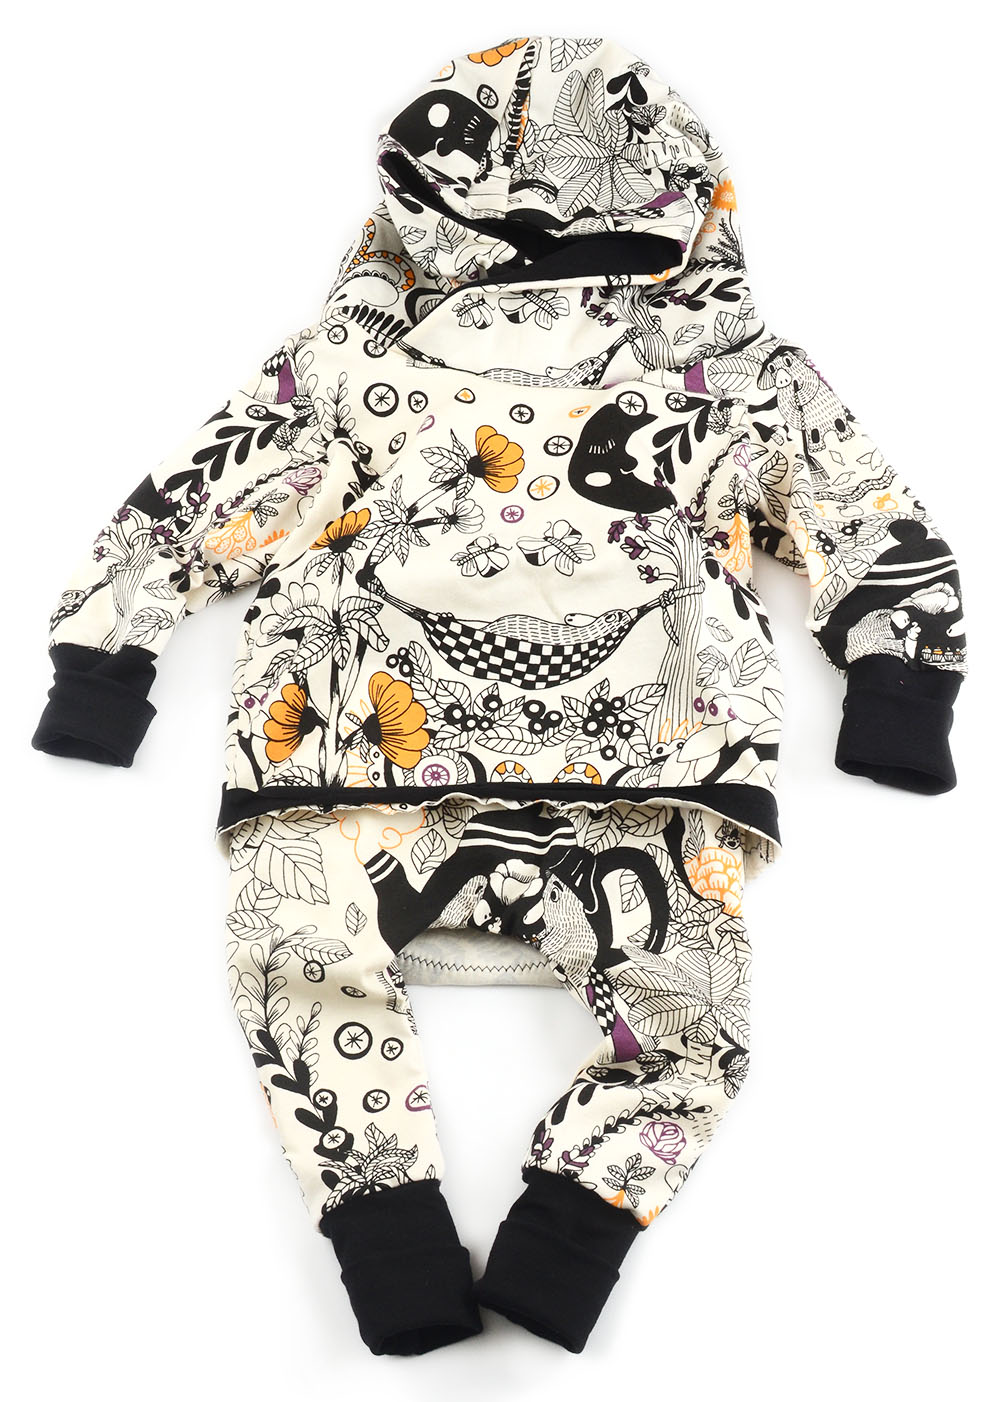
I did a modification this week that I love! Despite trying to pack my whole house up, I managed some sewing 🙂 I used the classic hoodie and slim harems for this outfit.
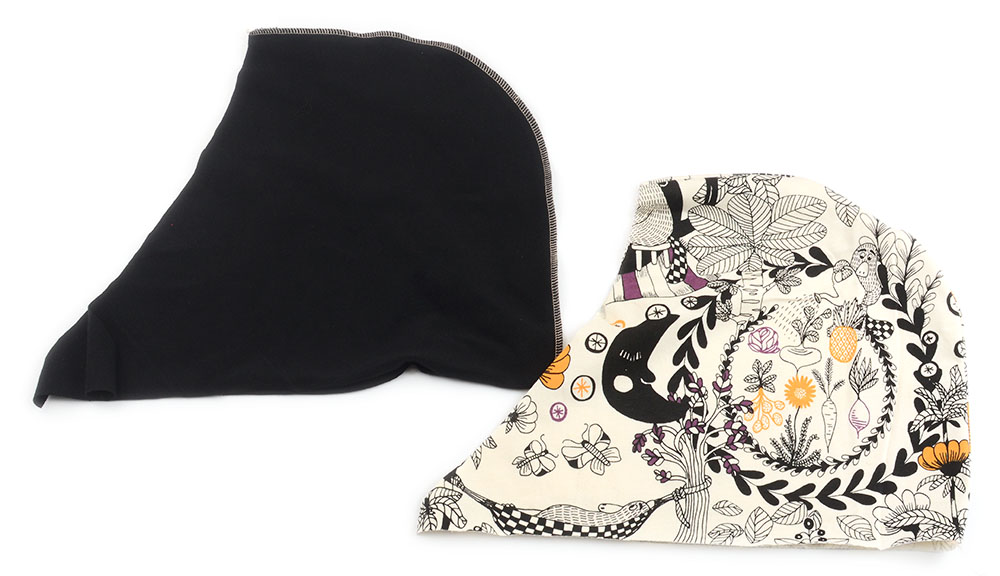
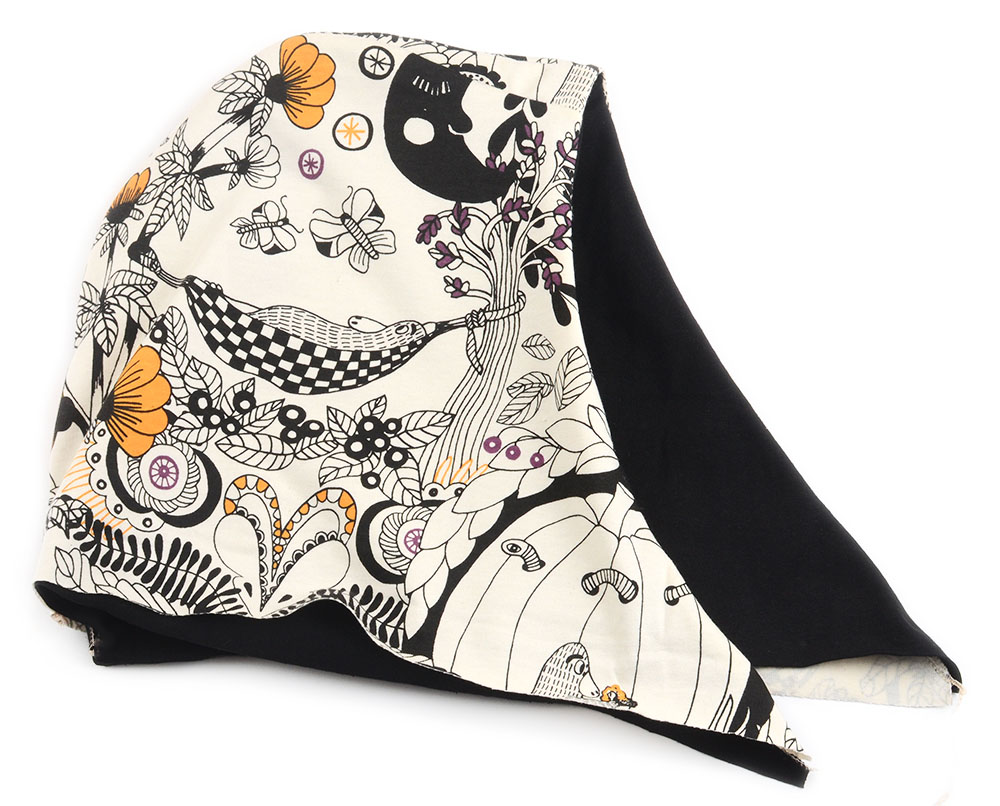
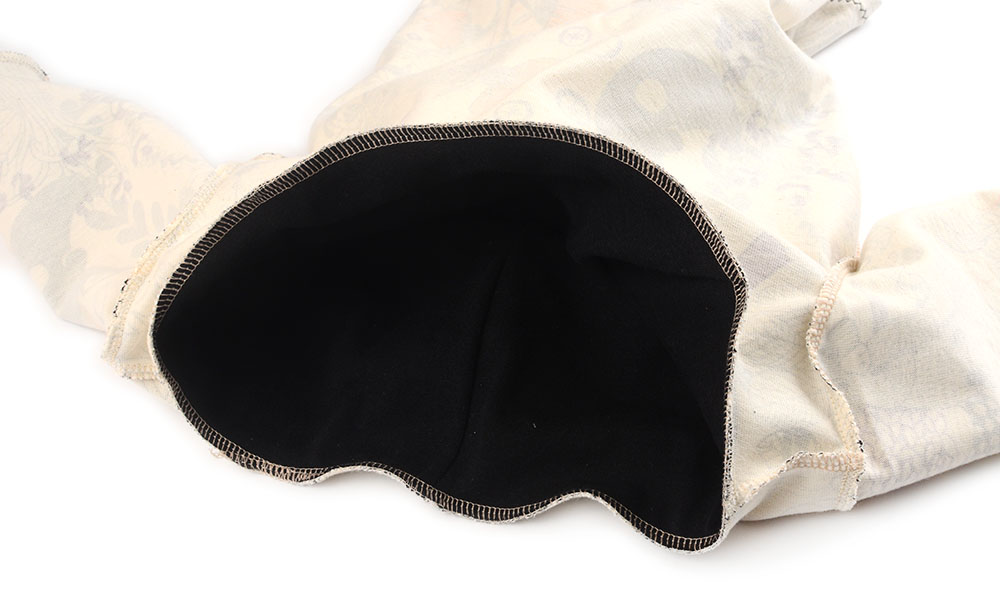
The hood overlaps at the center much more than the standard plus it’s lined.
I also added length to the back hem and didn’t add a waistband like normal. Just sewed a piece of fabric along the hem.
These are the changes I made:
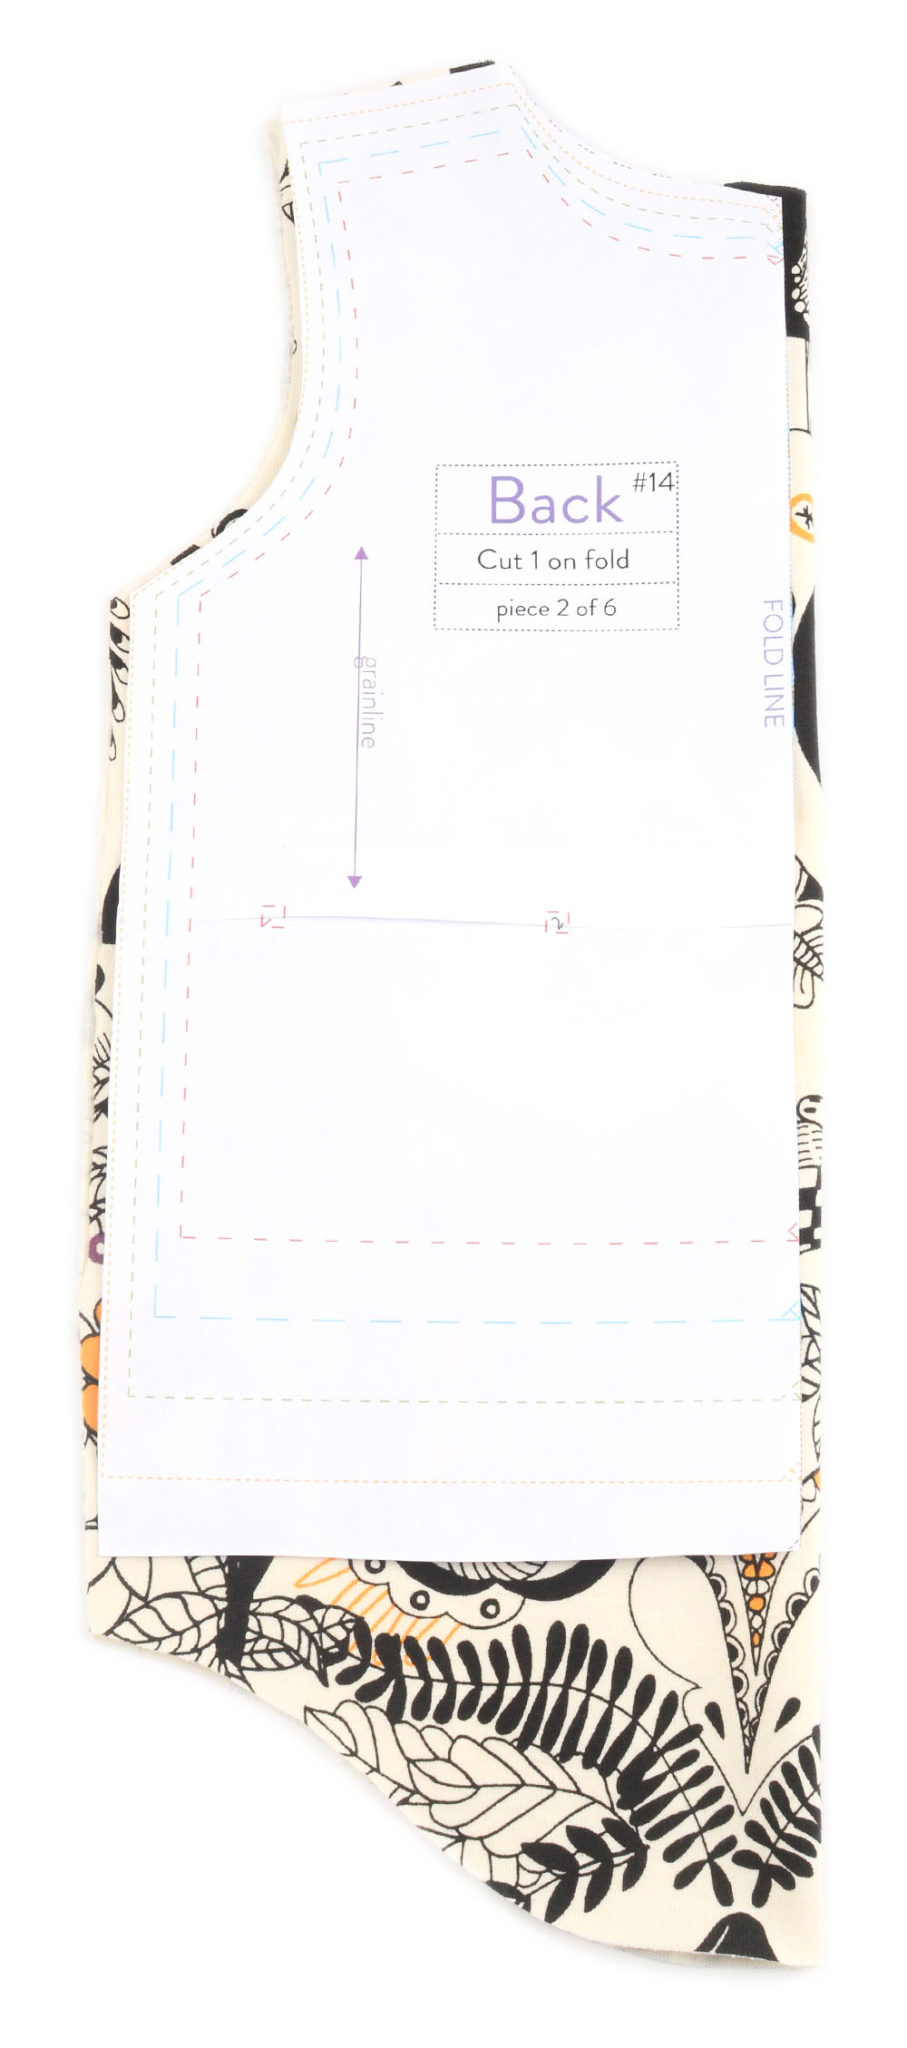
When I cut the pieces out, I wanted the neck hole to be a bit wider than normal so I left about 1/4″ extra at the fold line. It will double into 1/2″ extra for each piece.
I also cut the length 1″ longer because I won’t be adding a waistband. The back hem, I curved down 2 extra inches.
The sleeves are cut like normal. The cuffs are the same but here I cut them a bit longer than usual just to try it.
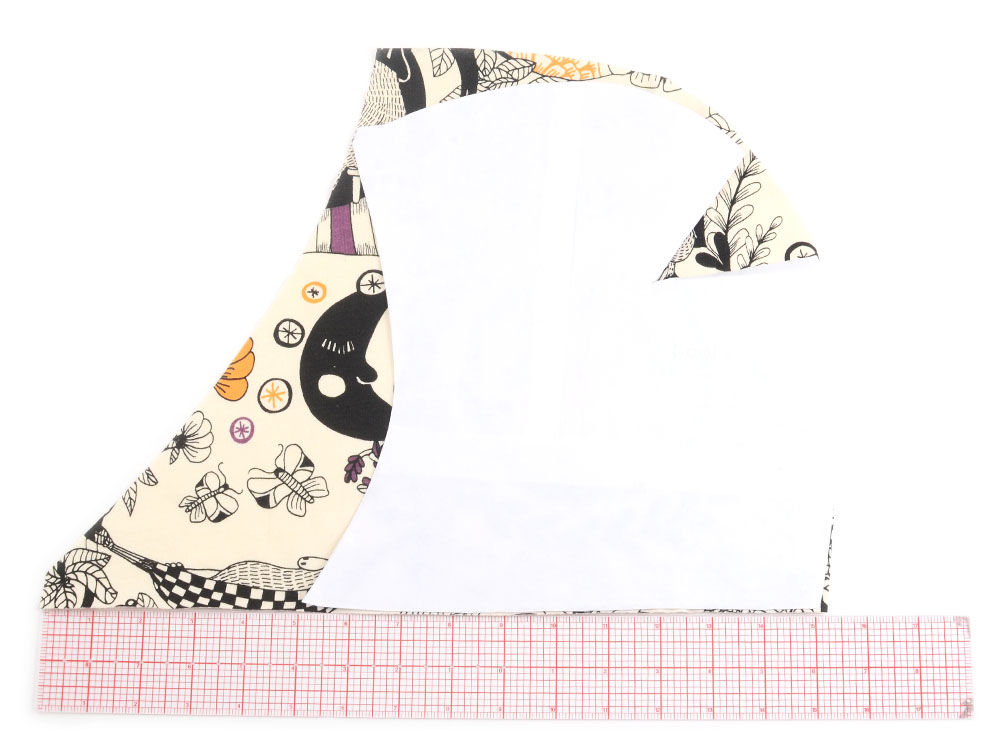
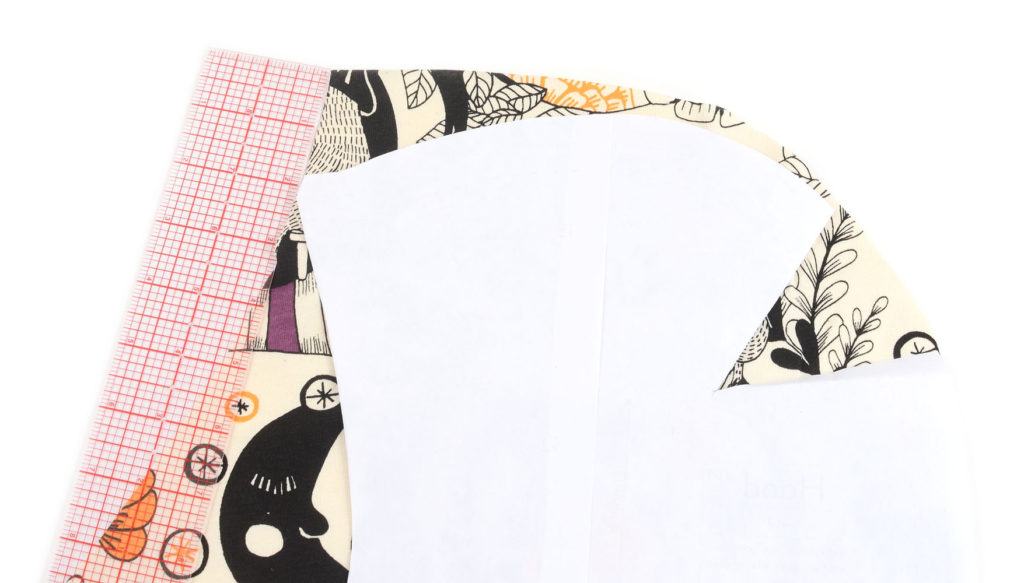
For the hood, I placed the piece down and cut part of the back curve, omitting the dart. Then, added 2″ height at the top and 4″ width at the bottom. (it shows 5″ in the photo but I cut one off) I blended the extra width and height by cutting a slightly curved line from the new bottom to the new top.
The hood is lined so I cut 2 from outer fabric and 2 from inner fabric the same way.
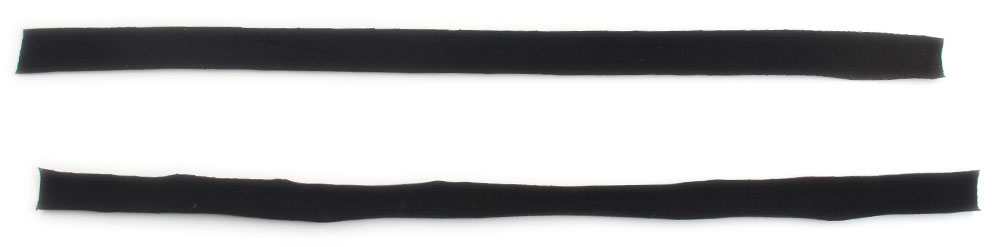
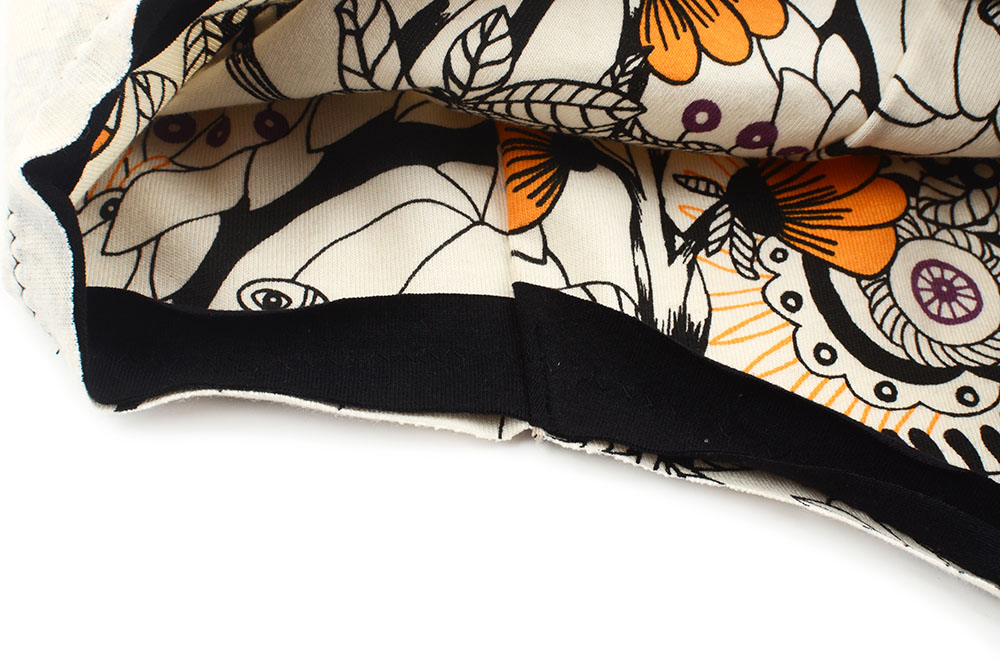
For the hem, I cut 2 strips of fabric that match the width of the hem. I cut them 1″ wide, with the grainline horizontal. Just like binding.
The first sewing steps are the same as usual, serge the shoulders together , then the sleeve caps on.

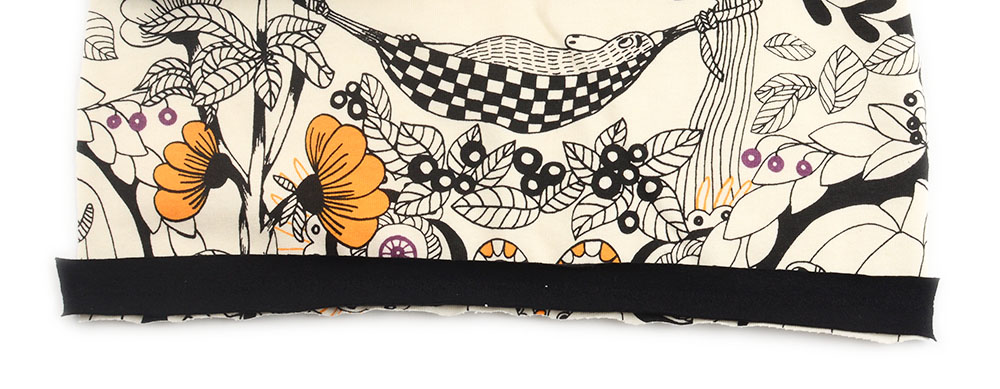
This is when I sew the binding on the hems. I placed them wrong side down so the right side is facing up. I used a really wide zig-zag stitch along the center of the binding to secure them to the hem.
Moving along, the side seams are serged together. The bindings should line up at the hem. I stitched the side seam to the shirt at the bottom hems to secure it. I also serged the cuffs on.
For the hood, I serged the back curve together for each layer (right sides of fabric together)
Then, I placed one layer inside the other so right sides of fabric were together and serged them together along the front, face curve.
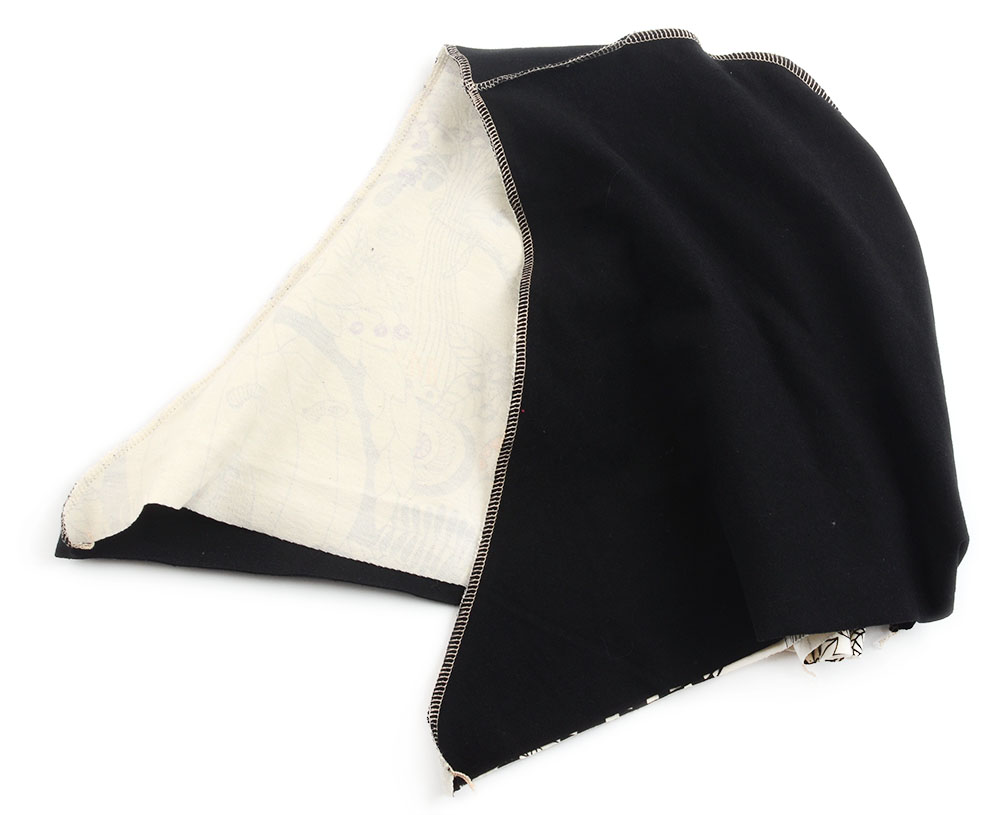
I turned the hood right side out…
…and with the hoodie inside out I placed it inside the neck area just like the classic hoodie. The only difference is that the overlap in the front is a lot more. About 4.5″ or so.
I serged it on all the way around the neck.
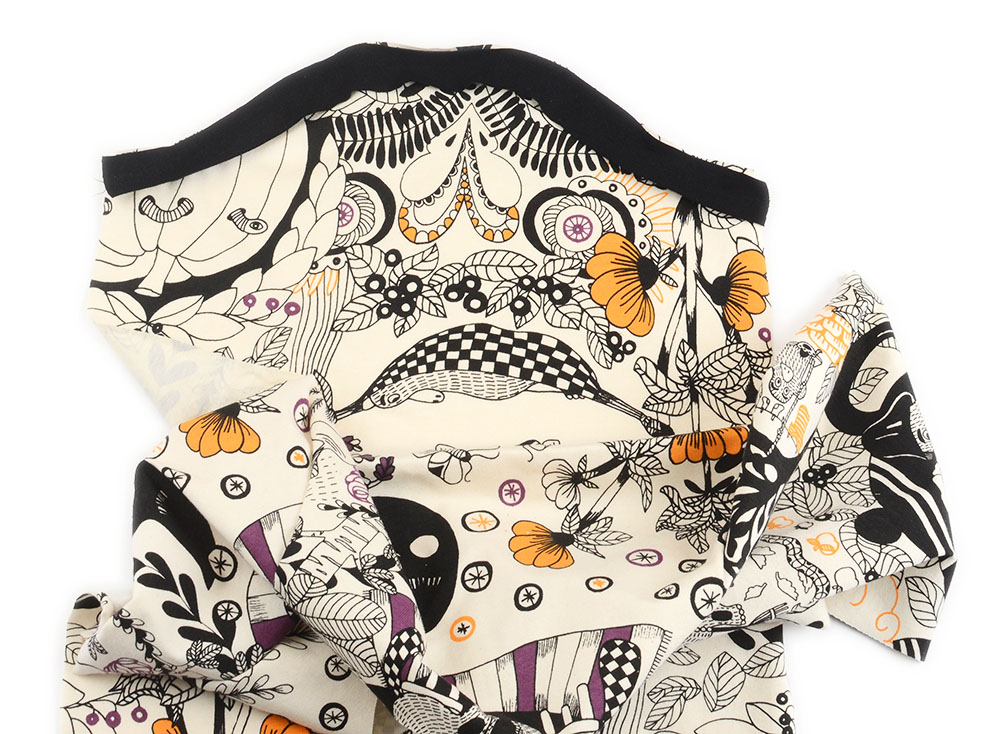
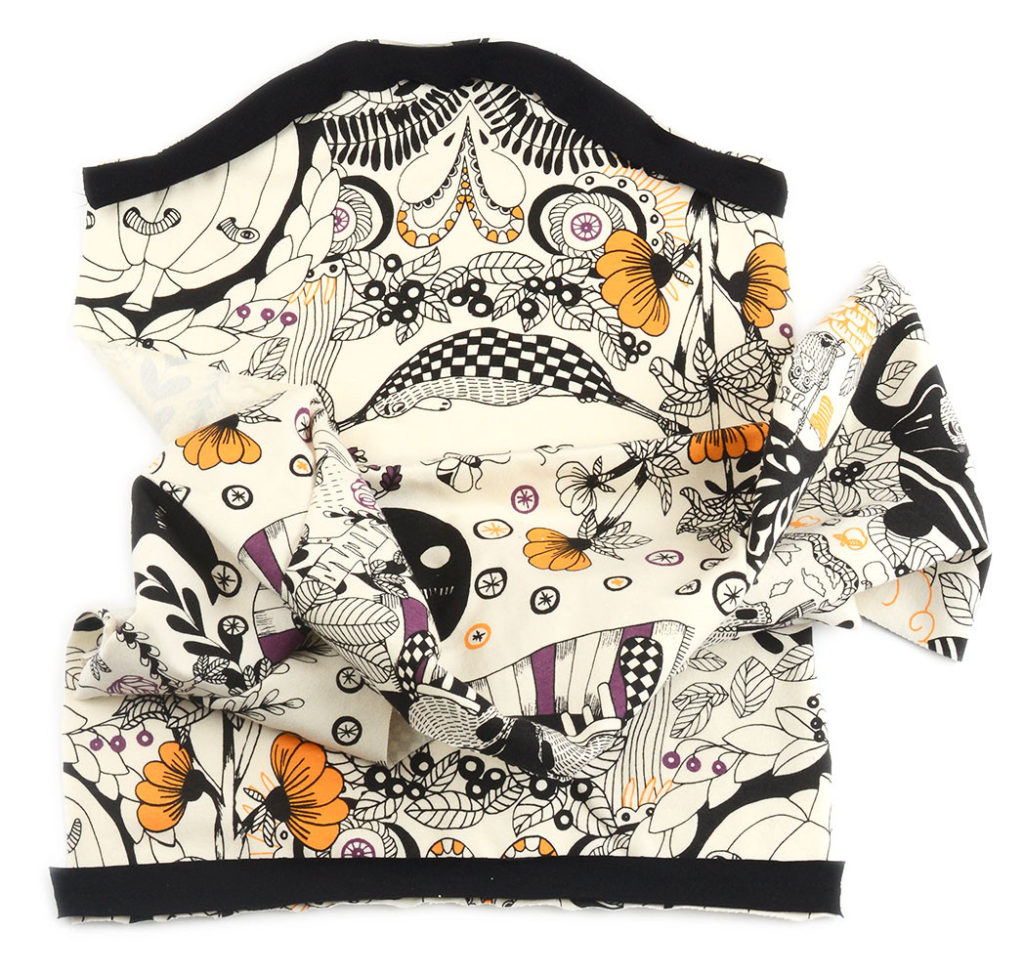
Then, pulled the sweatshirt right side out. That is all! It’s so adorable, I am very happy with the way it turned out 🙂
For the bottoms, I used the slim harem pants and made the cuffs twice as long.
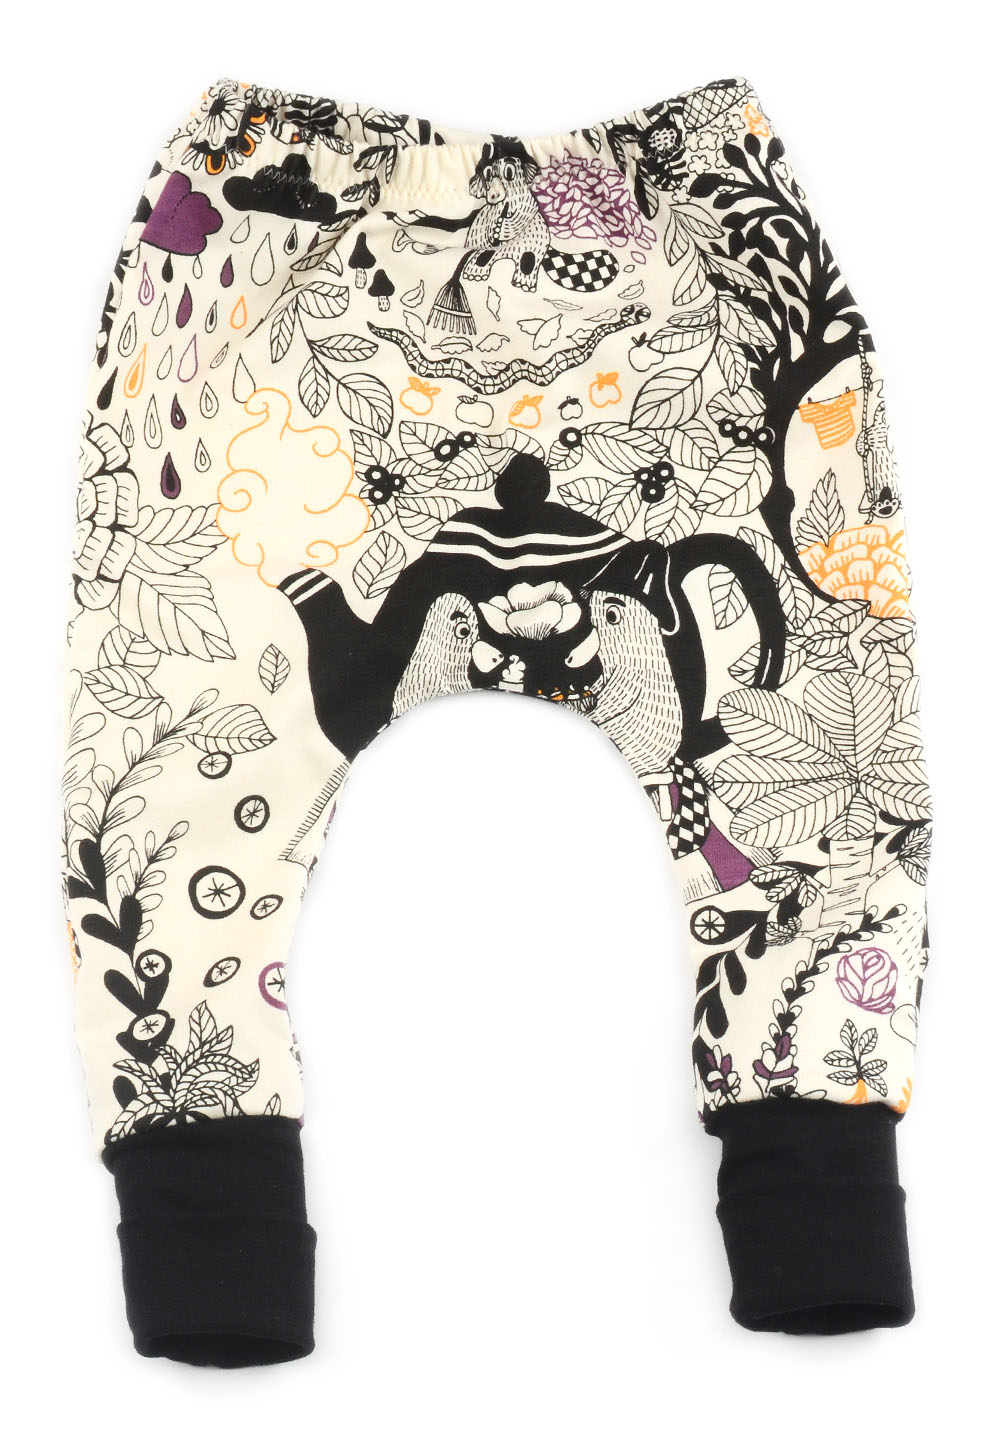
Here it is completed, I just need to try it on to see if it works -fingers crossed-
I got to try it on later that night and I ADORE it! I am so excited to sew more of this mod. Such a fresh spin on the hoodie 🙂
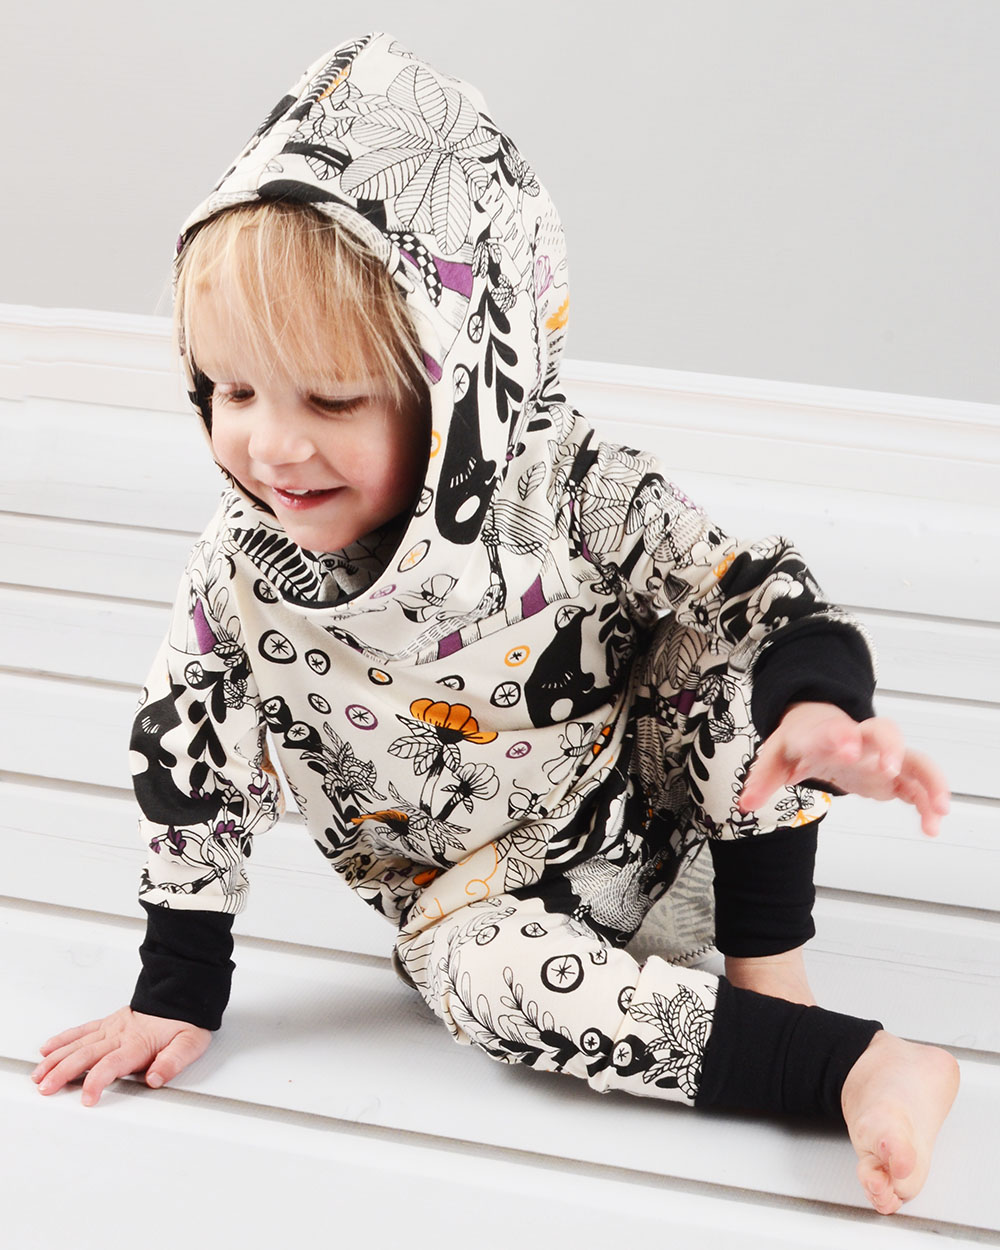
Let me know what you think! I hope you try it yourself too, it’s pretty simple and looks awesome.
I’m sure most of you have the sweatshirt pattern but in case, you can see the pattern on my website.
I’ll be back soon with another mod or pattern! -Melissa