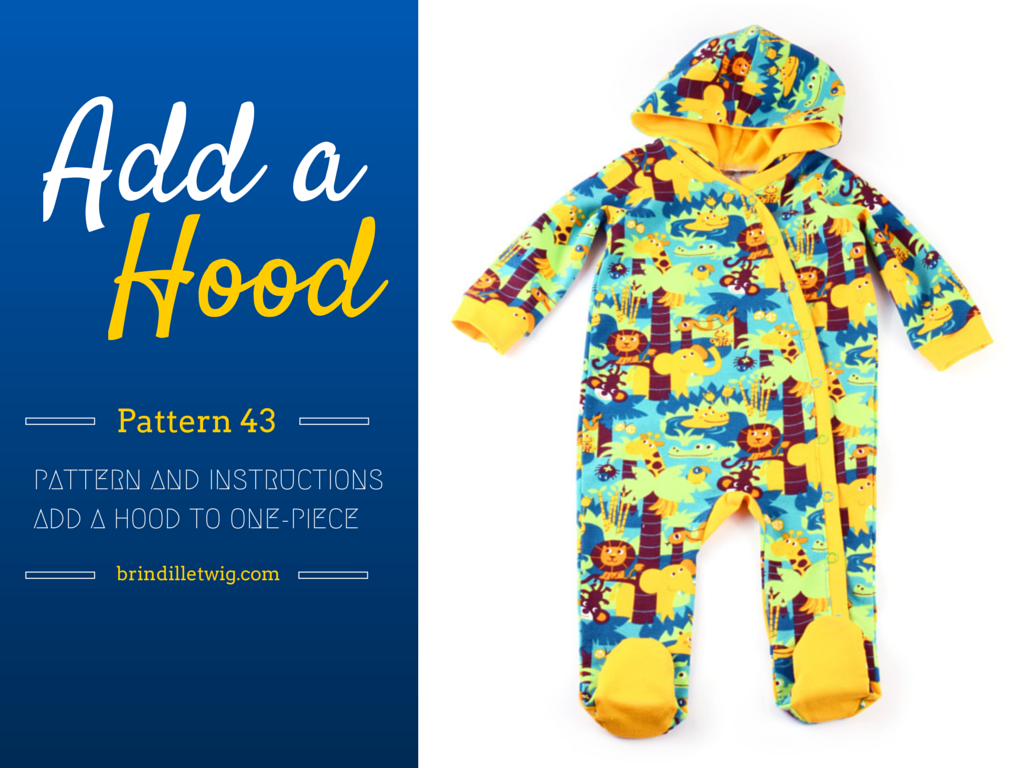
This hood modification will be perfect for the cool months ahead.
Feet covered, head covered = warm, cozy little baby!
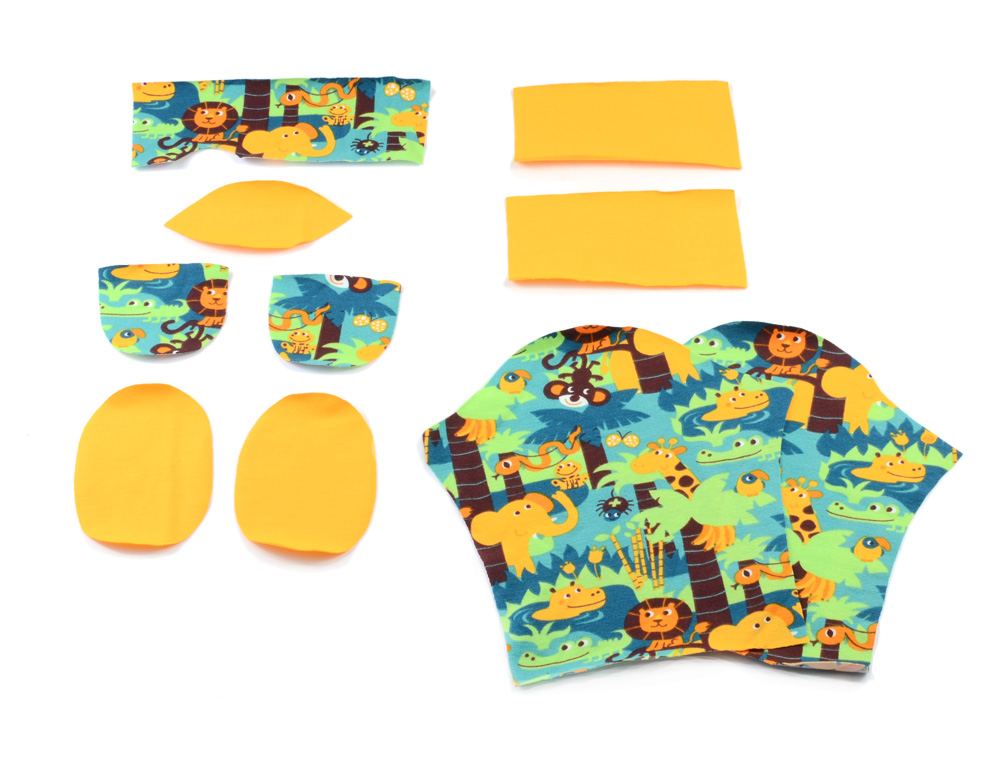
I’ll have a pdf for the hood pattern piece at the end of this post. It is compatible with the footie one-piece pattern (#43).
You will follow the tutorial in the pattern just the same except a couple steps.
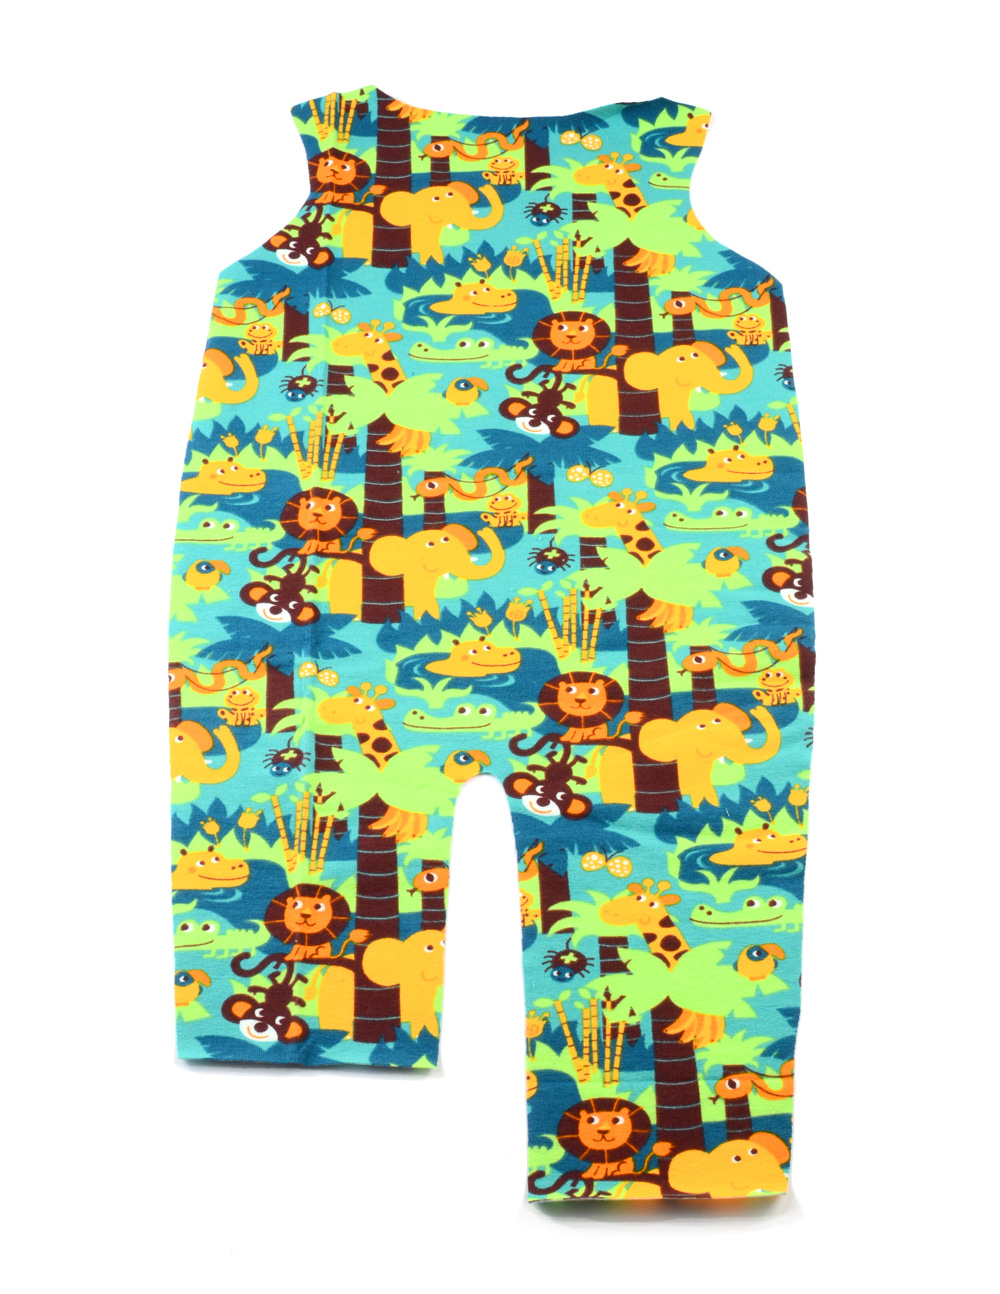
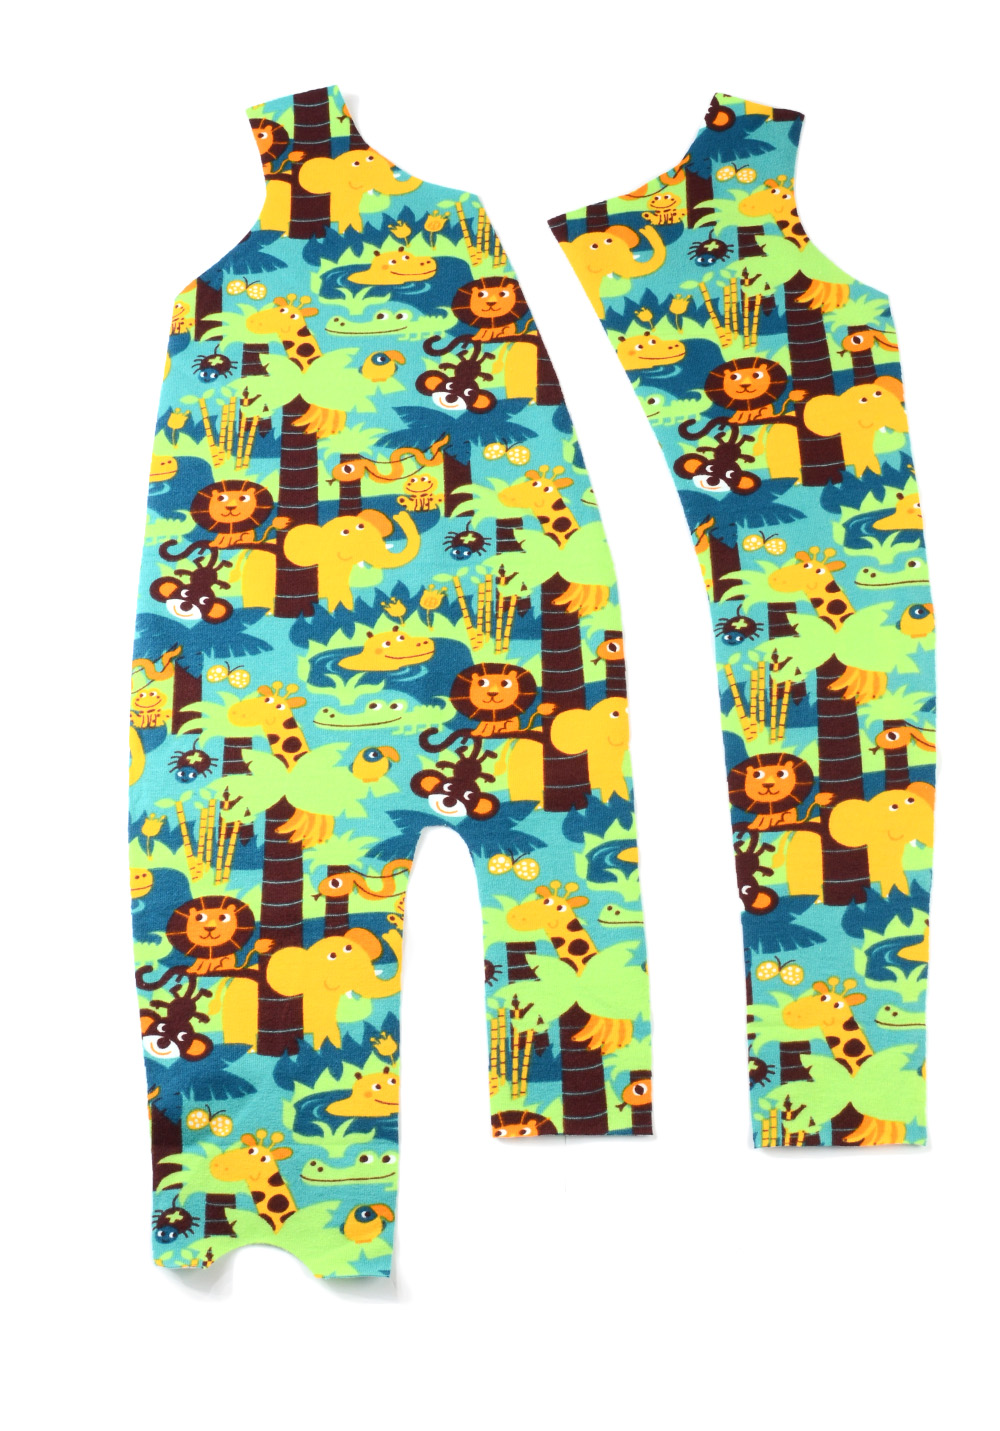
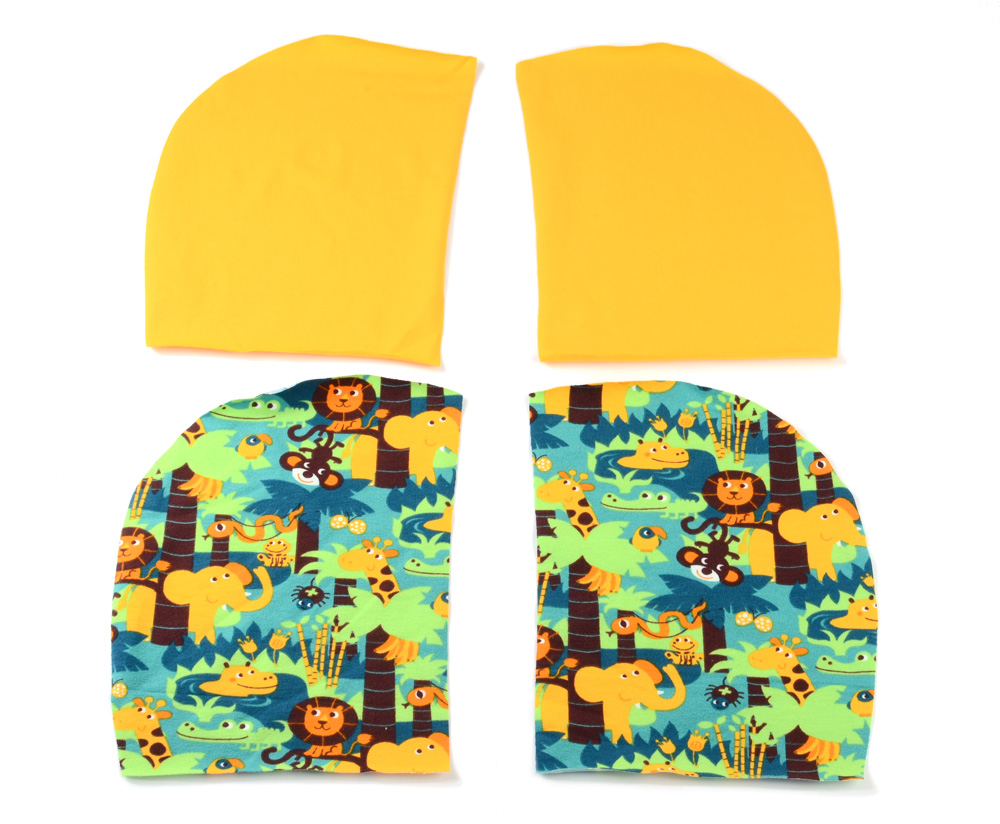
To begin: Cut all the pieces from the pattern, plus the hood pieces.
Sew the first 4 steps in the tutorial
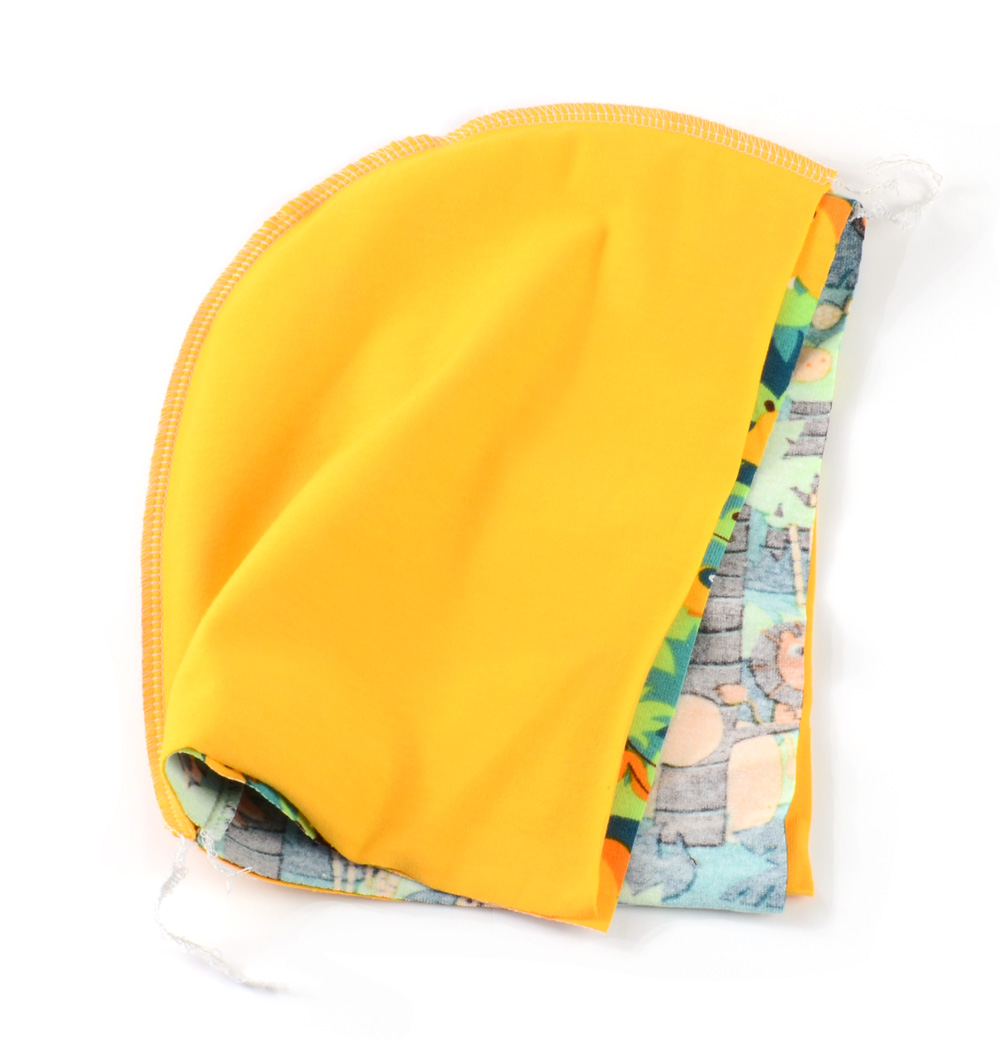
Then, sew your hood together.
- Sew the 2 pieces of each layer together at the back curved seam
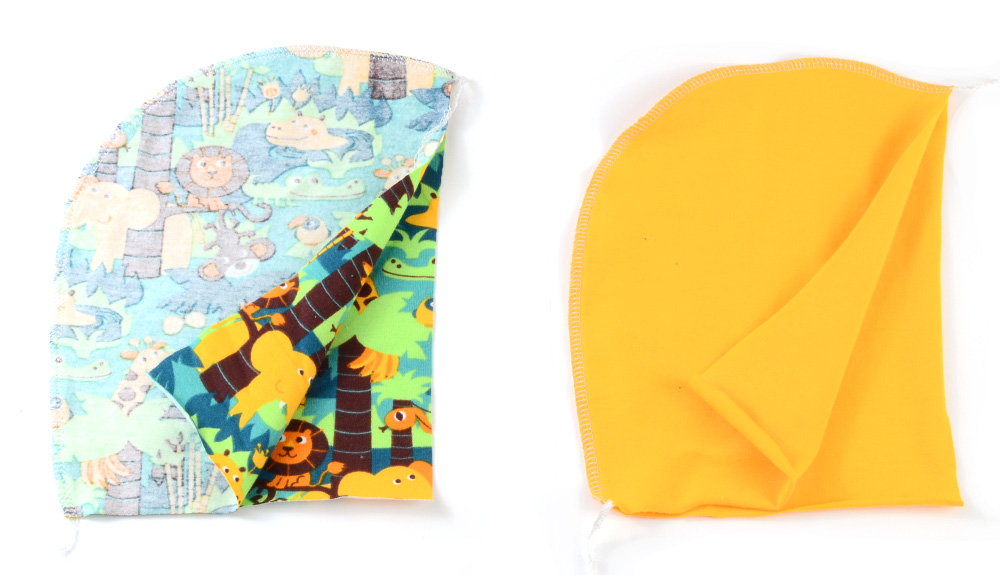
- Turn one layer right-side-out
- Place right-side-out layer inside the other so right sides of fabric are together and you only see the wrong sides
- Sew the 2 layers together at the front, face seam
- Turn hood right side out
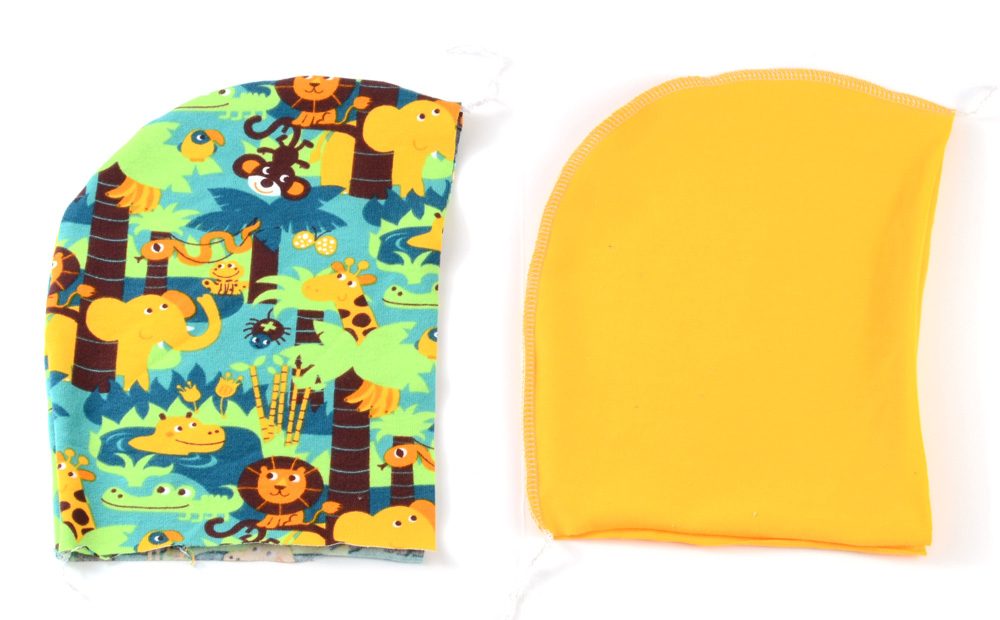
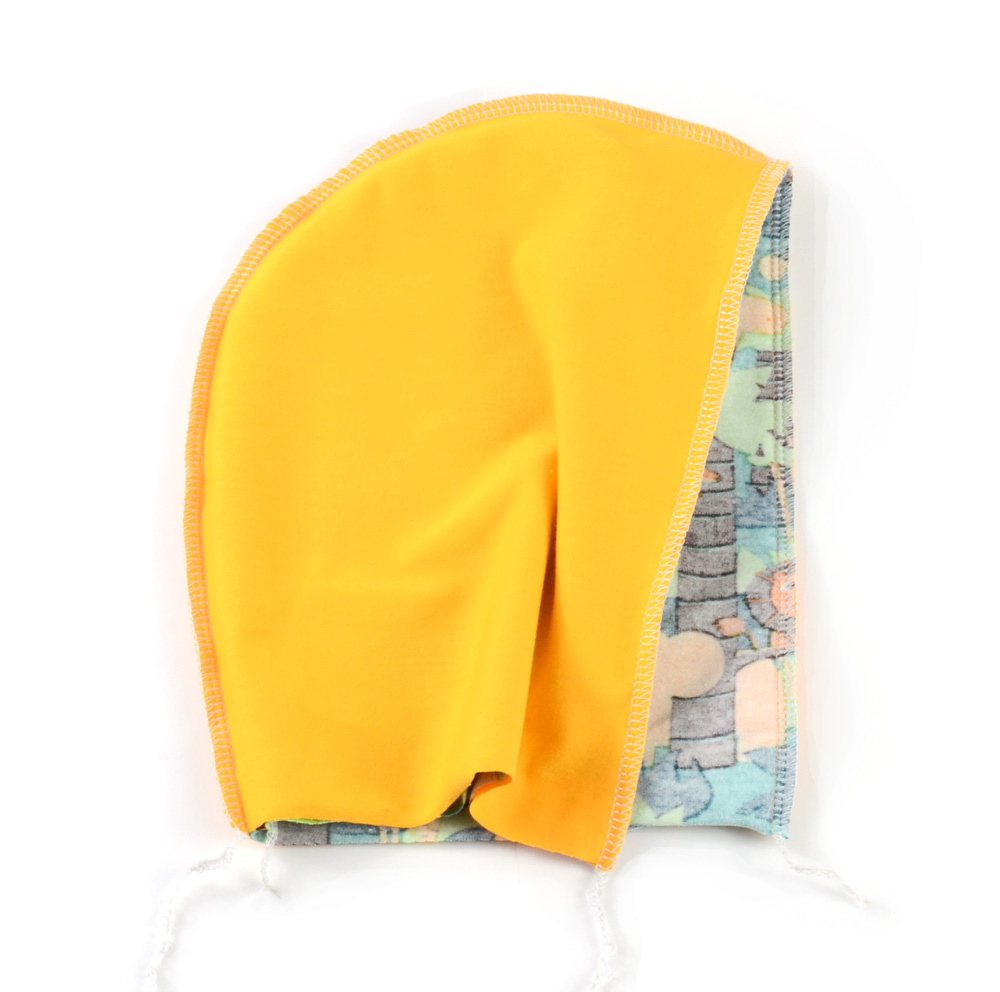
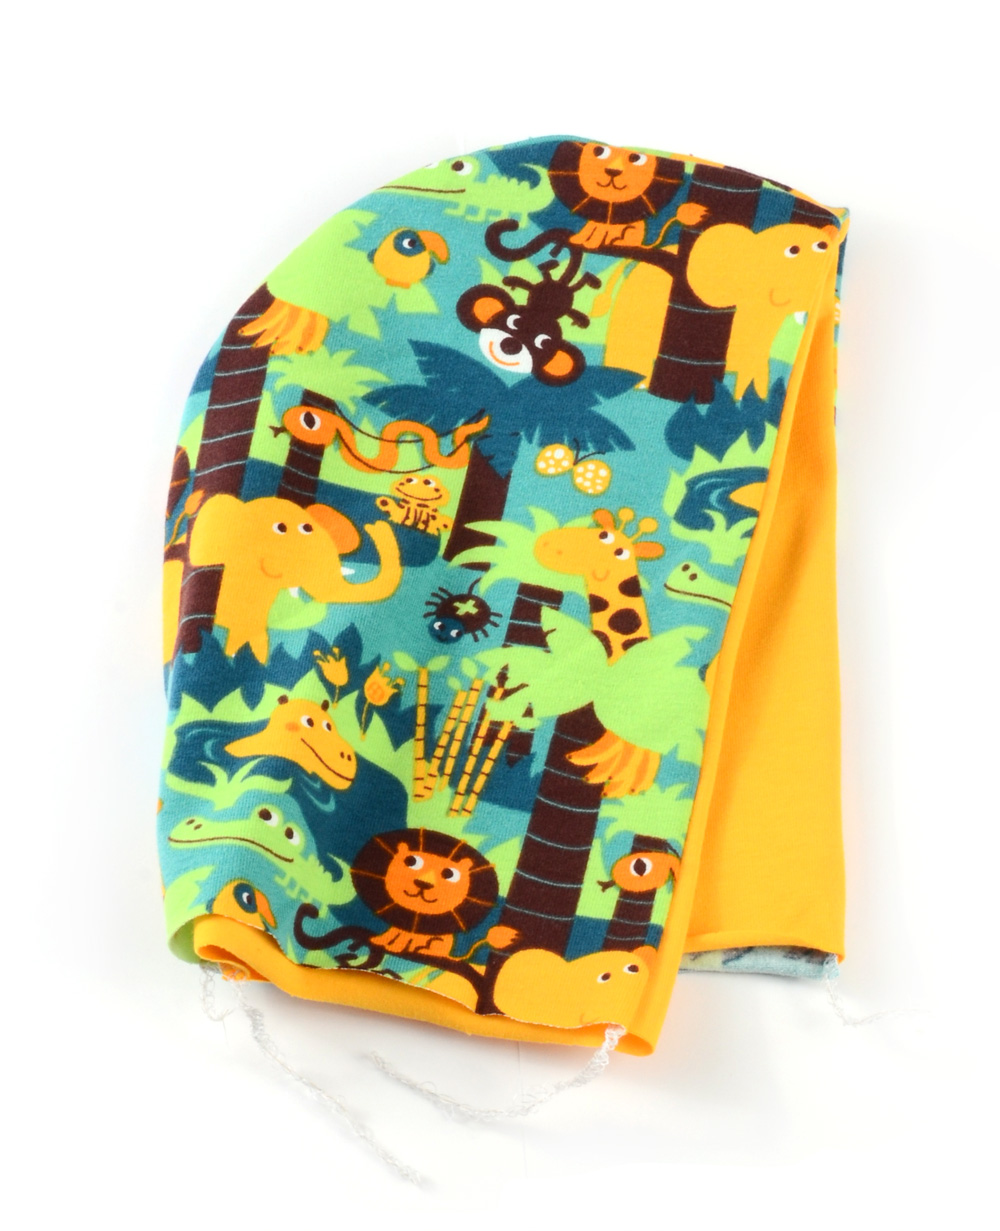
Now go to step 5.
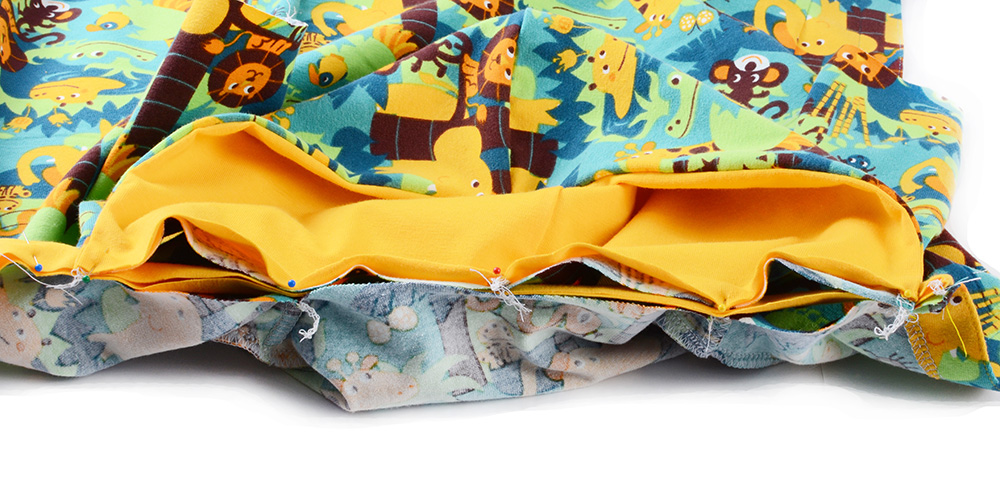
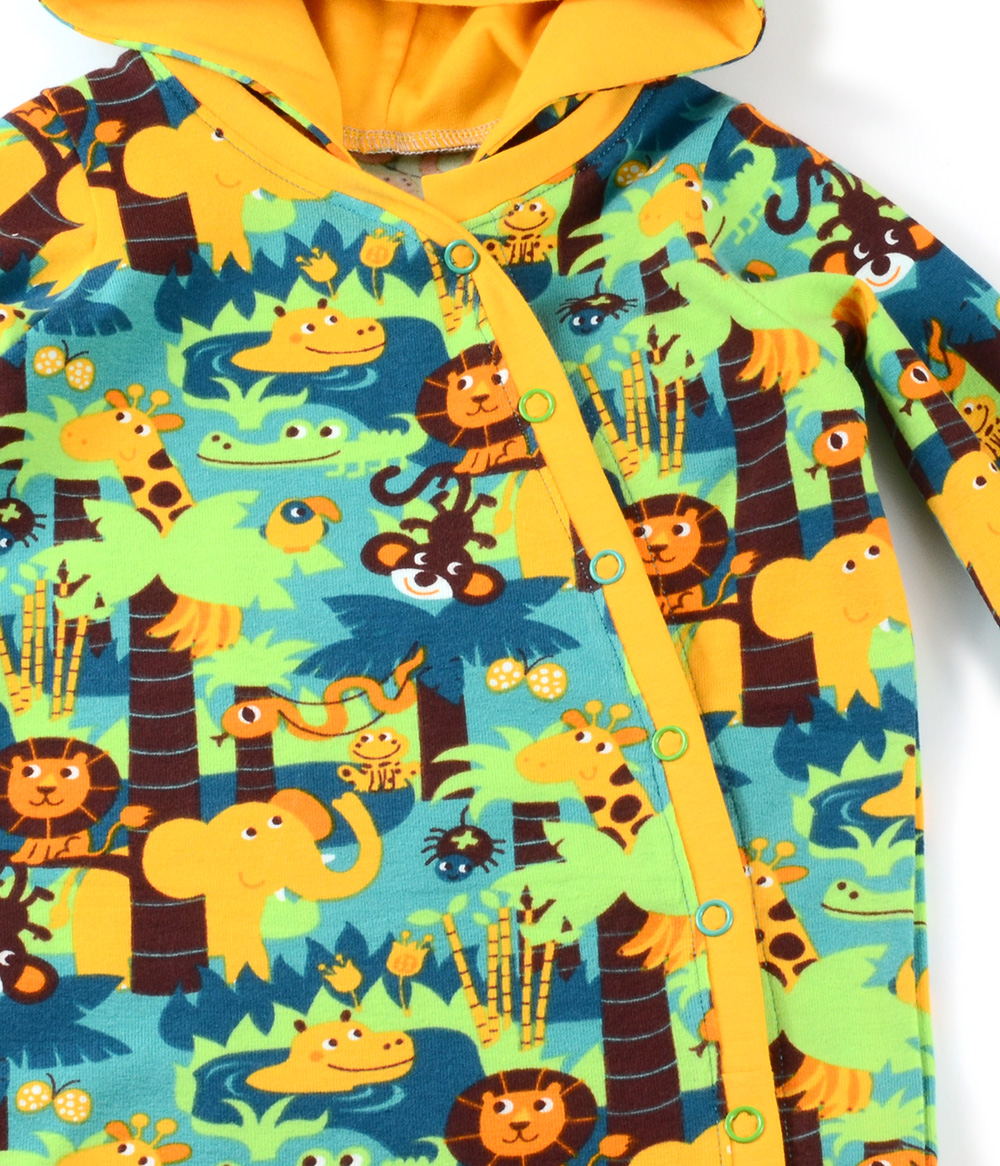
- You would start the binding at the front left to start sewing but this is where the hood will come in so just pin it for now.
- Find the center back, stretch the binding a little and pin it in place at the center back.
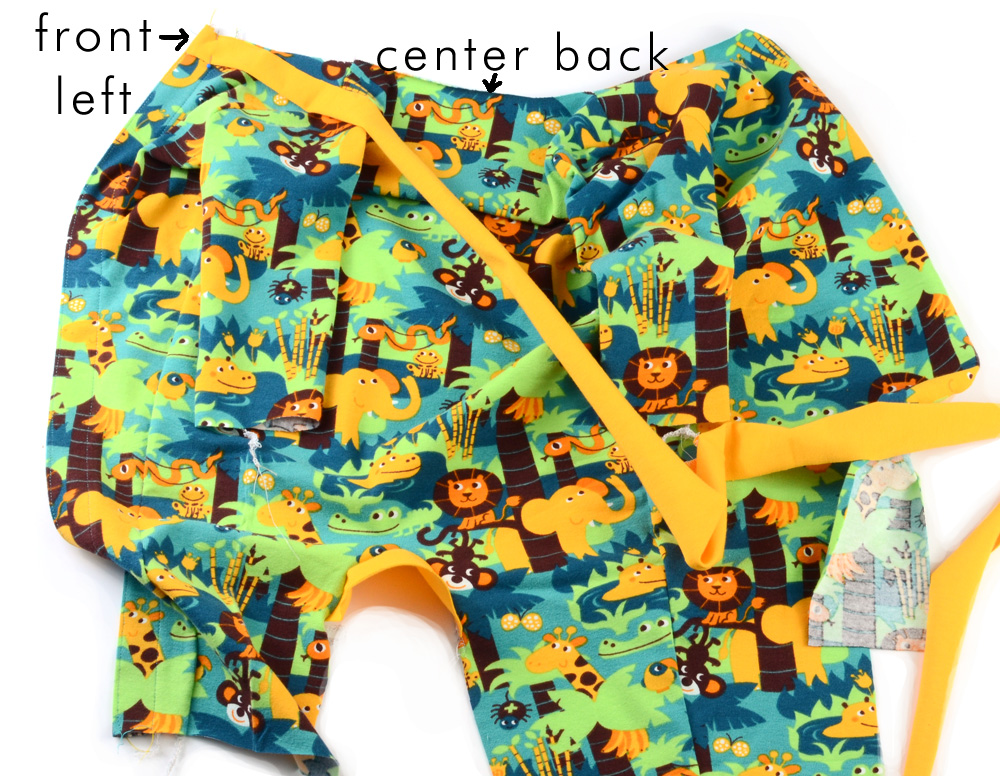
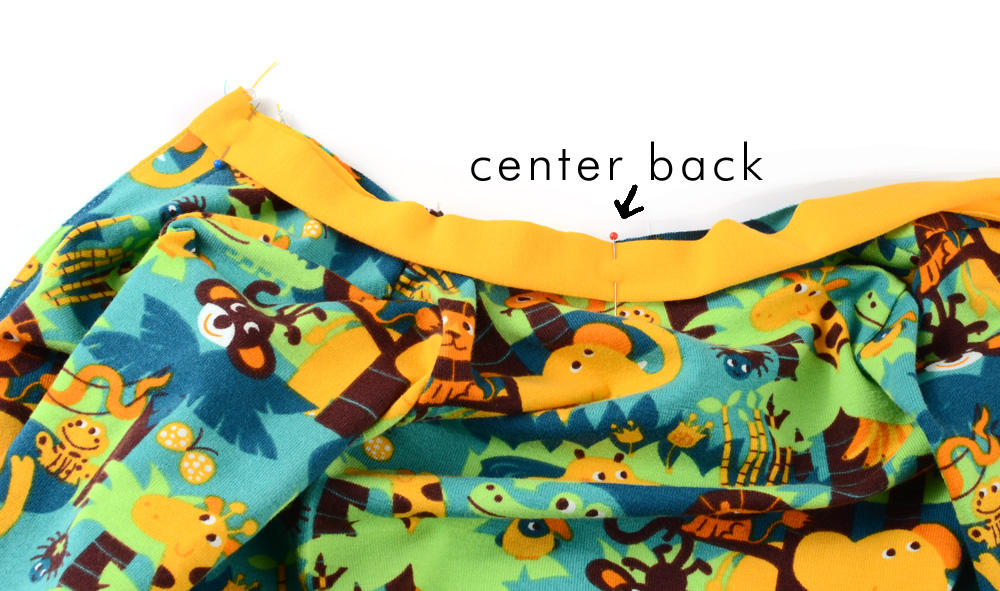
- Pin the center back of the hood in the same place. The raw edges of the hood will the along the neck edge
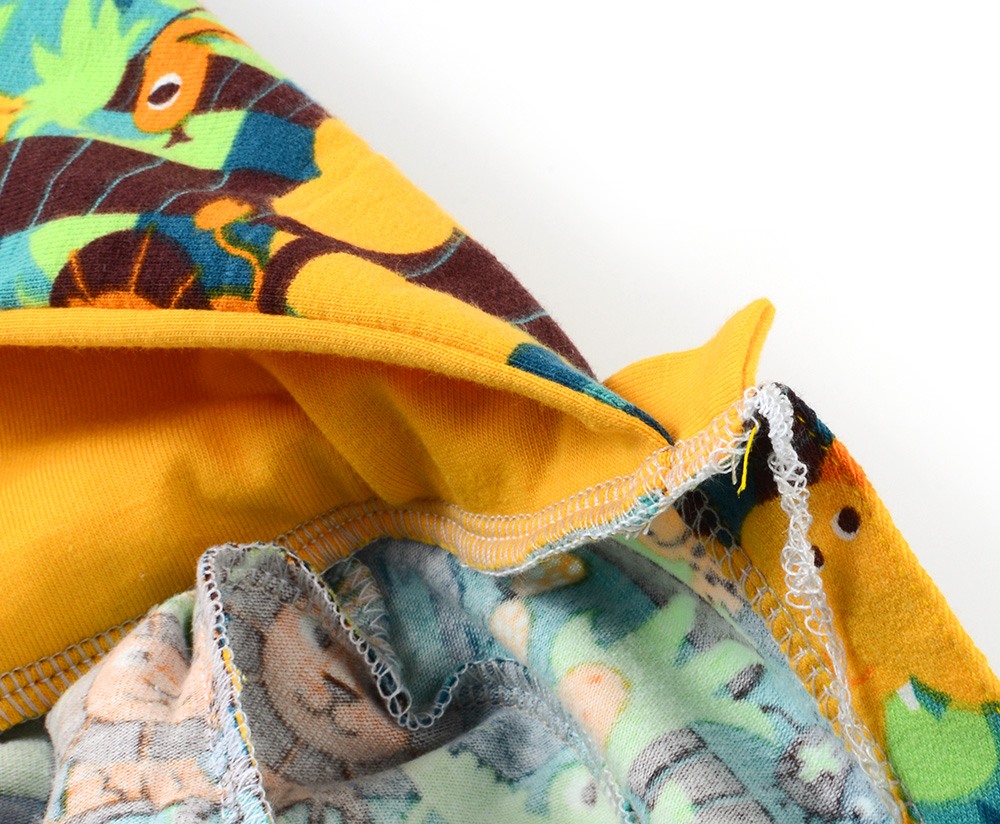
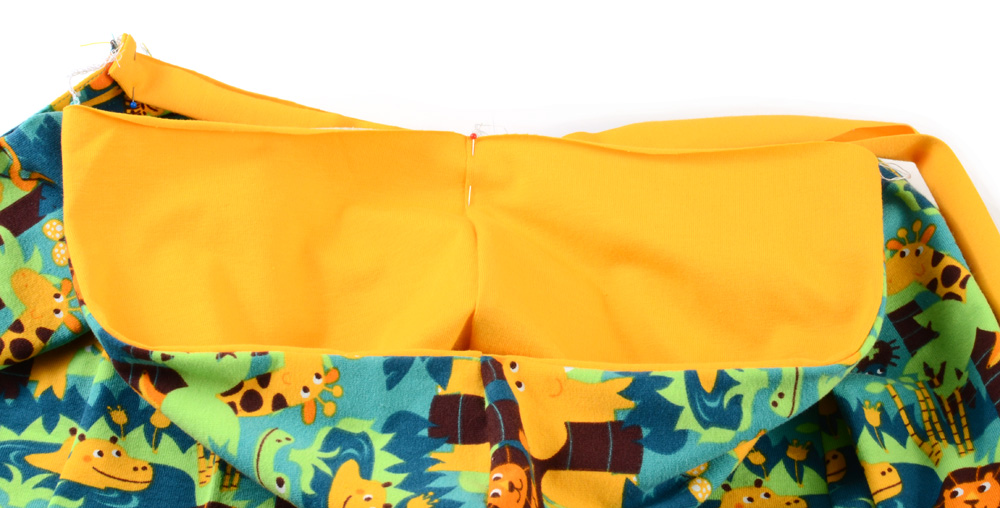 This is what it should look like if you look under the hood
- Continue pinning the hood and binding along the neck, the binding will be stretched and the hood will not be so there will be some gaps in the hood and the one piece
- Sew along the seam now like usual.
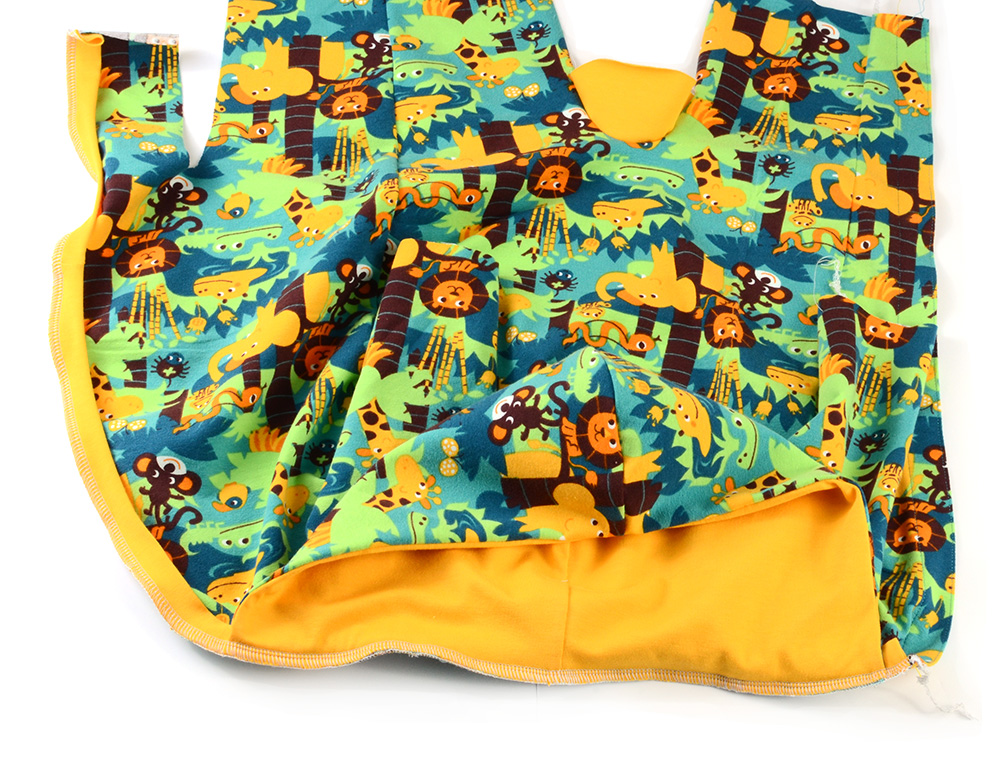
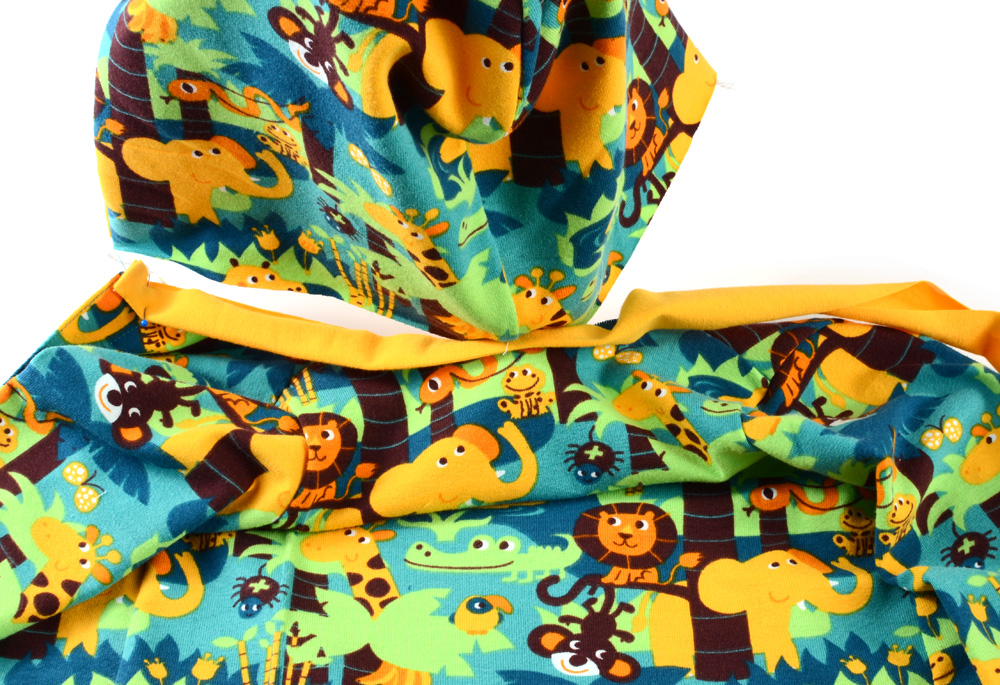
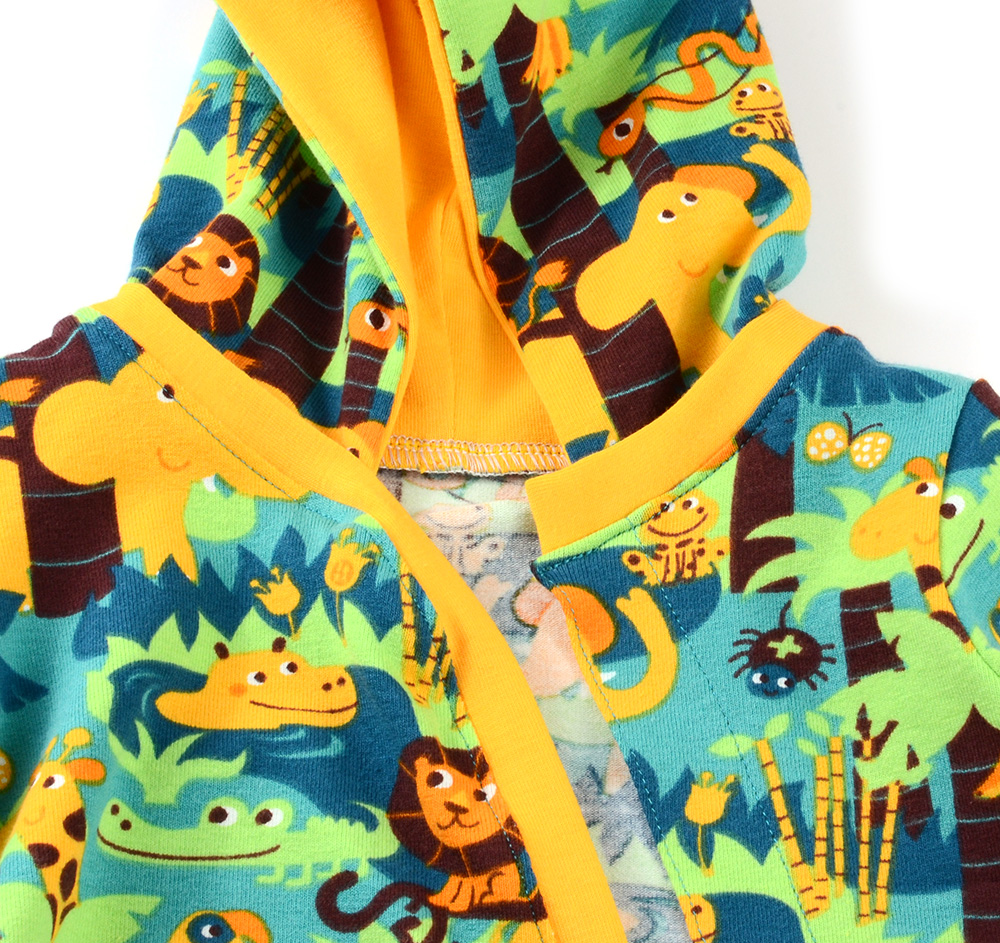
Right side of one-piece after the hood is sewn on.

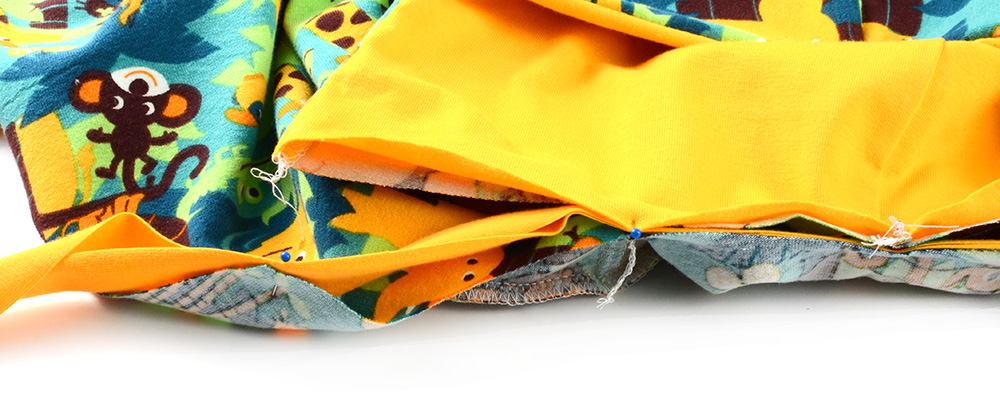
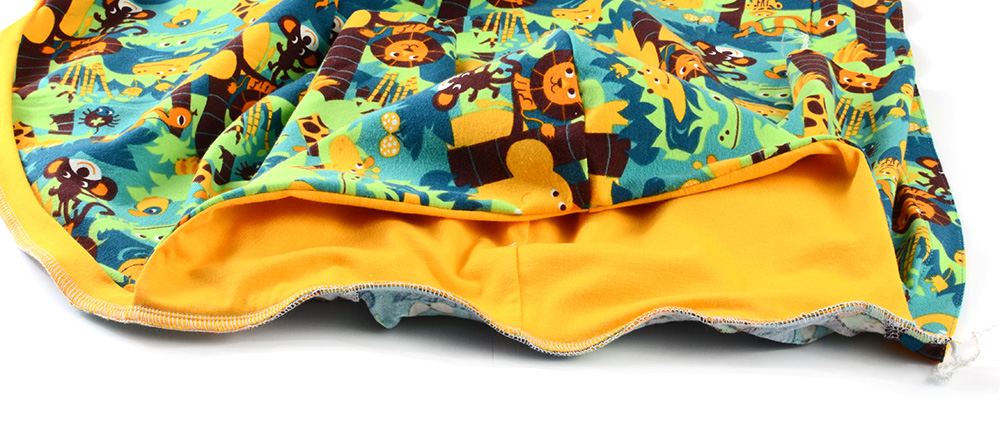
Continue with the steps until you are done now. The serged seam will need to be sewn down
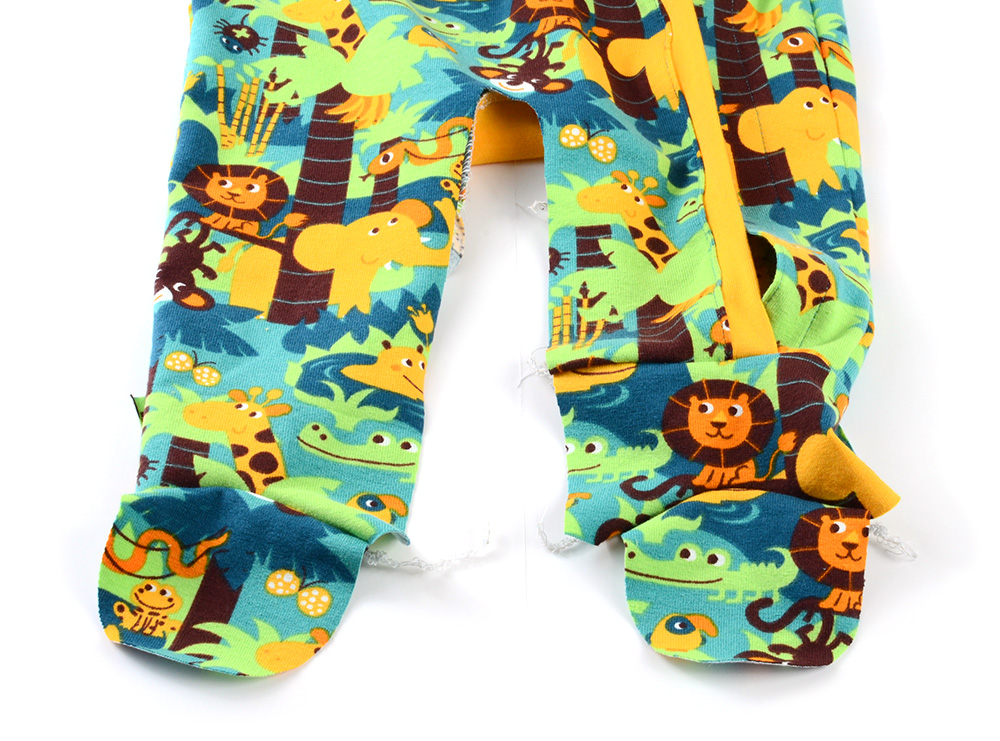
Legs and feet sewn together.
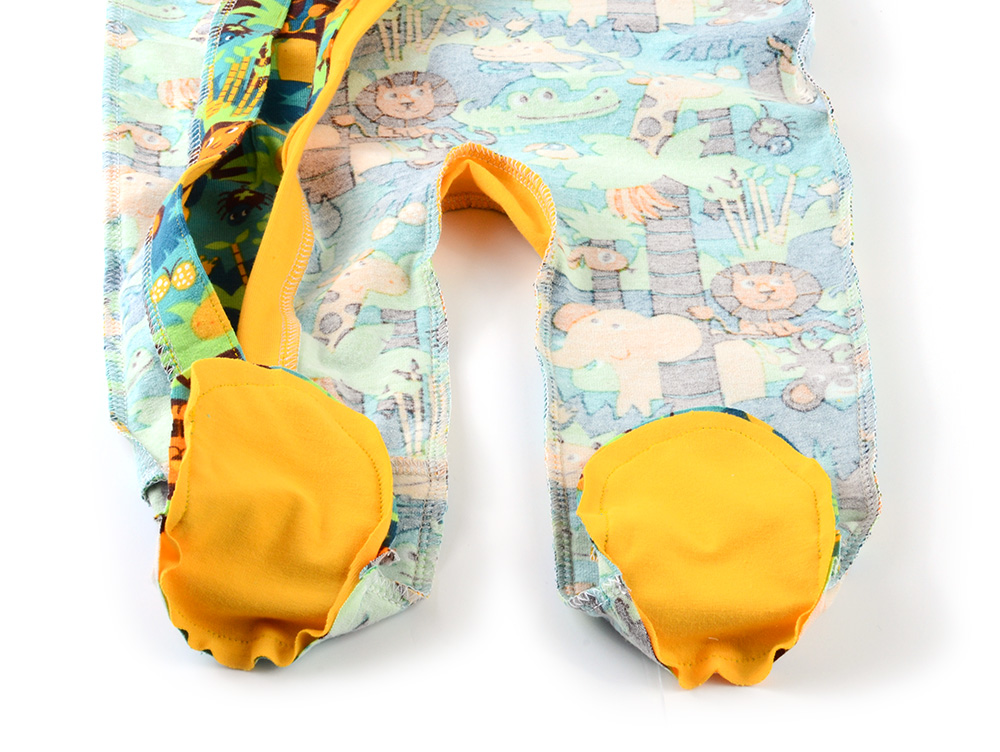 Snaps put on
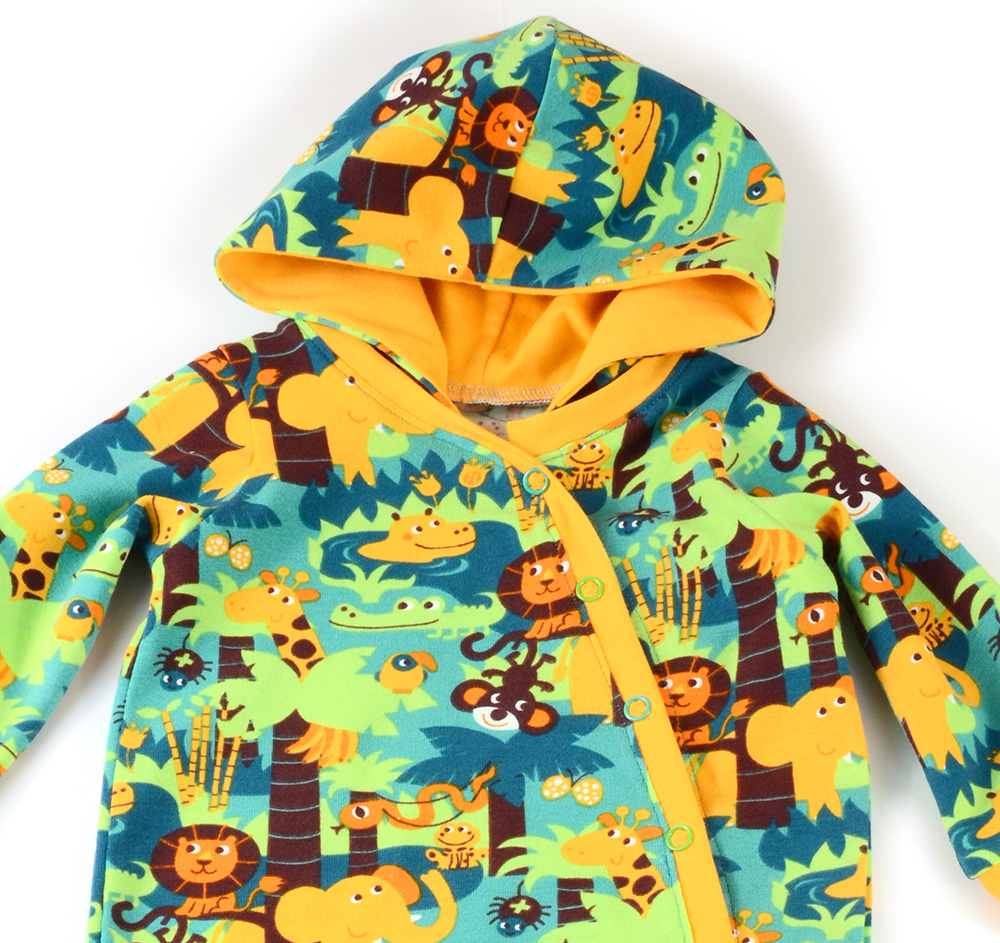
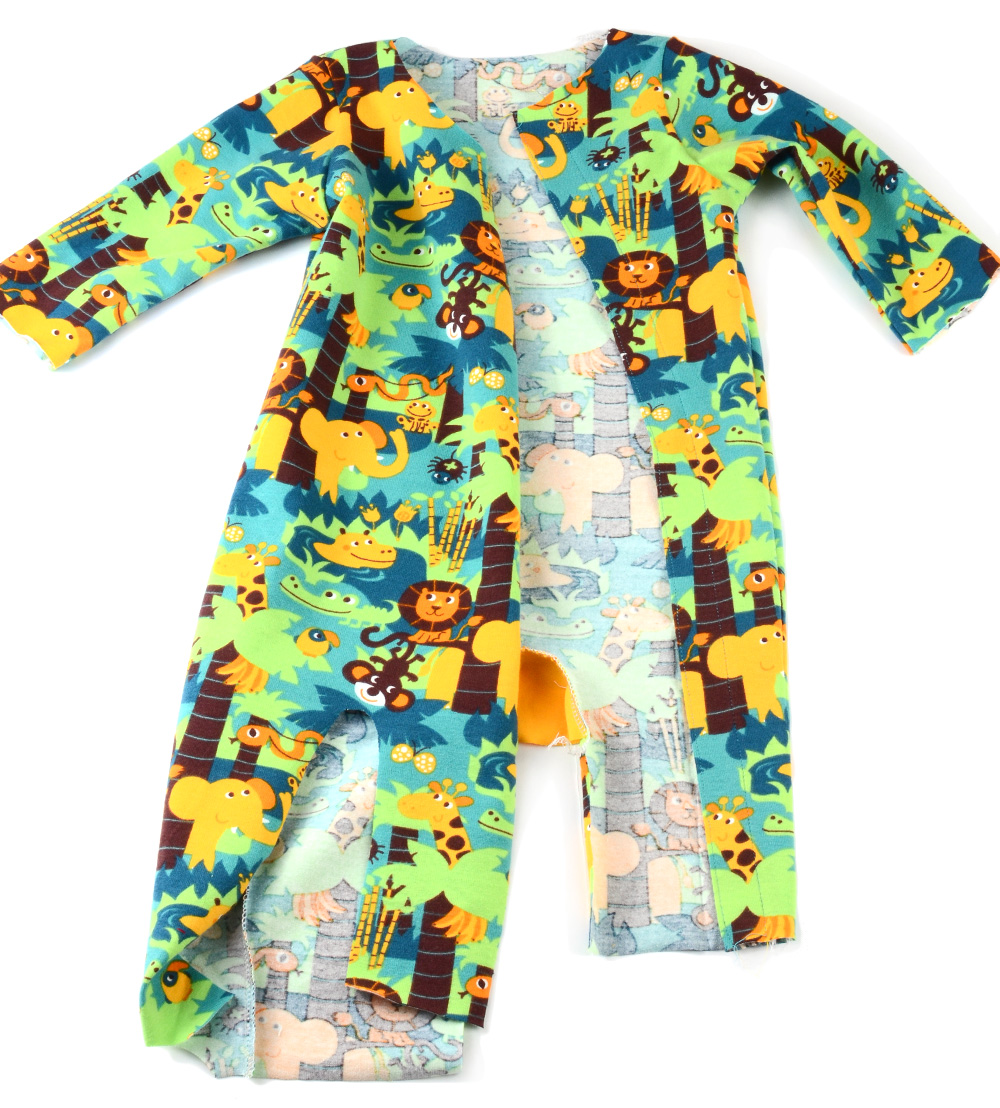
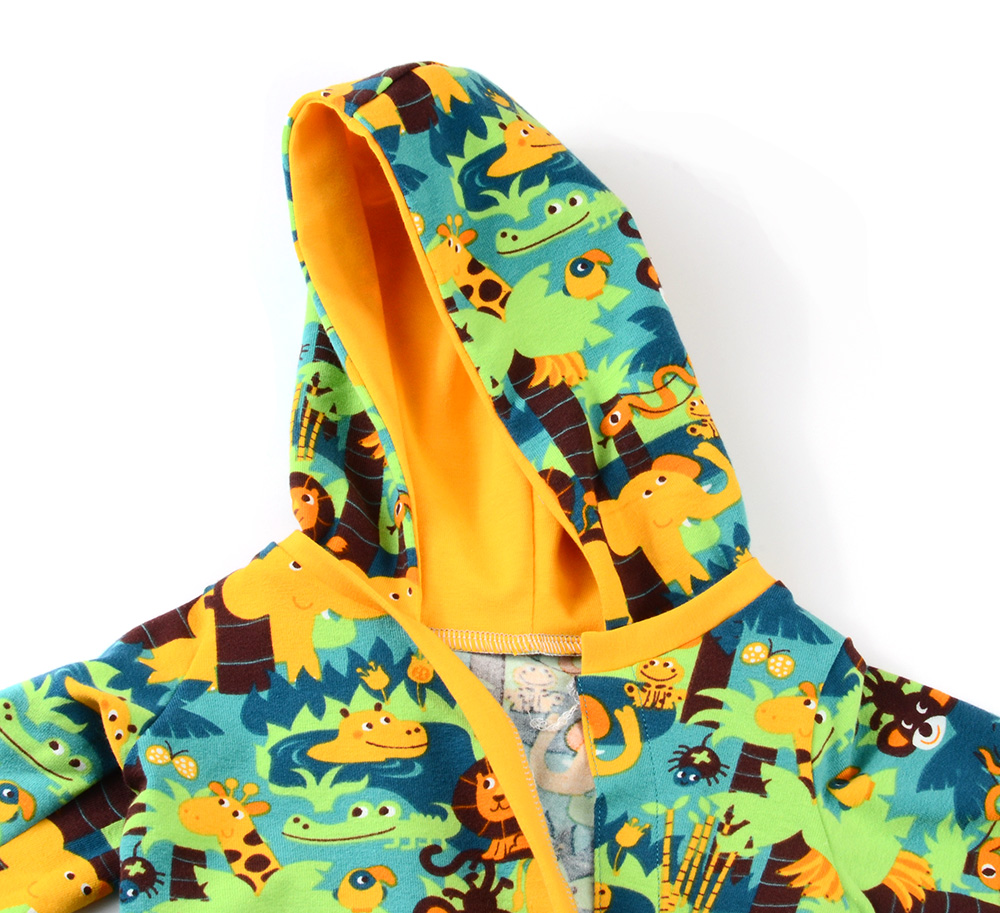
And the completed one-piece with a warm lined hood!
The pattern for the hood is here: 43hood
Try it out and show it off in our sew and tell group
Much love! -Melissa