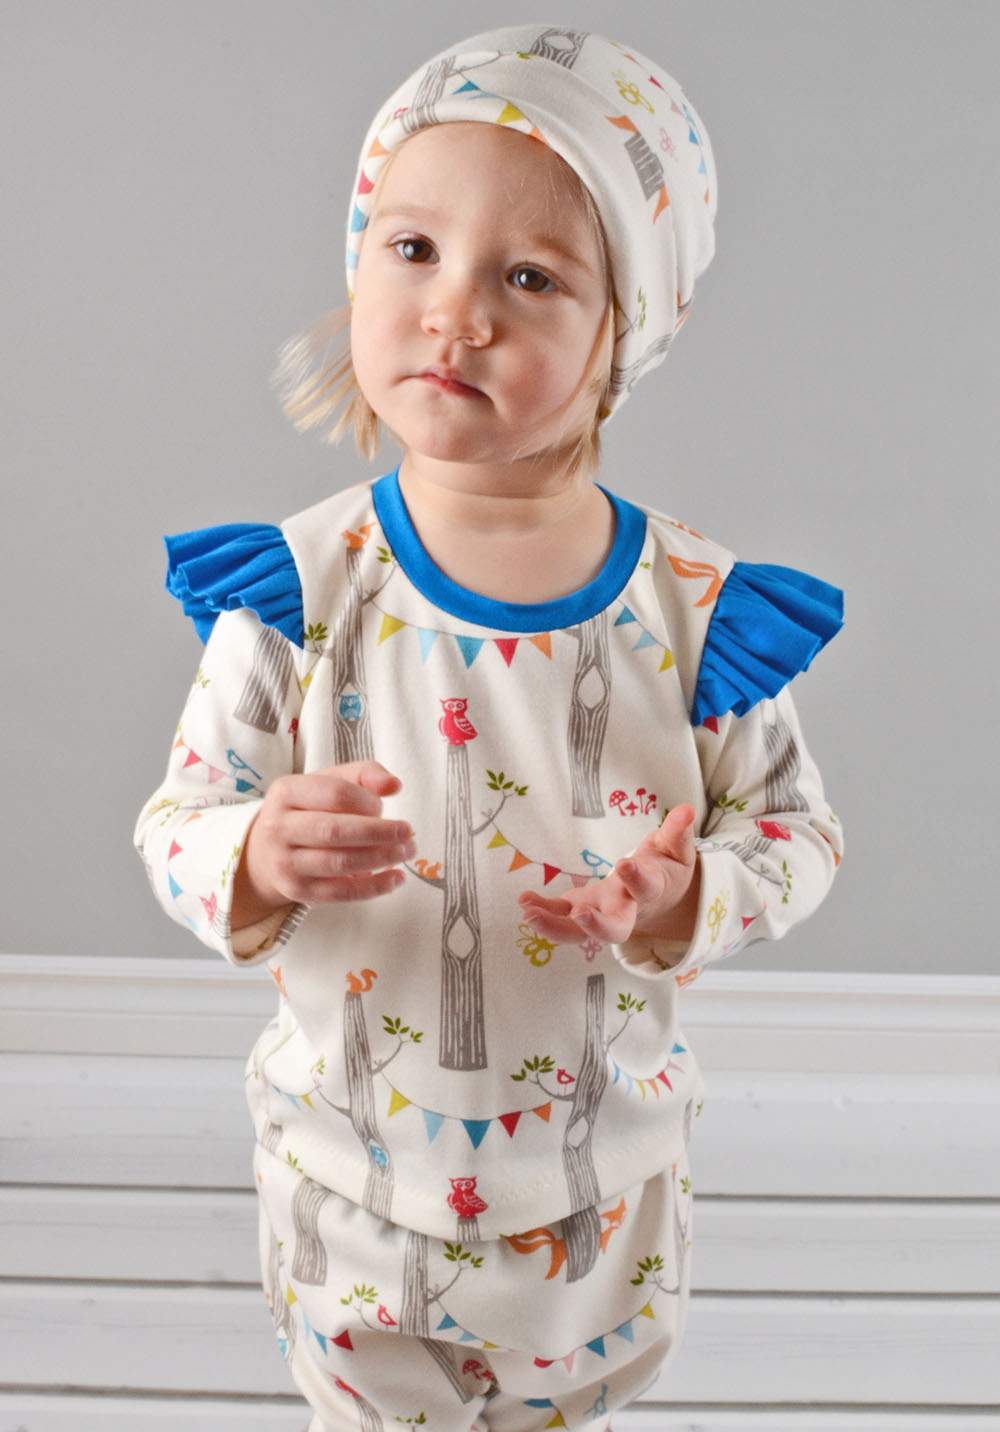
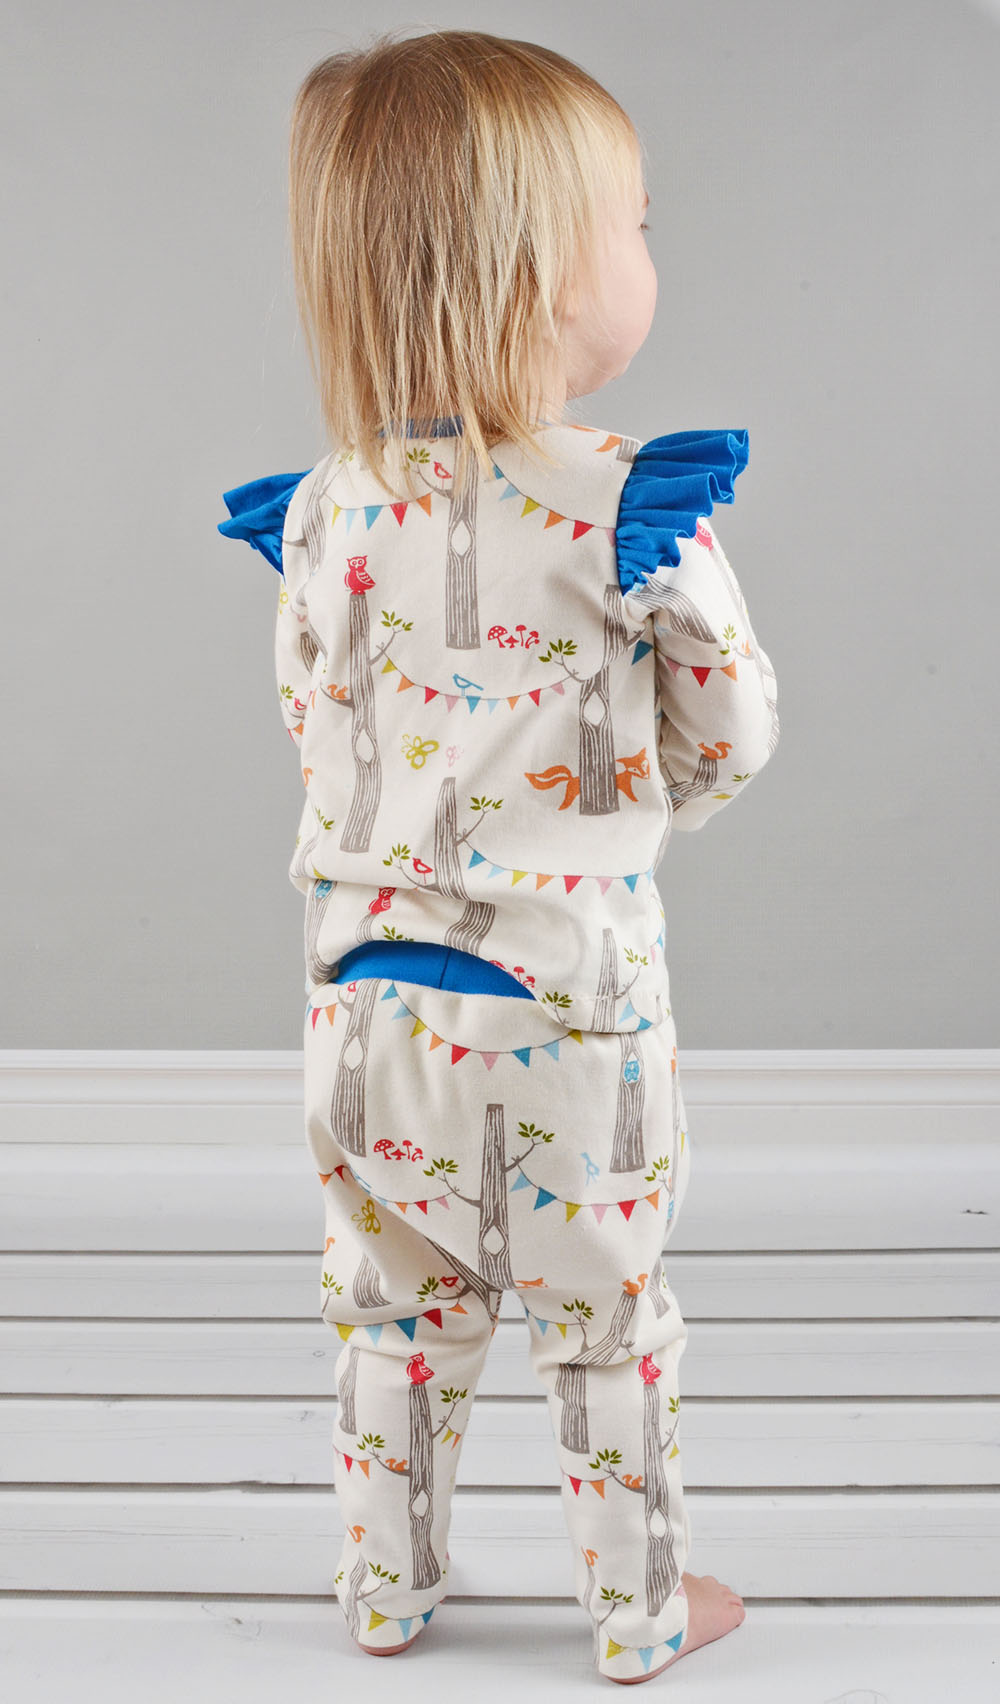
Good day! I have a new outfit to share along with some photos of the process 🙂
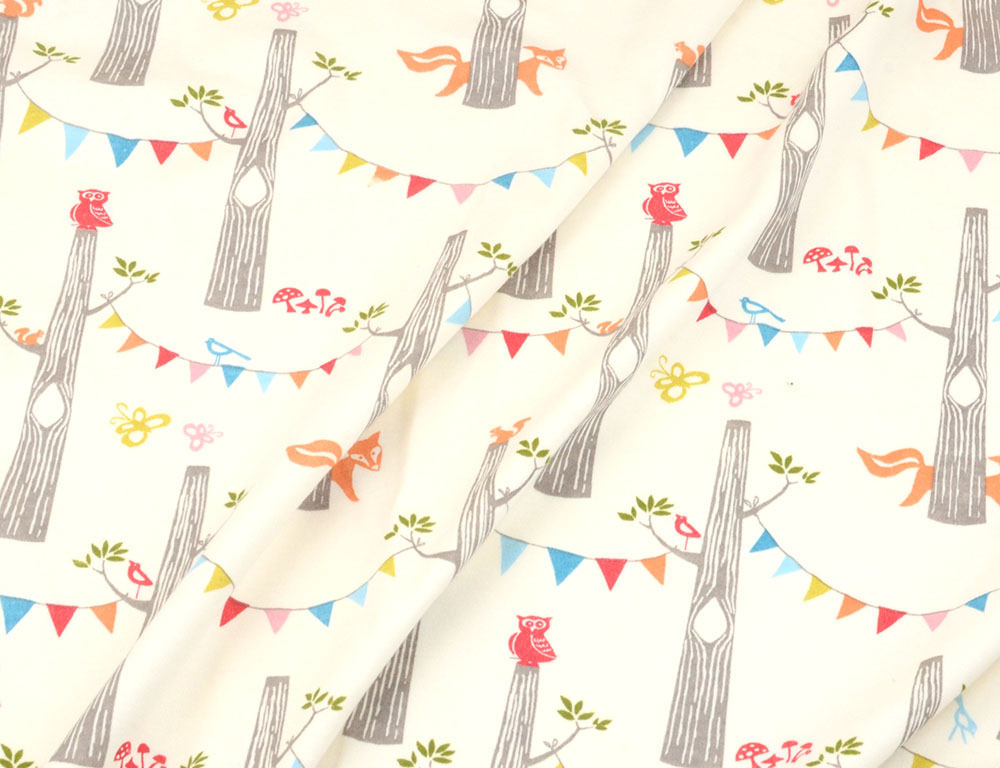
I recently got this Birch fabric from their new Circa 52 collection. It’s the Woodland Party print. It is incredibly soft and has good stretch so I thought it would be perfect for Miss E’s new threads. (they are also giving fabric away so enter to win at the bottom of the post!)
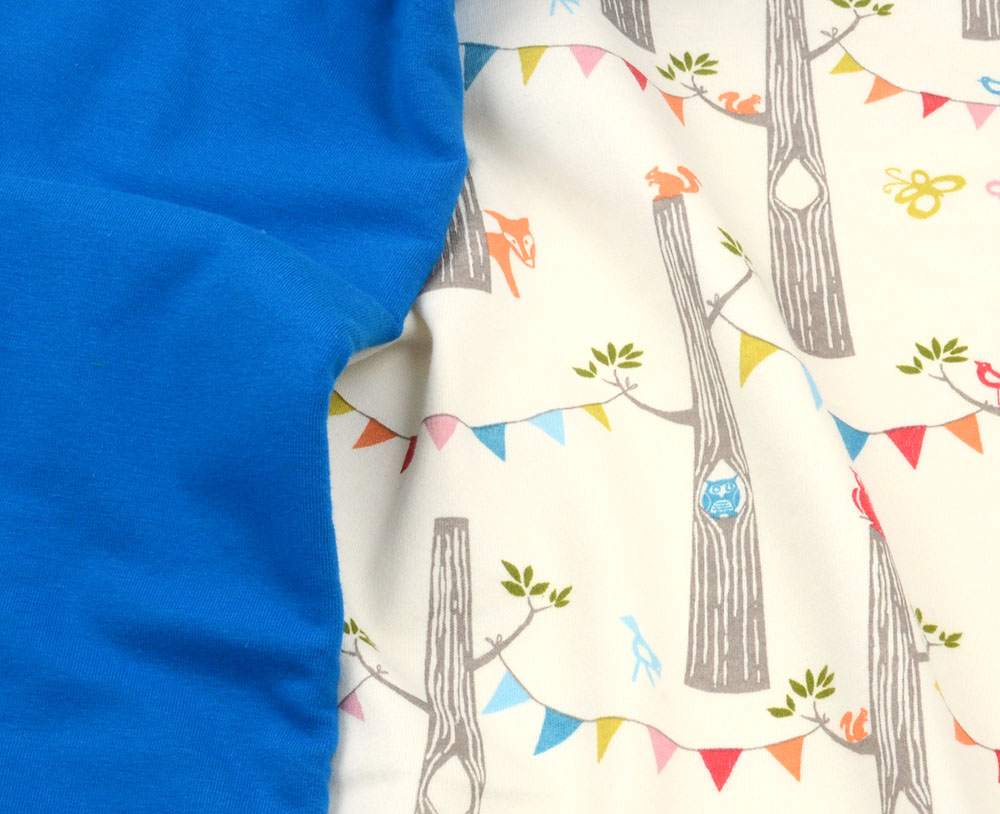
I needed a solid fabric to pair with the print and I’ve been wanting to use this beautiful blue jersey for some time so it’s perfect!
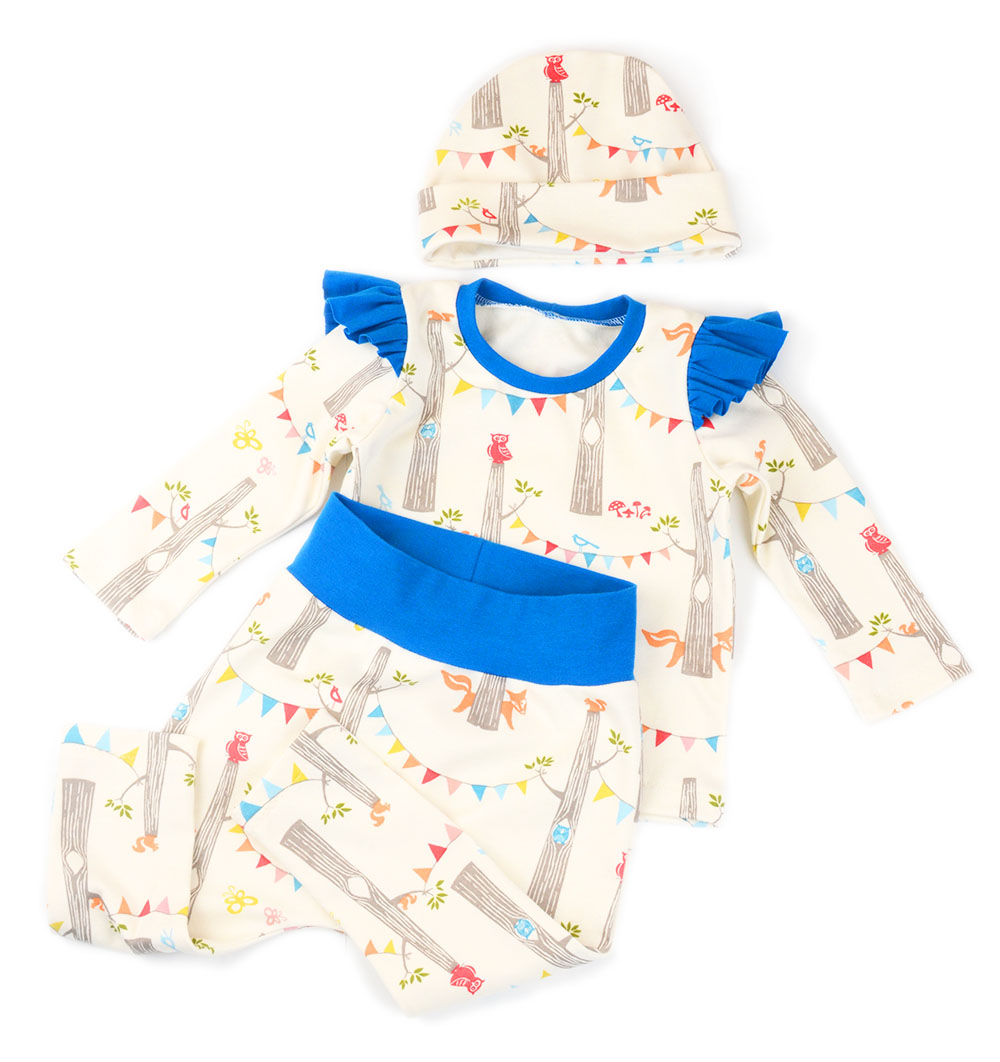
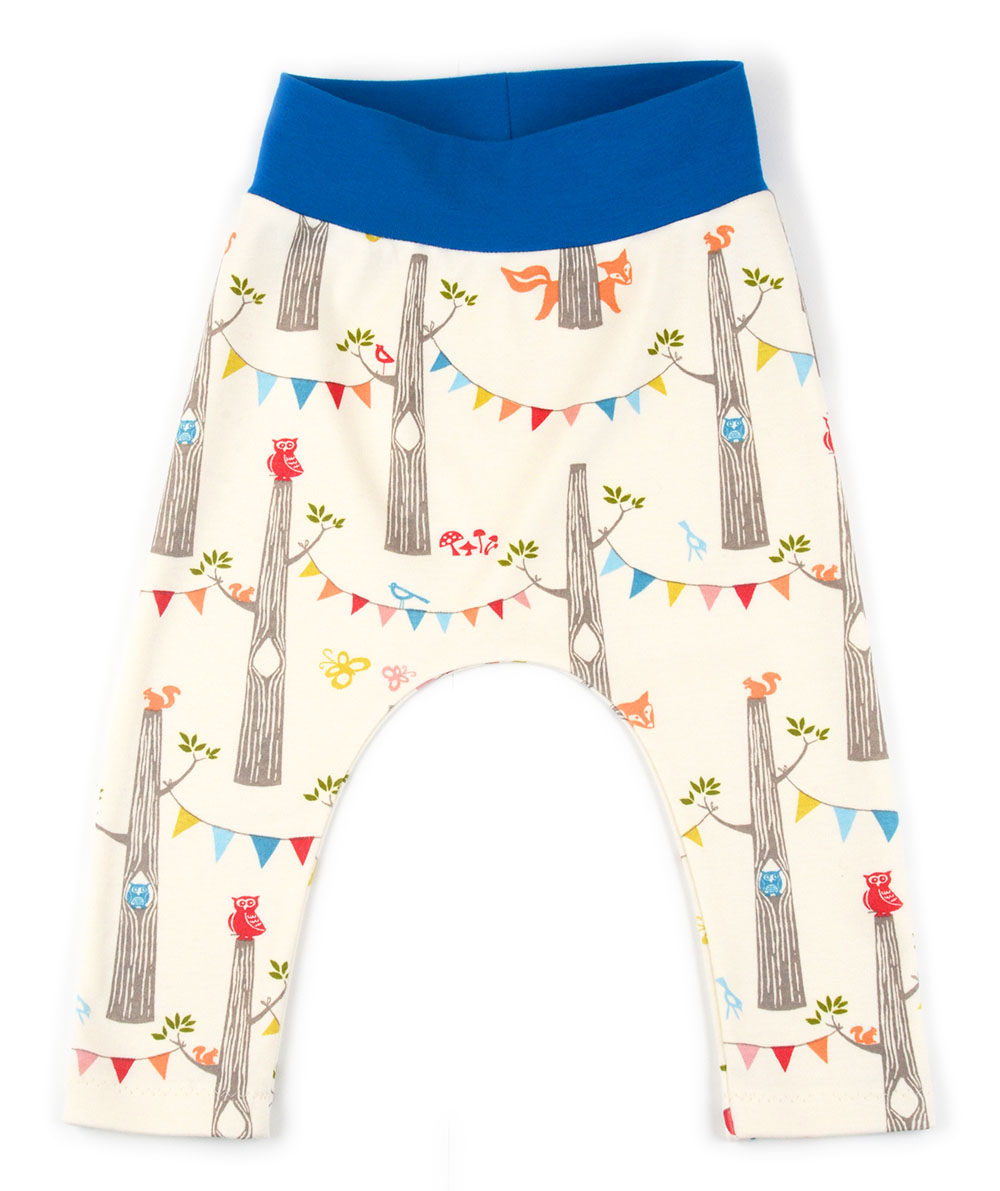
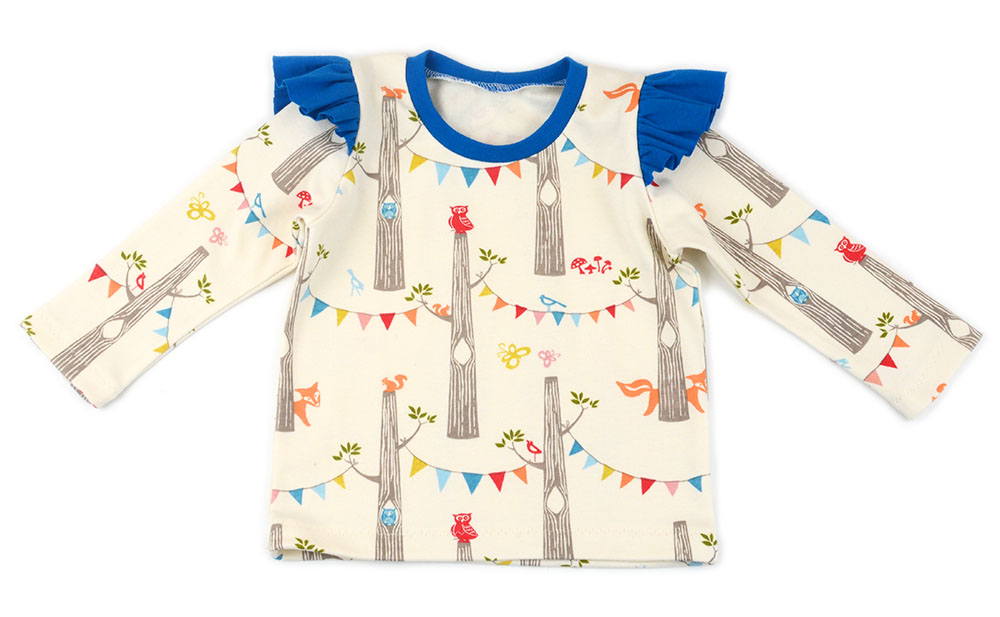
For the outfit, I’m using a couple new patterns. The No-Cuff Harems and the Band Beanie. I’m pairing them with my Flutter Sleeve Tee.
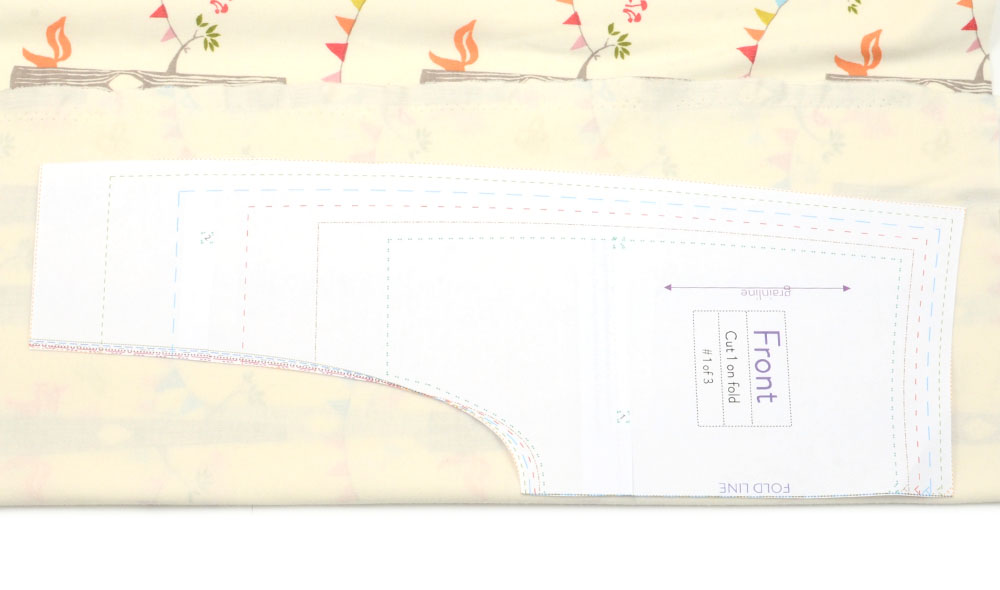
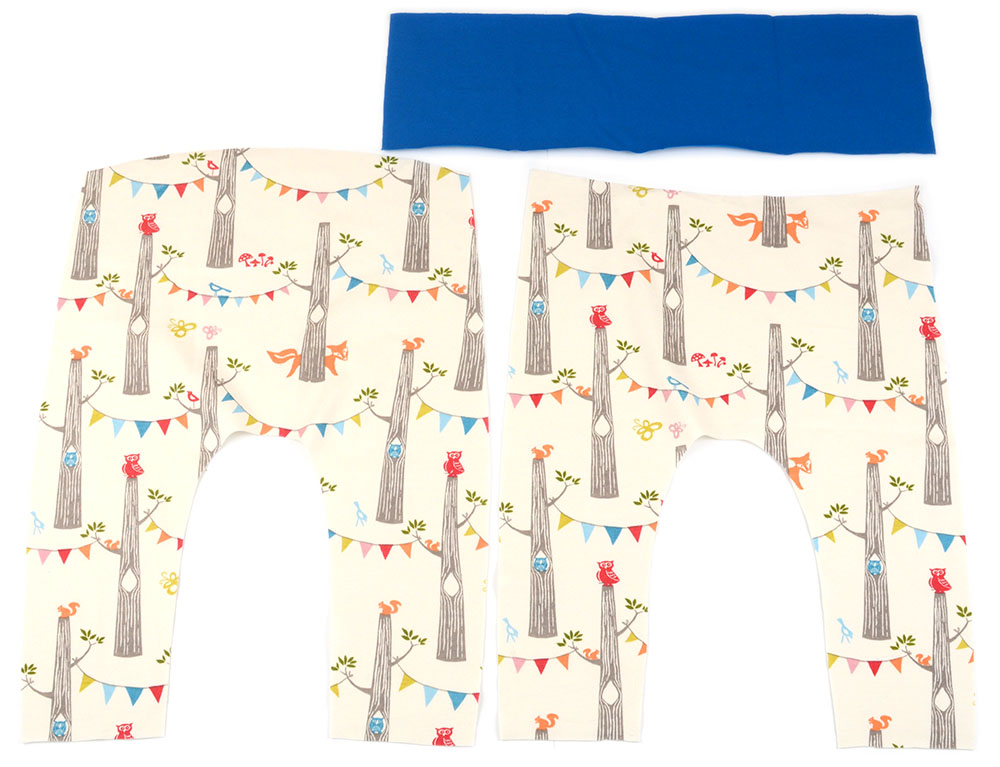
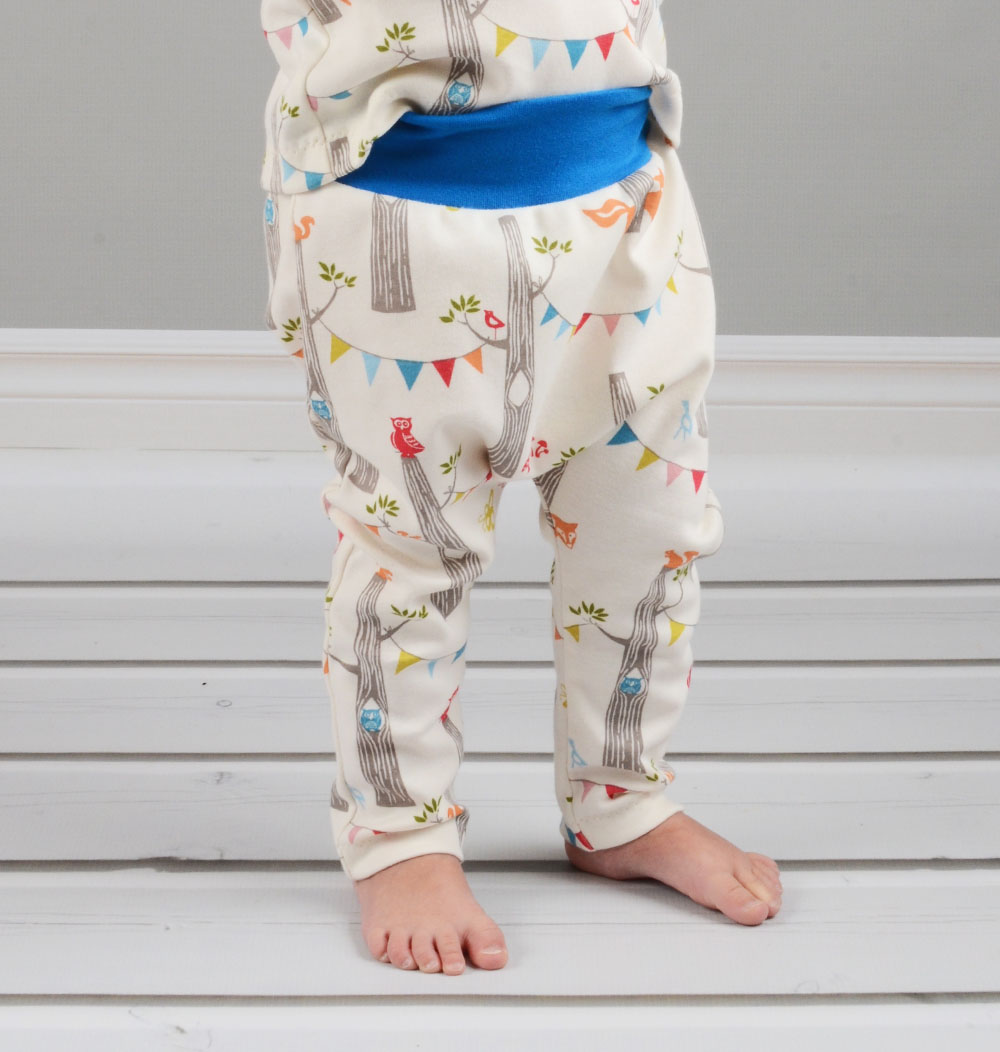
I’ll start with the pants, here are the pieces cut out:
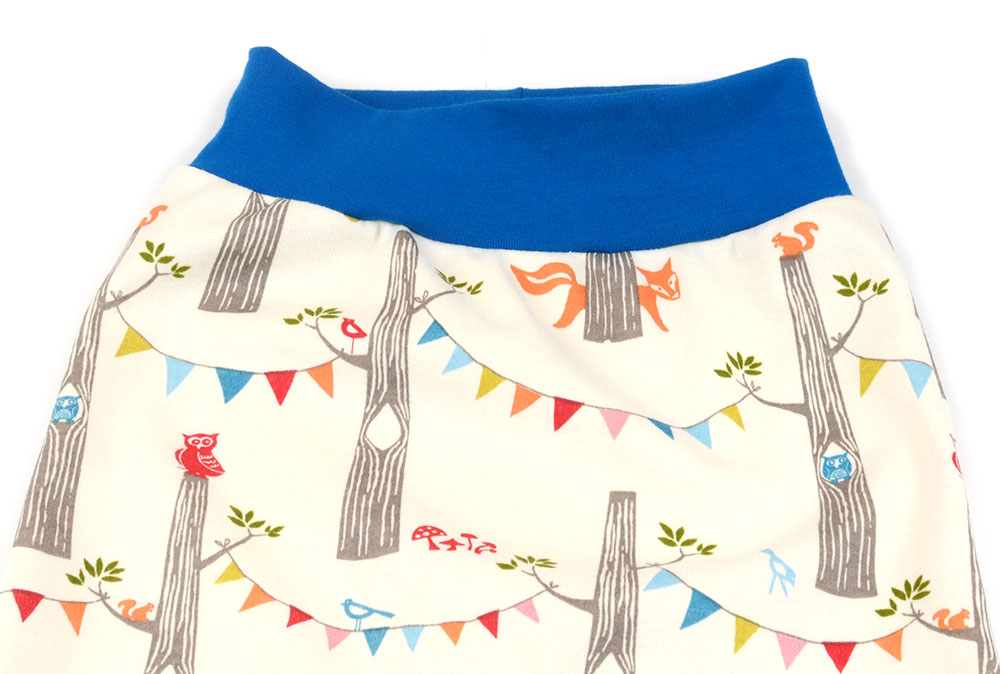
I placed the front and back legs together to sew down the side seams and the inseam. I also sewed the waistband cuff together.
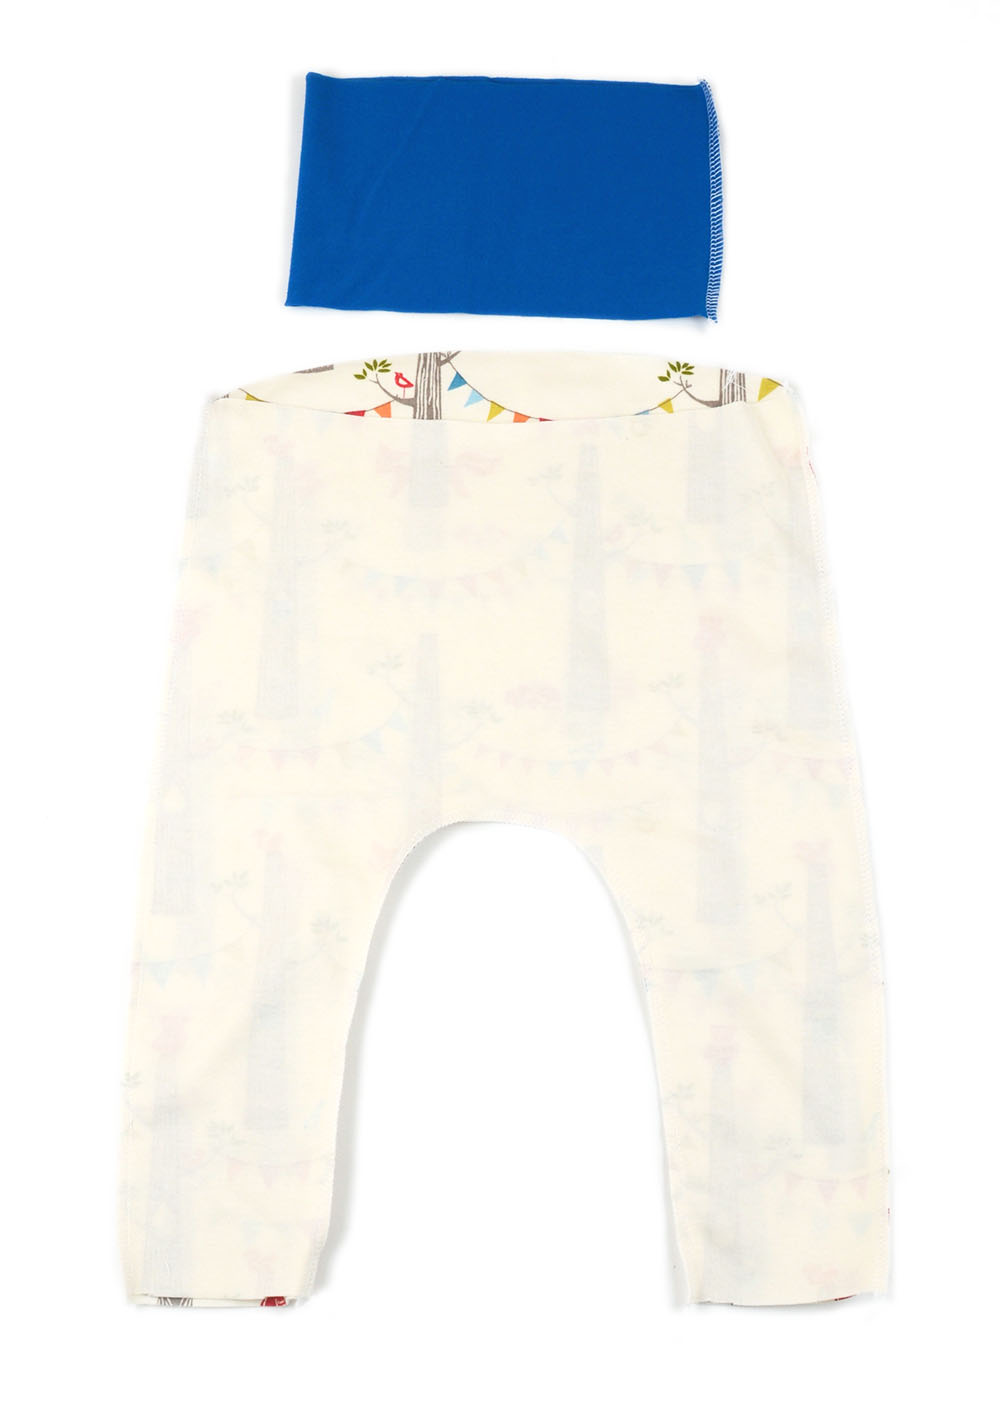
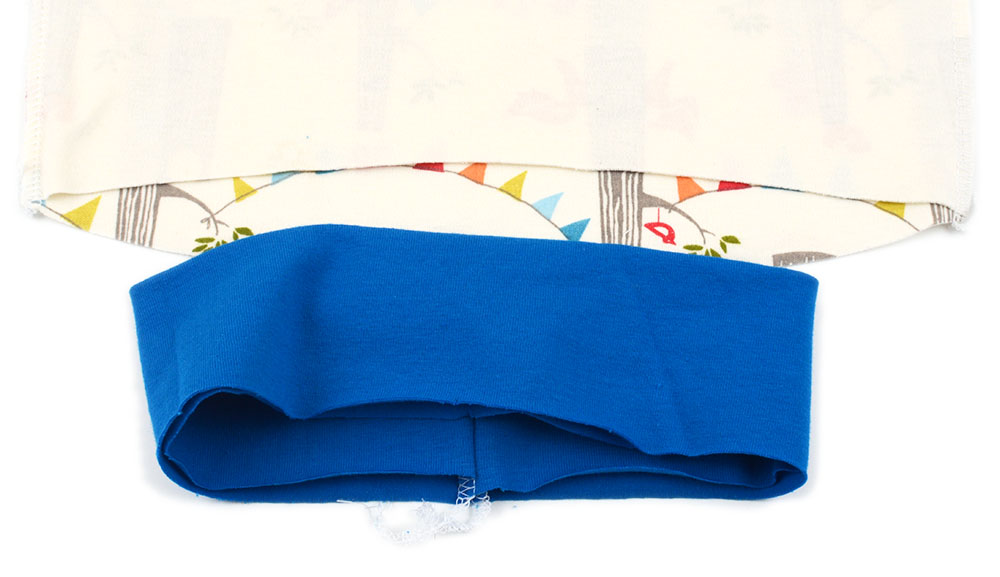
After that, I folded the waistband in half to form the band and placed it inside the pants waist. When you do that, all the raw edges of the waistband and pants waist will be facing you.
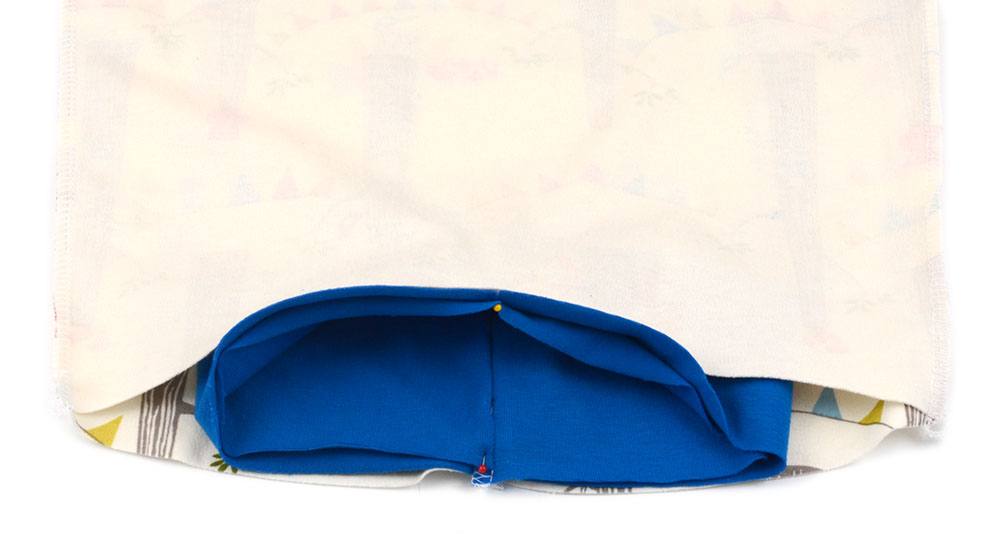
Then, I matched the center front and back of the waistband to the pants waist and pinned it in place.
While I serged the band on, I stretched it evenly around to match the pants waist width.

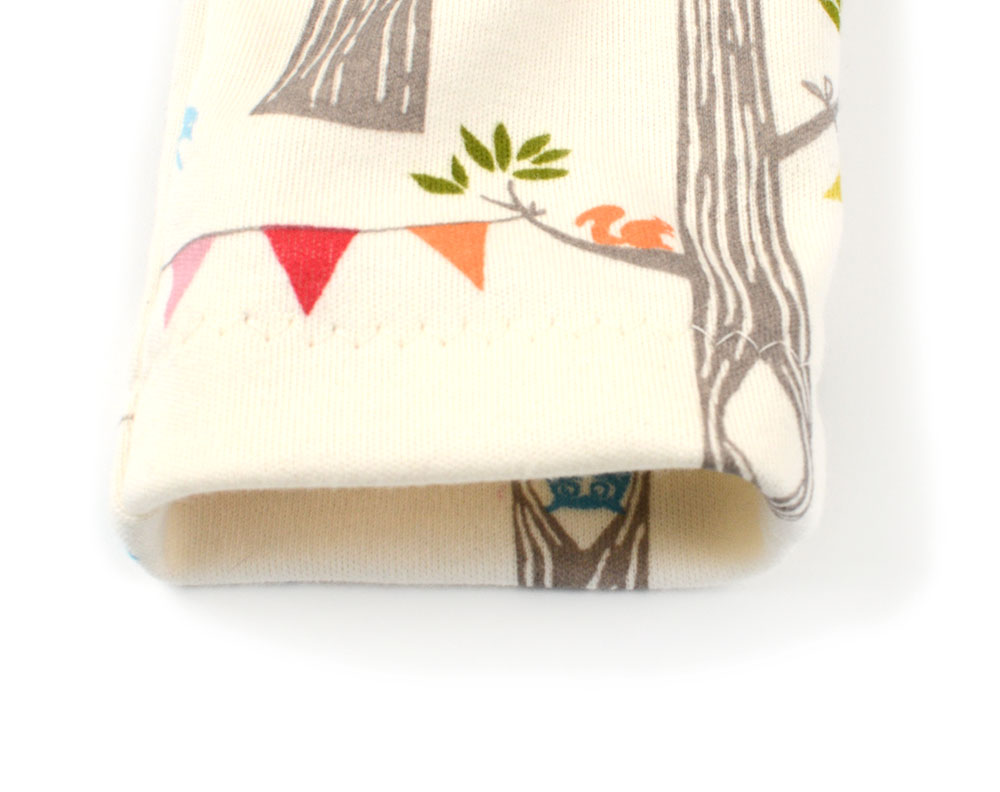
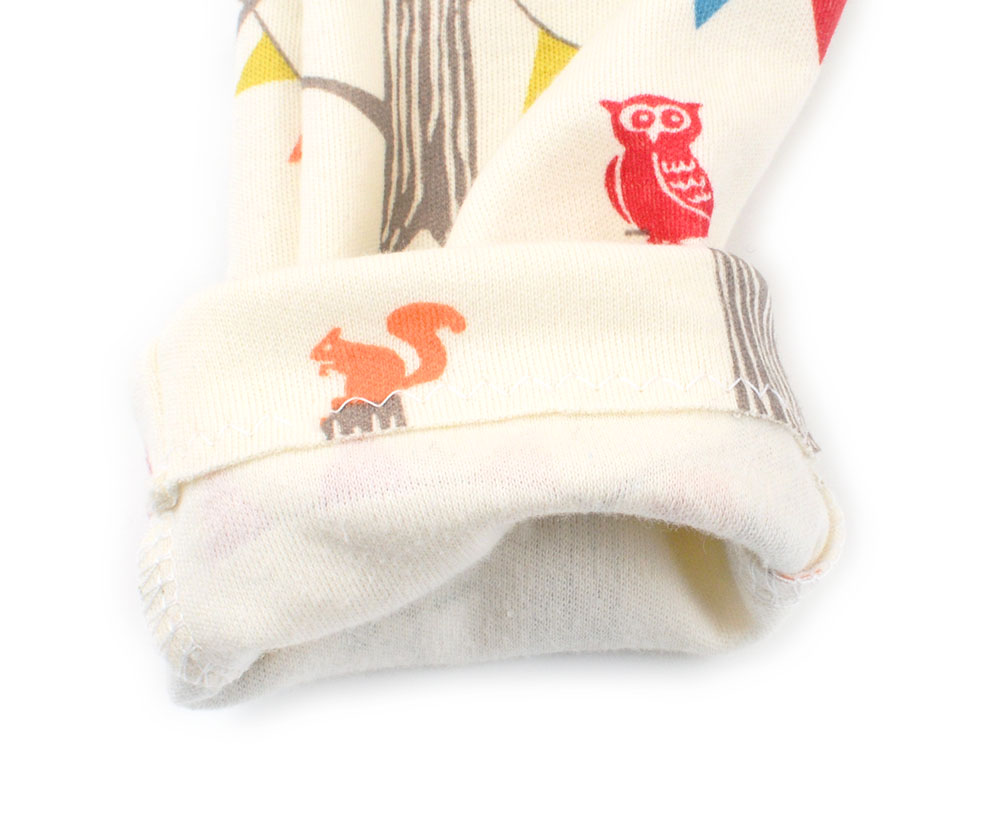
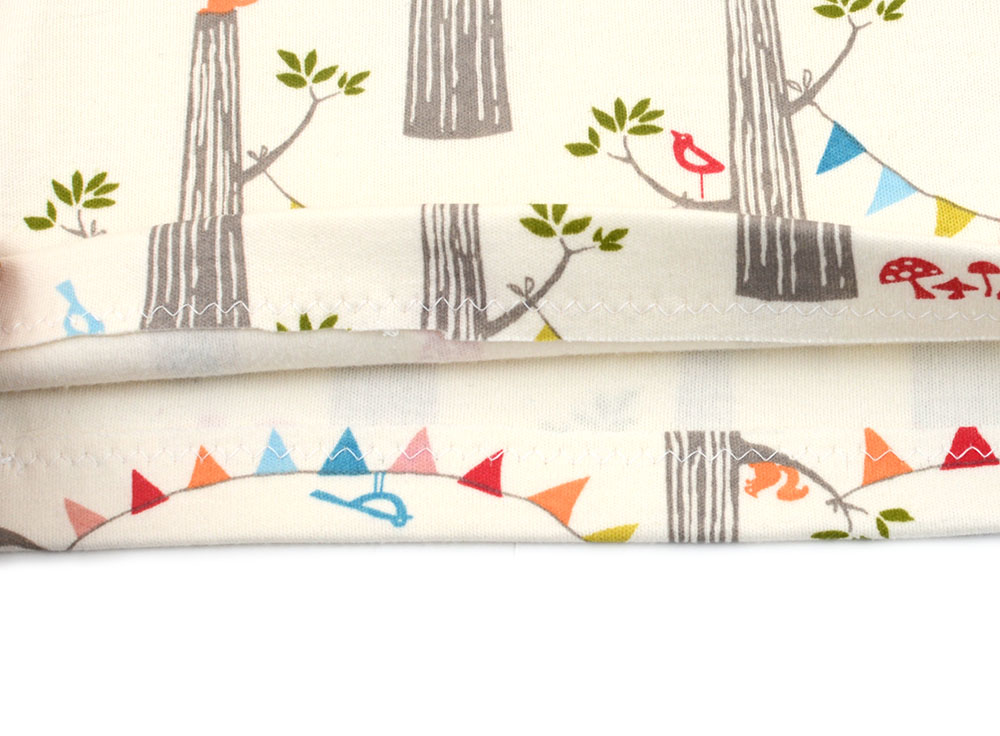
Then, all I had to do was hem the ankles. I folded them inside the leg about 3/4″ and zig-zag stitched around the top to hem.
And after a little ironing, I’m done with the first part of the outfit!
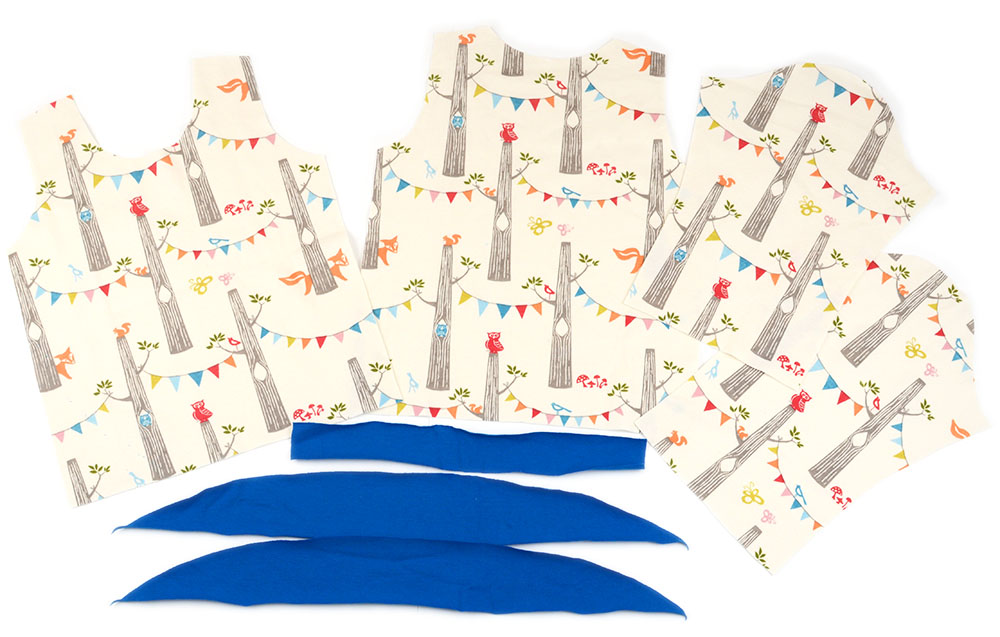
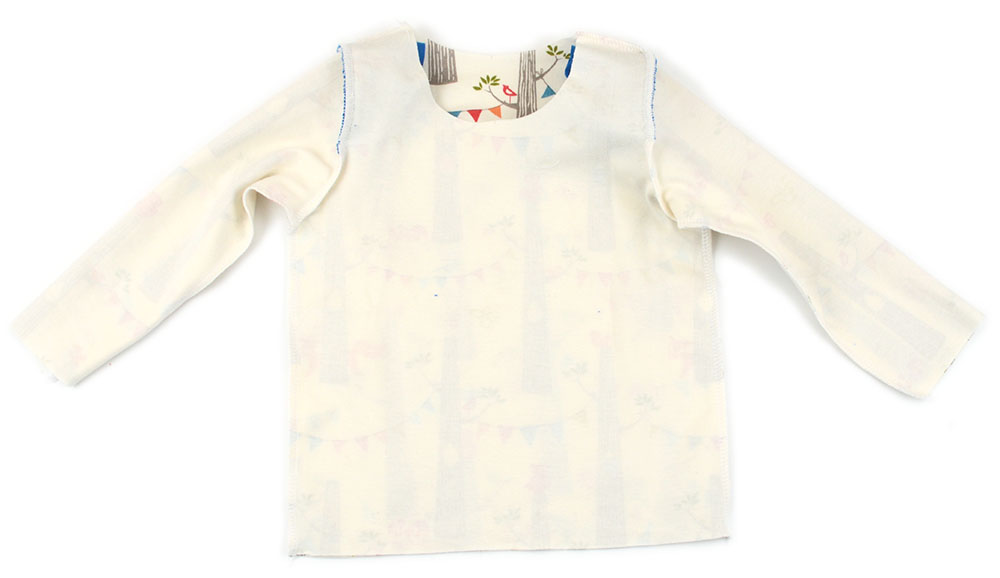
Now, on to the Flutter Sleeve Tee!! This one took a bit longer than the pants but not much, here are the shirt pieces cut out:
I serged the shirt shoulders together, then sewed a gather stitch along the curved edge of the flutter and gathered it to fit between the notches I clipped on the armholes.
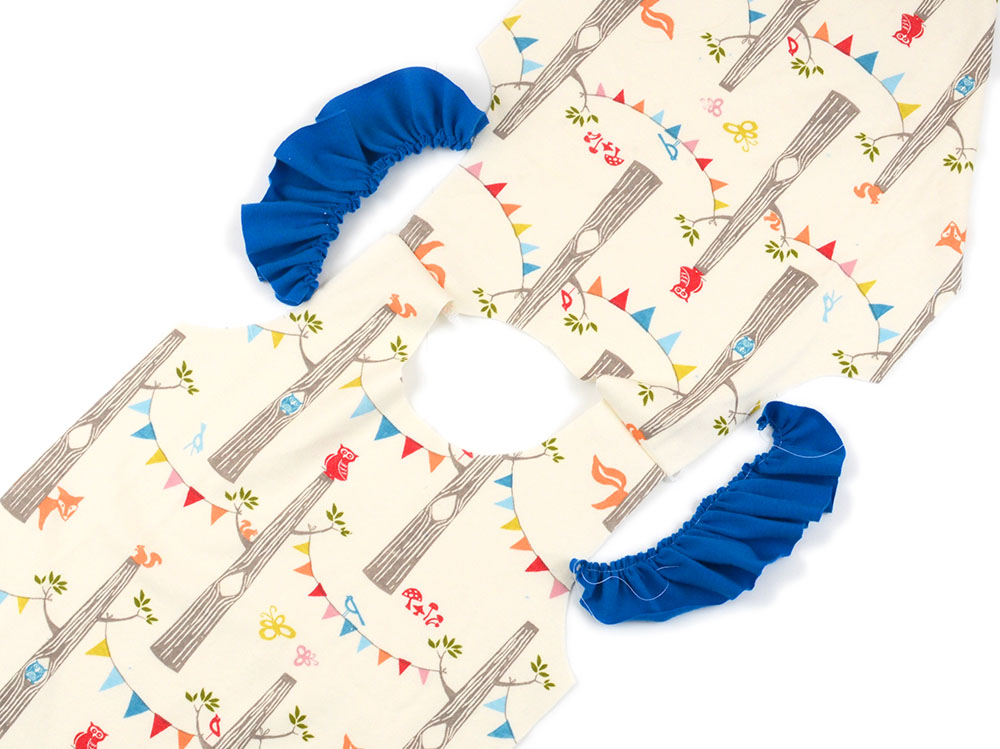
Then, the flutters got sewn to the shirt with a long stitch.
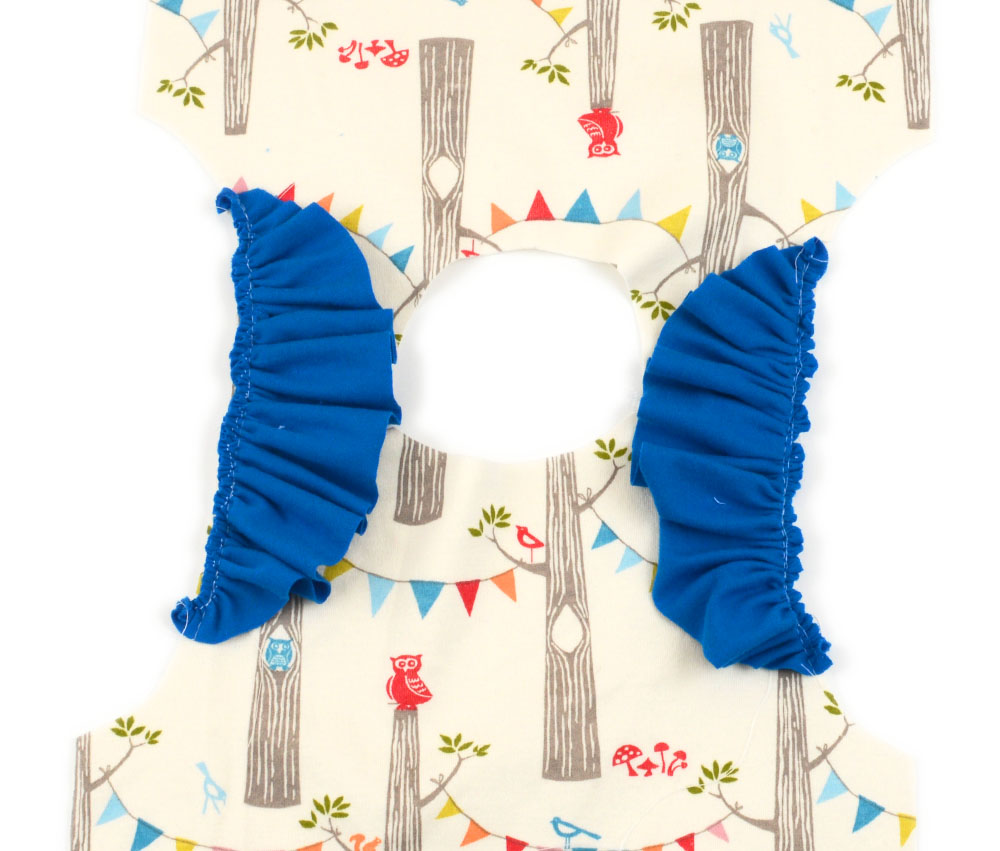
After sewing the flutters on, I sewed both sleeves on top of them so they are sandwiched between the armhole and sleeve.
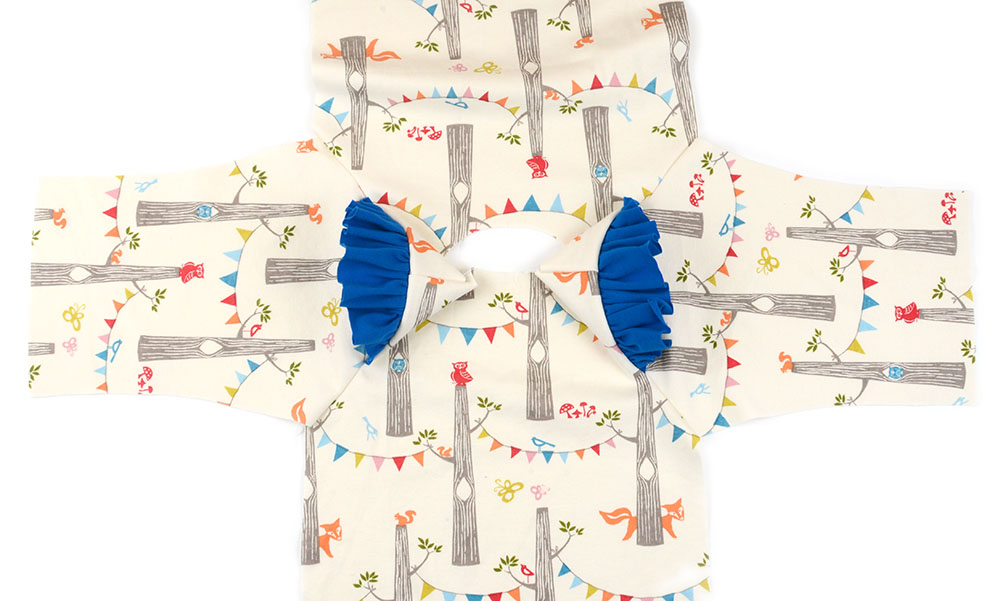
Now it’s side seam time. I matched them together and sewed from the wrist to the hem in one straight line.
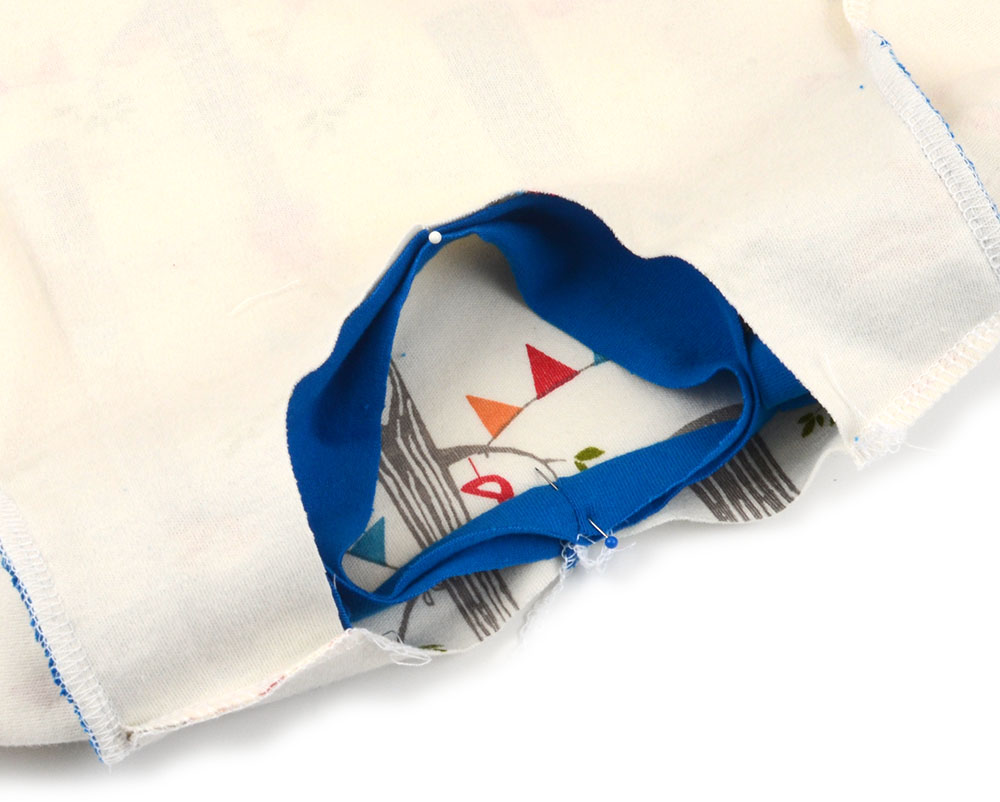
To sew on the neckband, it’s the same steps as the waistband,
I sewed the band together,
folded it in half and placed inside the shirt neck.
I matched the center front and back to the shirt front and back to pin in place.
Then, while I serged the band on, I evenly stretched the band to match the shirt neck width.
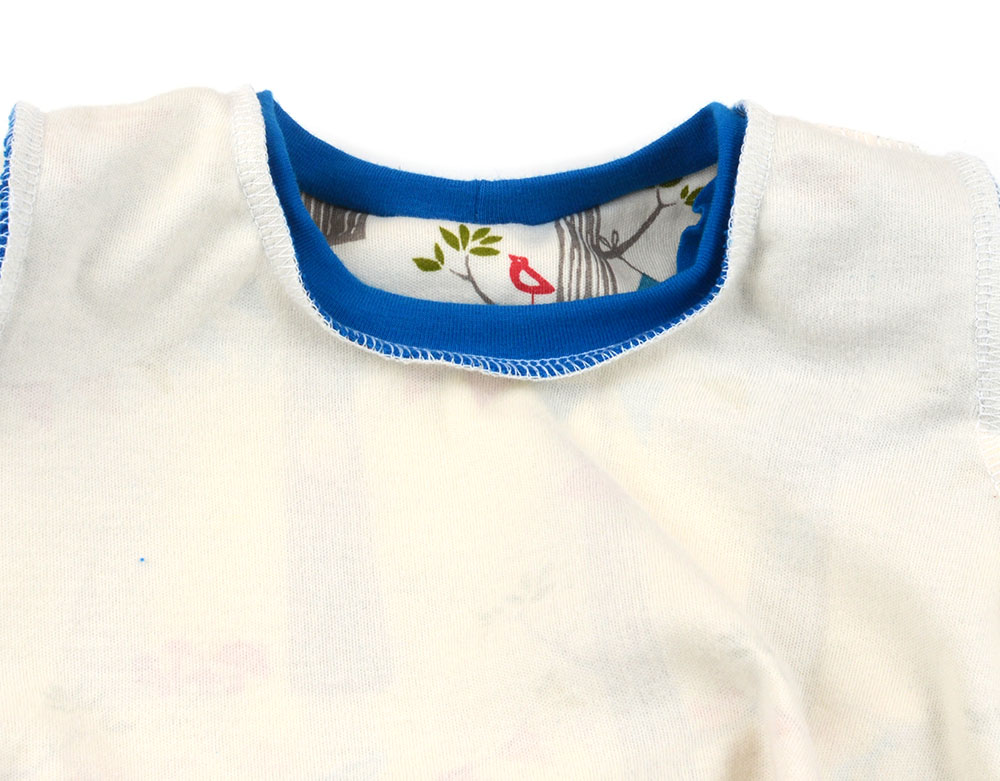
To finish, I hemmed the waist and sleeves the same as the pants. I folded the edge in 3/4″ and zig-zag stitched around the top. I ironed the shirt a bit, especially the hems, and love it!
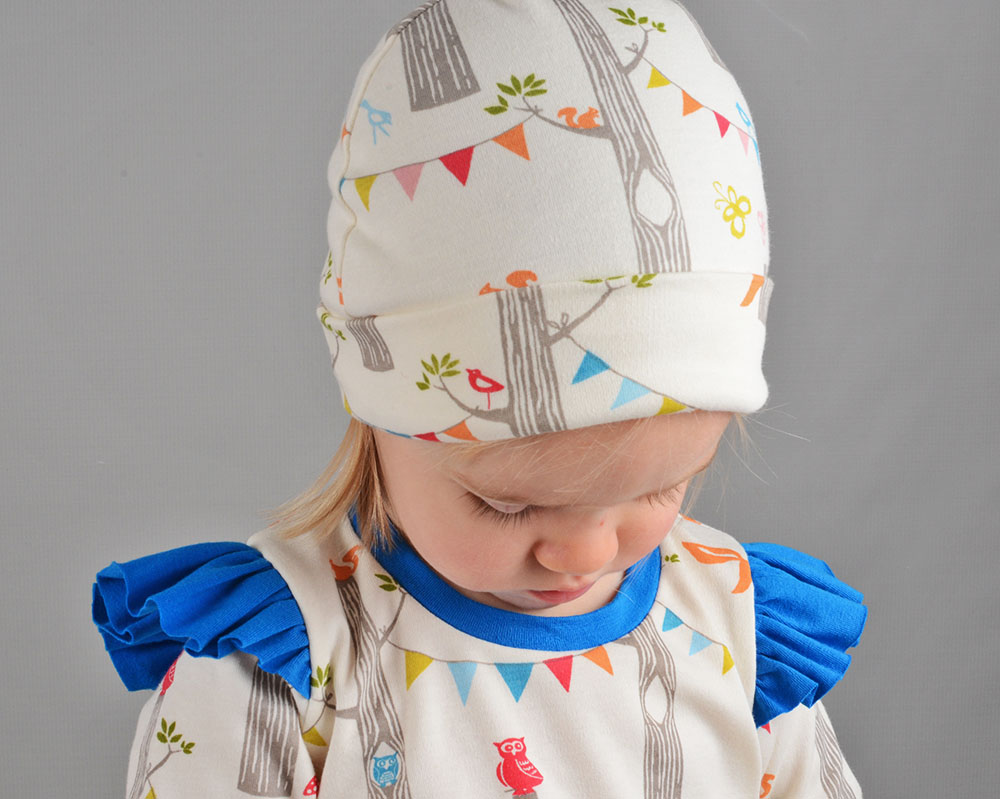
The perfect top off is the band beanie which is a SUPER simple sew. It literally took like 10 minutes.

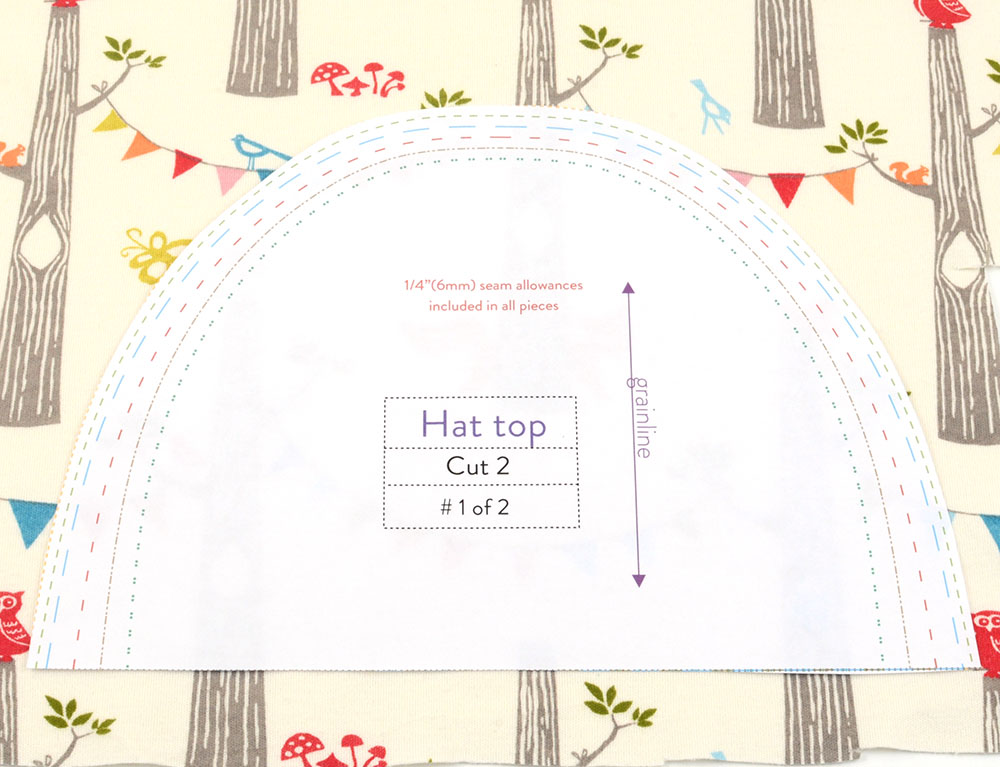
The hat is sewn together at the top curve,
the band is sewn together and folded the same as the pants waistband.
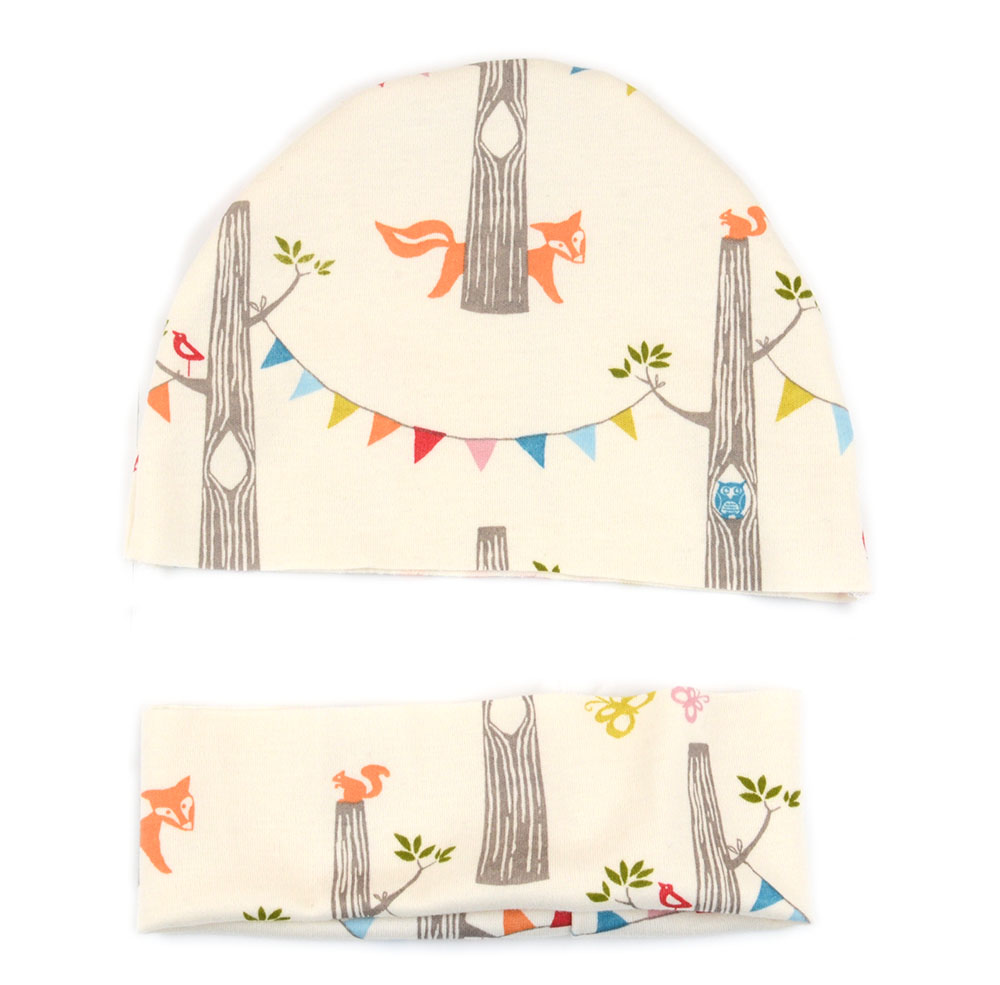
The way this band differs is that it will be placed inside the hat with the hat right-side-out. Usually the garment is inside out. The hat band is meant to be folded up so the seam will be on the right side.
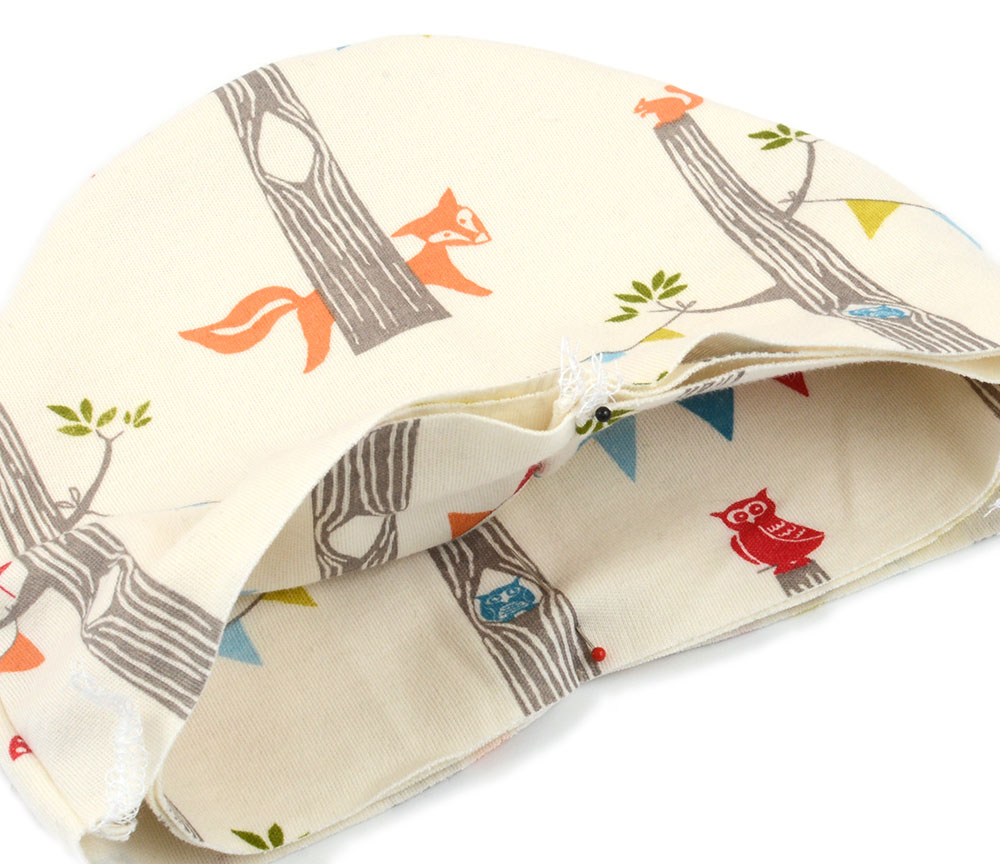
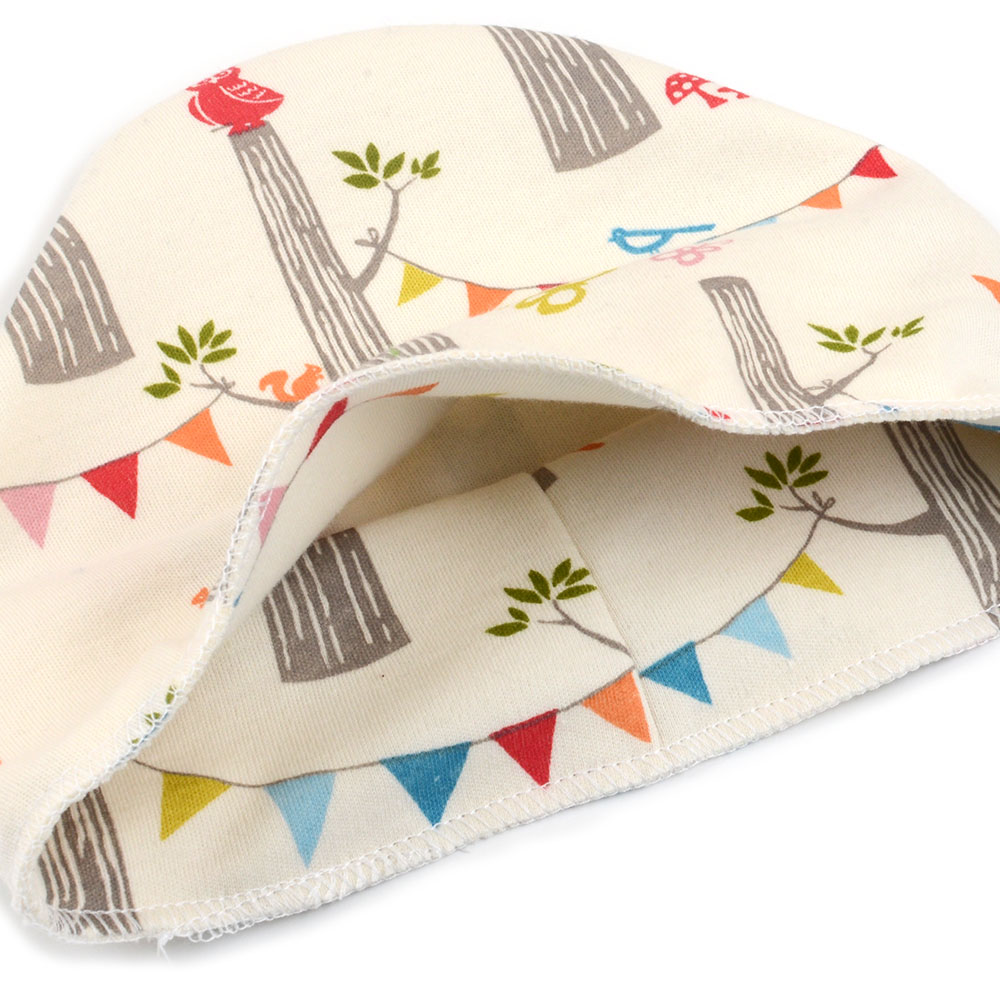
Another thing that’s different about the hat is the serged seam. I used a narrow, 3-thread seam to sew the hat. It makes the band sit better and the inside seam isn’t so bulky. Normally I’m using a wider 4-thread seam.
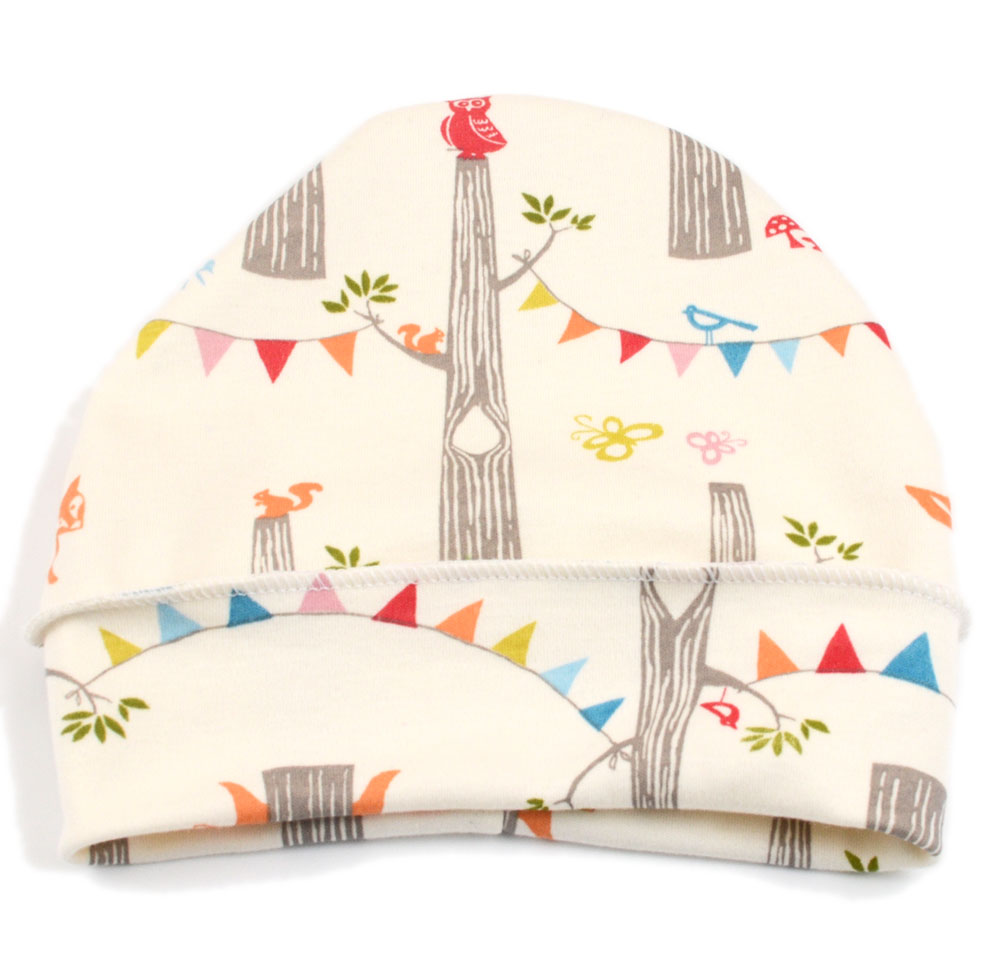
After the band was sewn on I folded it up and ironed it flat in place. I can’t wait to try on E!

Here is the completed outfit together. I love the way the blue complimented the print 🙂
For the next week, the Band Beanie and No-Cuff Harems will be discounted to $2.50 and $5.50 🙂
If you would like to enter Birch fabrics giveaway, the prize is 1 yard of each print in either knit or woven cotton!
Circa 52 Blog Hop Giveaway!
See you next week with another new pattern!
-Melissa